10 Street Photography Ideas For You To Try Out Today

Introduction
If you are a street photographer novice, don't feel that you have to go out and start by simply shooting people all the time - there are many different creative street photography project ideas that you can try to make your work stand out. Here are just ten ideas for you to try out today.
Silhouettes
Silhouettes are a great street photography project for a couple of reasons. Number one, you get to learn how to meter for a specific area with your camera's inbuilt light meter. And you also get to create punchy, powerful images, that have extreme contrasts between the highlights and the shadows.
Look at the work of Nicolas Bouvier for some inspiration.
How to create a Silhouette photo
Obviously, the main objective is to find a subject to shoot. Consider somebody strolling along on the beach, or a group of people playing football. Someone throwing a stick for their dog. These are just a few ideas, but the possibilities really are endless providing that the background is bright with ambient or artificial light.
It is important that your image is not cluttered with other subjects in the foreground. Good silhouettes are generally clean, with the subject and the highlighted background only.
To shoot a silhouette, simply expose for the highlights. This could be the sky, the sun, the street lights or the neon shop lights in the background of your image.
You can do this by spot metering, which by definition, only meters for a specific area of the image.
Expose and meter for the background, making sure that your subject is in shadow. If they are not shadowy enough, then use your Exposure Compensation dial to darken the exposure slightly. You can also use Evaluative Metering Mode using the Exposure Compensation dial to dial back exposure too.
For this reason, Aperture Priority is recommended.
However, if you are like me and love shooting in Manual Mode you can expose for silhouettes by using your Shutter Speed to make sure that the background is bright and your subject is underexposed. You will need to keep your aperture at a constant narrow f-stop of f /8 - f /11.
Sometimes when you are shooting silhouettes automatic focusing can be difficult. Therefore, using manual focus will help to ensure that you get your silhouette subject in focus.
Use a narrow aperture of f /11 - f/16 to make sure that the subject and the background are sharp.

Fishing
The art of waiting is not the most creative of arts. However, when it comes to street photography it definitely is.
The fishing technique is something that the greatest street photographers have done in their careers. Think Henri Cartier-Bresson's bicycle shot as a great example of the fishing technique.
As a photographer it is your job to find the perfect composition, with the perfect light, the perfect background and the perfect subject.
With the fishing technique you simply find those perfect elements (minus the perfect subject) and then you wait for the perfect subject to enter the frame and you take a shot at the right moment.
You could be standing in a building courtyard waiting for someone interesting to walk through a shaft of light.
Or you could wait for someone to stand in between a pair of graffitied angel wings on a brick wall.
As with silhouettes, there are endless possibilities, and you just need a little patience and discernment when it comes to framing and composing your scene whilst you wait.
Even once you have taken that shot, waiting a little longer for another character might improve the image. Maybe framing the composition differently too, to see if you can better your work.
The fishing technique is not dissimilar to what a Wildlife photographer had to do in order to get that perfect shot. Except in Street photography, towns and cities are your urban jungle.

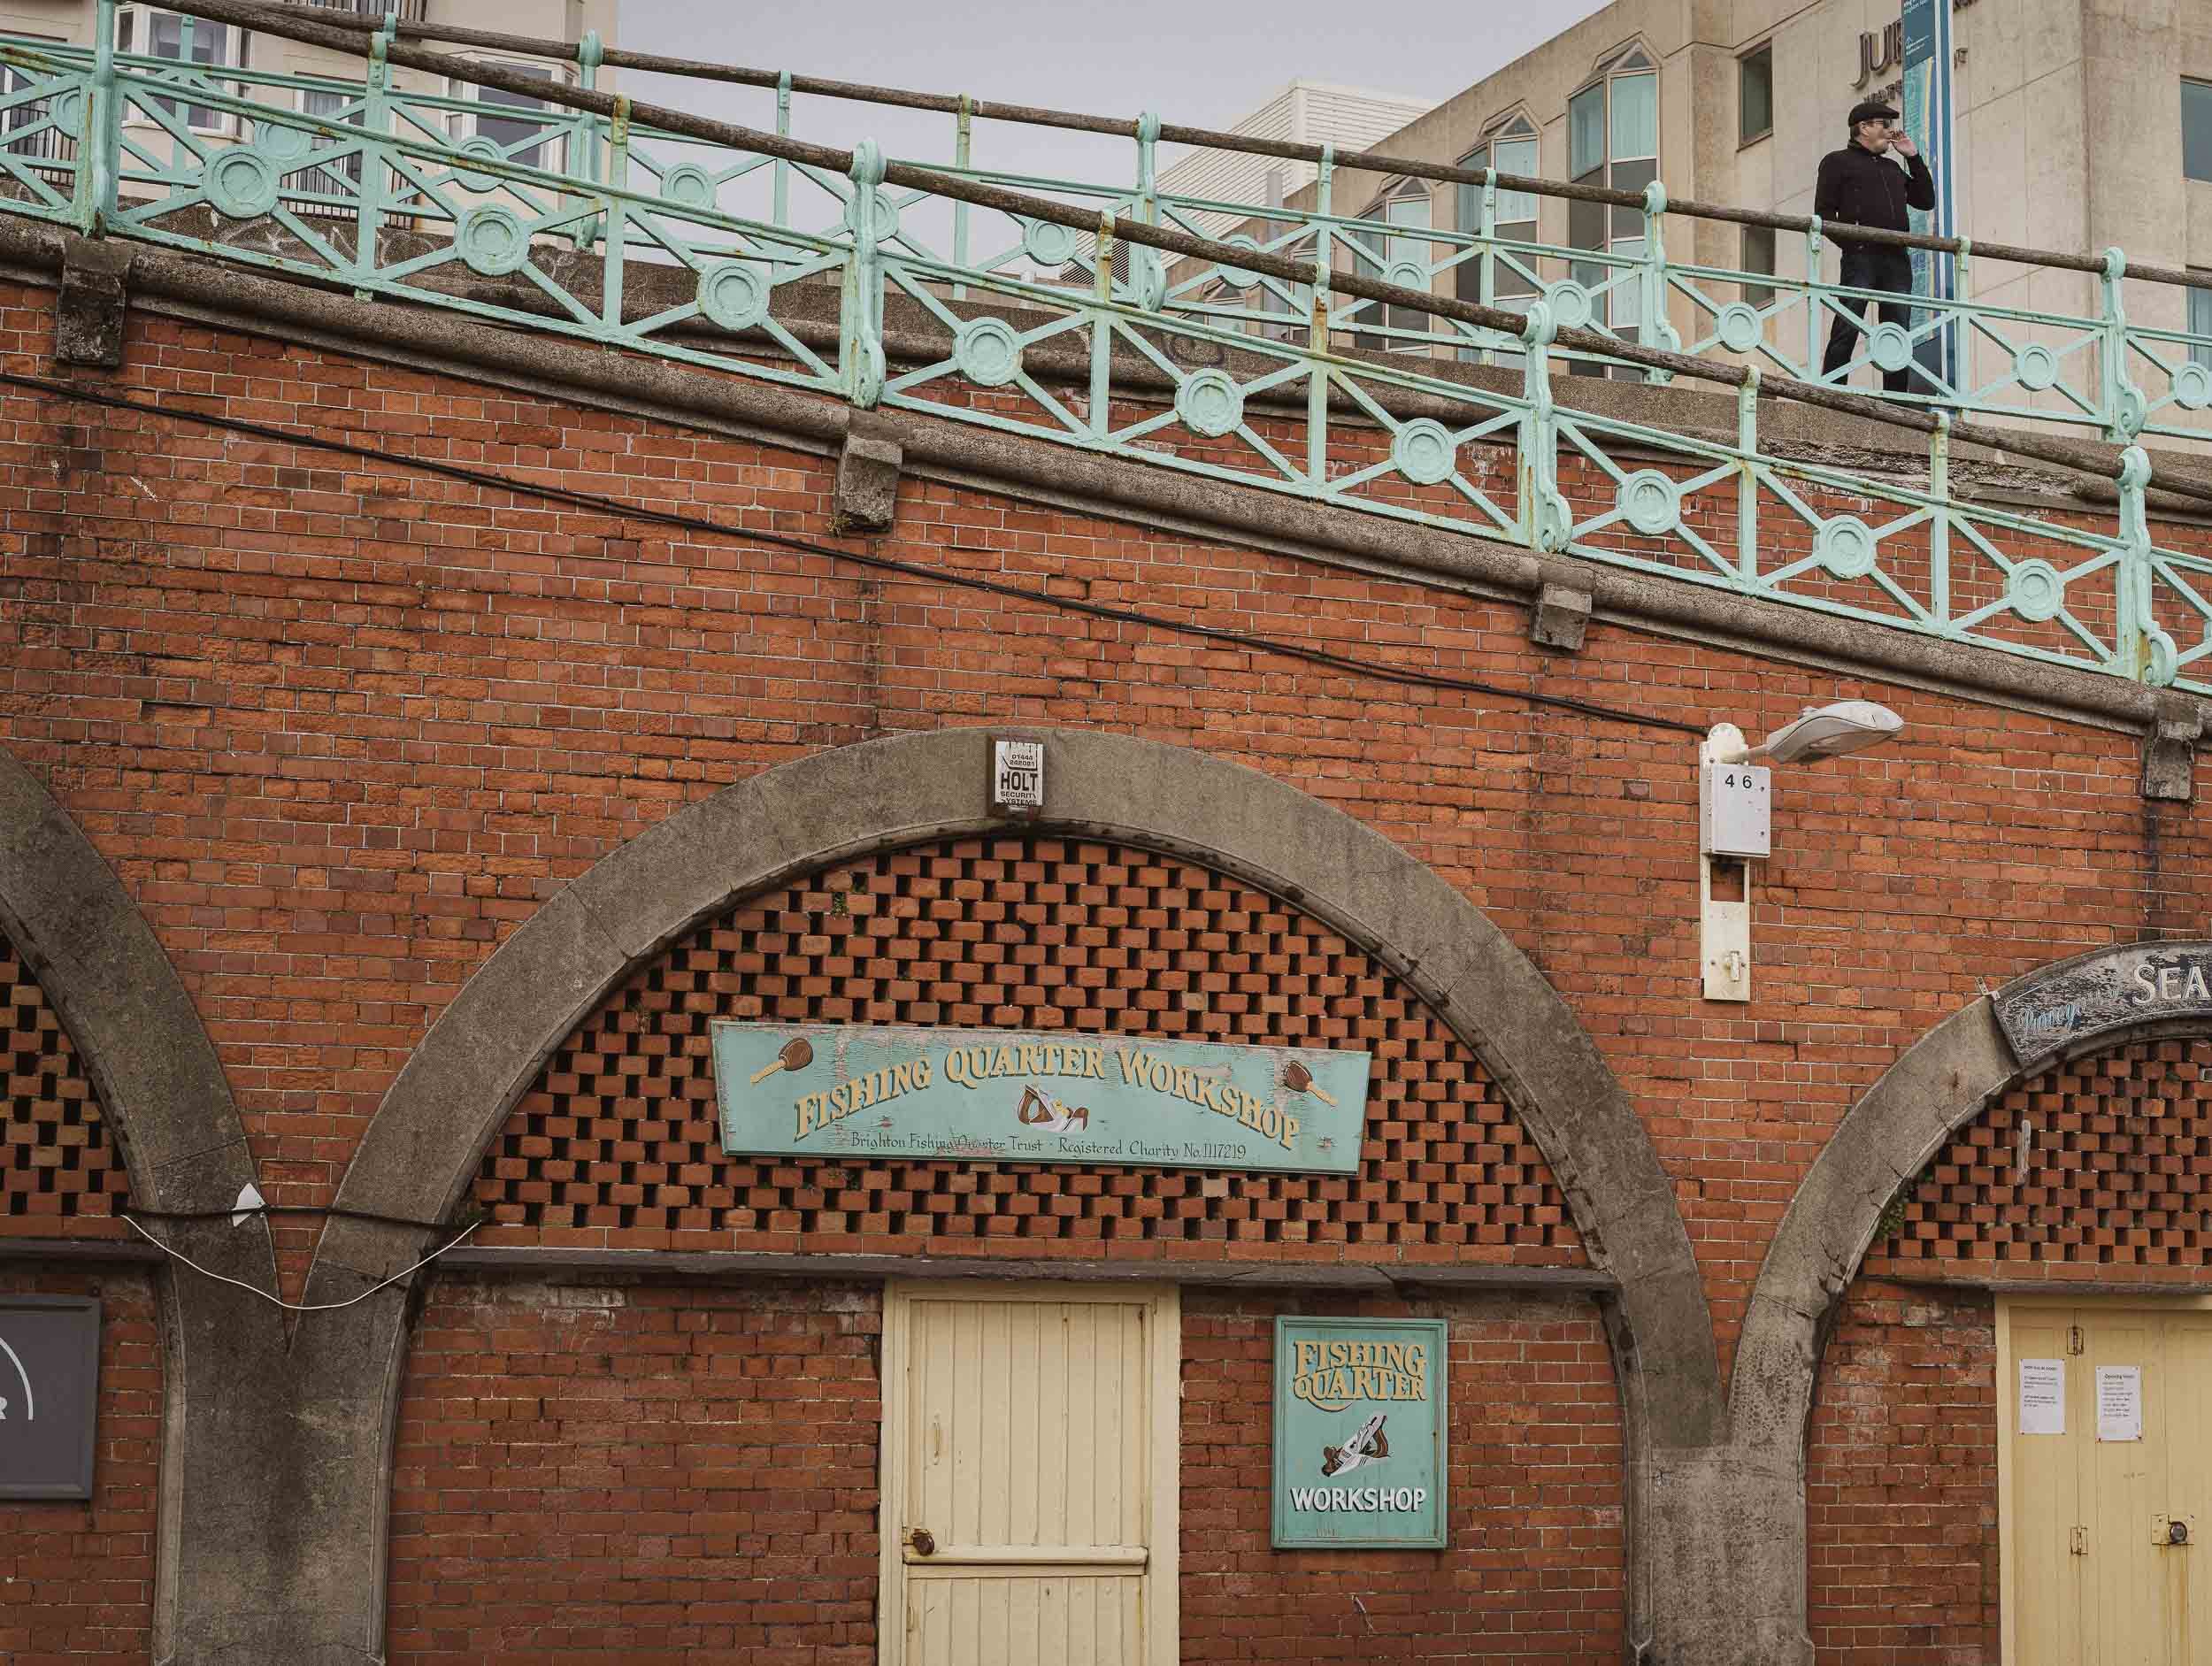
Fishing…
I waited for about 5 minutes to capture this person
Reflections
Shooting glass shop windows at an angle can give you a creatively layered image depending upon the angle that you shoot at. Not only can you include whatever is in the shop window, but if you fish (wait) you can also include the reflection of a passerby.
Puddles on the ground are great when combined with shop lights, people, street lights - pretty much anything. They can be shot on their own or included with another subject, where they can be used as a foreground element.
Other items that can be used for reflections include mirrors, (car wing mirrors, mirrors in shops, underground). Car windows, glass walls, ceilings). There are so many opportunities to get creative with reflections.
Light
While you can argue that there is no bad light for street photography, there is a technique (which could be a project on its own), that specifically makes use of light.
If you combine light with the fishing technique then waiting for people who enter a shaft of light, which is sandwiched between shadows, can make for some very powerful imagery.
You can also try this in the opposite direction - photograph a subject in the shadows that is next to a shaft of light.
This technique is obviously best practised on a sunny day, during the daytime when the sun is casting bright highlights and dark shadows on the walls and the ground.
You could also frame the image in such a way that the shadows or the light encompass the majority of the frame as a giant pool of negative space and the subject is in the minor area of light or shadow.
This photo is divided by shadow and light and I purposefully waited until the couple entered the lit area.

Interesting People
People are obviously the cornerstone of street photography but finding those interesting characters to shoot for street photoshoot ideas adds another layer of viewability to your images.
Well dressed people, badly dressed people, angry people, lovers, pet owners, the list is endless.
What's your style? 50mm from a distance, or 28mm up close and in the face. There are many options for great images.
Use the fishing technique and wait for that special someone. Or do a bit of running and gunning and grab as many shots in the hope of a few keepers. It's all fun and exciting.
This guy was a real character…
Running and Gunning
This is the opposite of the fishing technique. The requirements are simple: walk around your preferred city, town or village and take as many photos as you wish, of people, interesting shops, buildings, walls or everything combined. Shoot in whatever mode suits you best. However, this is a great way to learn Manual Mode as are constantly having to change your settings as you work.
Running and gunning is a great way to keep your momentum going, allowing for your creativity to keep flowing as you walk around taking photos.
Don't be disheartened if you come away without any good images. As renowned Street Photographer Alex Webb says, "Street Photography is 99.9% about failure". At the end of the day, it is all practice and running and gunning is the epitome of practice, providing that you know the fundamentals of light and composition when you are shooting.
Urban Landscape
Think street photography without people and you can start to enter the realm of Urban Landscapes.
This kind of photography allows you to slow down and think about composition, using leading lines, foreground objects and having shopfronts and buildings as your main subjects.
Because you are not including people in these kinds of images you can use a tripod, shoot at long Shutter Speeds with base ISO for the best quality images. Even night street photography is made simpler when you are focusing on man-made objects.
Use street lamps and shop lights to light your scene and try using wide apertures for soft and ethereal vibes.

Night
Night street photography is one of my favourite types of street shooting. All of the above and below ideas can be incorporated into night street photography.
It's all about the man-made ambience with shop, car and street lights to bring your images to life.
The main difference is that night photography has its own atmosphere and vibe. Shoot wide aperture images of people through restaurant and bus windows; capture intense colours from neon lights and eerie soulless images of empty streets that are lit solely with street lamps.
Most of the time you will need to crank up your ISO and shoot with a slightly slower Shutter Speed than with daytime street photography, in order to get a decent exposure.
Portraits
Being a street photographer can sometimes require you to be good at communicating with strangers, as you may get asked why you are taking photos of them.
Photographing portraits on the street directly puts your communication skills on the spot as you obviously need to ask a stranger in order to to take a portrait photo of them. There is a multitude of people out there who will agree to have their portraits taken on the streets. Therefore, it is always best to get permission before undertaking street portraiture. This really is a great way to practise and enhance your communication as a photographer.
Street portraits can be shot with a classic, wide aperture, shallow depth of field look. Or you could opt for a more environmental portrait including the surroundings by shooting at a narrower aperture.
Be sure to show the street model your image afterwards, either by showing them the shot on the screen, or ask them to see your results on Instagram or your website. You could always email them the portrait.
Flash
Using a flashgun for your street photography, can be pretty unnerving, but like anything, the more you do it, the more you get used to it and the more you will get better at it.
Flash can be helpful at night if there is no light at all. You can simply create it with flash.
Flash also gives your images a raw, stark vibe that you can easily discern from viewing. It makes for some powerful imagery.
It also creates contrast, separating the brightened subject from the darkened background.
Ideally, you would want to use a small flashgun because as a street photographer you want to keep a light setup as possible and also you will be less obvious with a big flashgun on your camera.
There are a number of small units on the market that would fit your brand of camera such as the Fuji EF-X20, Nissin i40, Canon 270EXII and the Nikon SB-300.
When using on-camera flash, exposure works slightly differently. Your aperture controls the flash, whilst your Shutter Speed control the ambient light. So you can directly control how dark you want the background (the ambient light) with your Shutter Speed, whilst keeping the subject sufficiently bright with the flash (using the aperture).
Conclusion
I hope that these project suggestions will help you on your street photography journey. Stay tuned for a deep dive into some of these ideas.
Go forth and create.