The Best Camera Settings for Urban Night & Street Photography
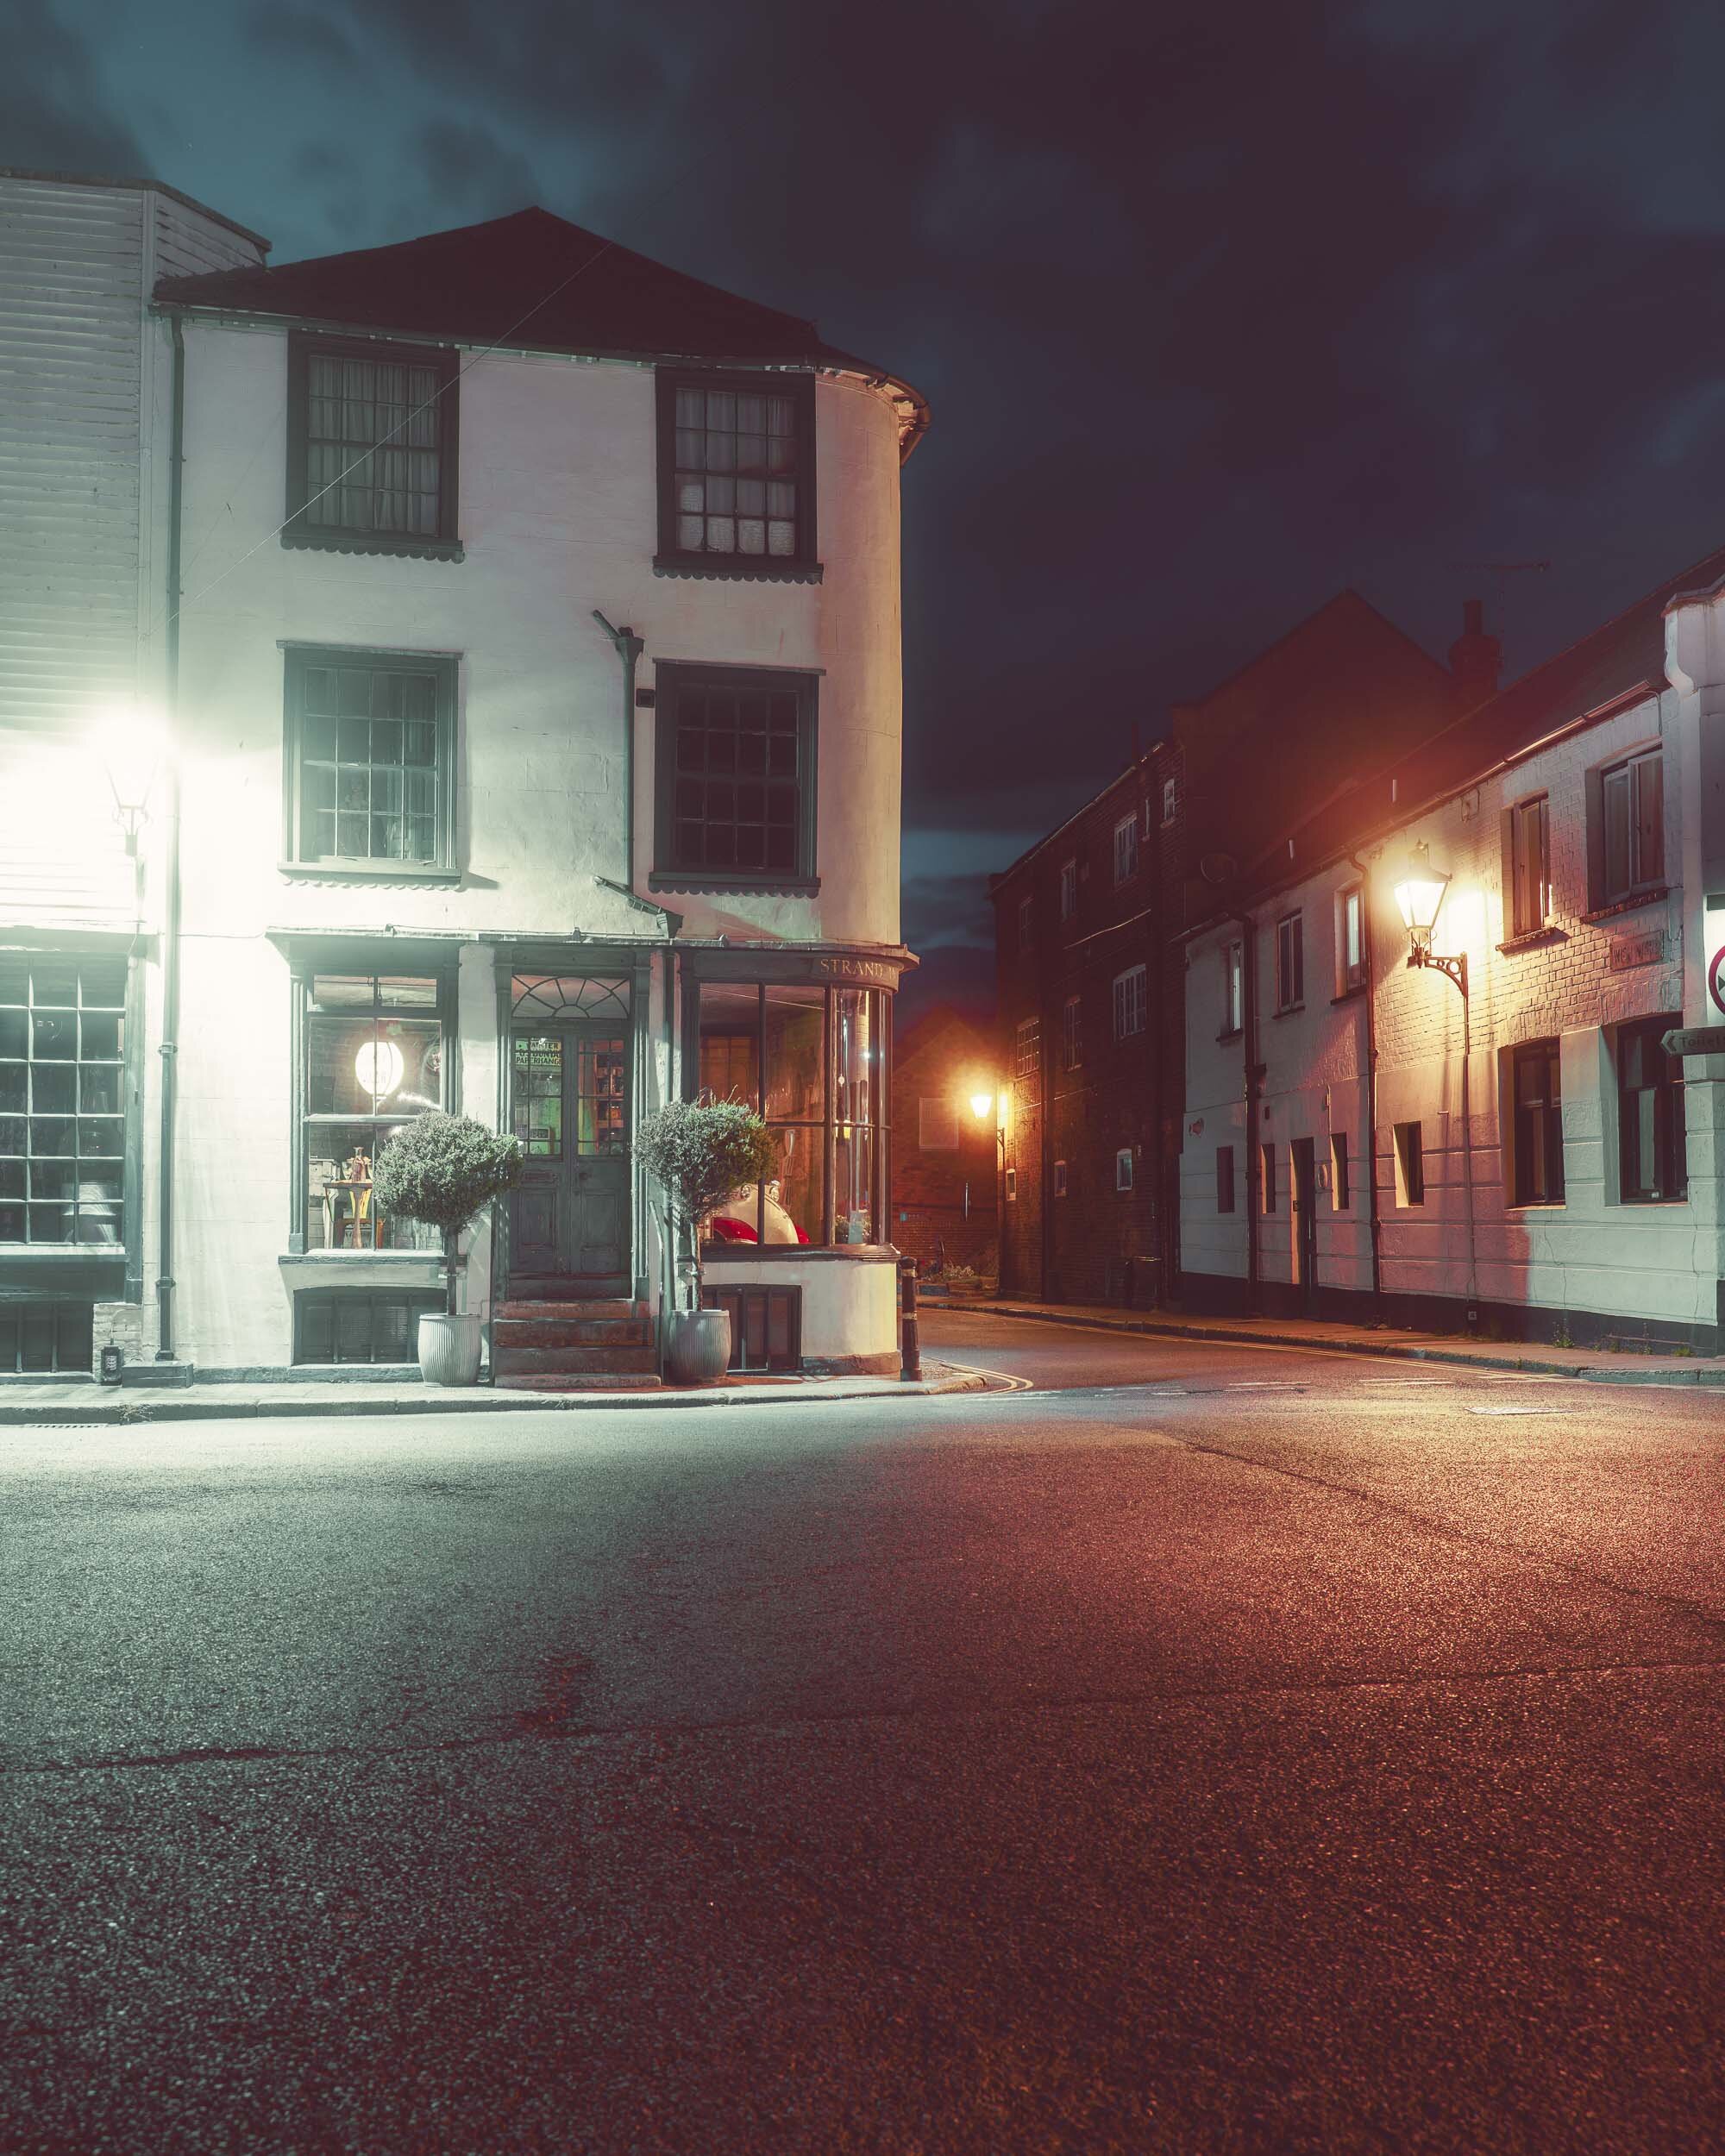
Wish Ward Dreams
I have spent endless nights experimenting with camera settings so that I can take decent night Urban Photography images without having to worry about changing them too often.
Here are some of my tried and tested settings for you to try out.
CAMERA MODE
Manual Mode is great for night urban photography as it gives you full control of your settings especially when you use a tripod. Aperture Priority is also great, especially if you are just starting out, as you can pick the desired f-number and let the camera change the ISO and Shutter Speed.
Personally, I use Manual Mode. Here are the reasons why.
When I am shooting urban night photography, and I want to shoot a beautiful house lit by window light and street lamps. I like to have full control, as I know I am using a tripod so I know that I can keep my Shutter Speed as slow as possible as there won't be any camera shake. But I also want to keep my ISO as low as possible, for the cleanest possible image, maybe ISO 100 or 200. I may choose Aperture f/4-f/8. I don't need to compromise by having to increase the ISO even in really dark conditions. I check the Histogram to see if my Exposure is on point and I might adjust it marginally to make sure it is correct. Plus, I will Bracket my shots so that I have an underexposed image and an overexposed image, in case I need to blend out any overexposed or underexposed areas in post-processing.
When I am shooting people at night, I want to capture them in sharp focus, so I will keep my Shutter Speed within the range of 1/60 - 1/250 sec, depending on the brightness conditions. I will select an Aperture of f/8 - f / 1.8, depending on the scene I am shooting, and I will make sure my ISO maxes out at 6400 to minimize noise.
It takes time and practice to make Manual Mode settings feel like second nature, but I have found that it comes with its own creative rewards once they are part of your shooting process.
From experience, when you are starting out, and you want to retain some technical know-how it is a lot simpler to use Aperture Priority Mode. Pick a Wide Aperture of say f/2, and then put the ISO on Auto, and select an ISO range of 1600- 6400, and select a minimum Shutter Speed of 1/60 sec.
ISO
When the streets are empty and you want to photograph a beautiful or eerie-looking building with a couple of streetlamps outside, then there is no issue with having your ISO as low as 100 or 200, when the camera is on a tripod. That way you can get the cleanest image possible. However, if you know that in a moment you might get some drunkards storming out of a pub, headed in your direction, you will need to increase the ISO up to 400 - 800, (and speed up the Shutter Speed accordingly) as the impetus will be to quickly shoot that empty street.
If you are shooting night street photography you will probably want those lovely night revelers in the shot. The Shutter Speed will need to be in the range of 1/60 - 1/250 sec, and because of this, you will have to crank up that ISO to anything from 3200 - 6400 to get a sharp image.
If you want to be a street photographer, particularly at night, then you can't be afraid of noise.
APERTURE
You need as much light as possible. Ideally, for urban & street photography you need a fast lens.
Stationary window lit buildings, street lamps, moving people... if you are using a tripod or handheld, you can shoot at anything from f/11 - f/5.6 to get most of the building in sharp focus.
Recently, in my work, I have been trying to get street lamps and windows to glow so I have been shooting at f/5 - to f/2.8. Obviously, the darker the conditions, the more light you will need, so you will find f/5 and wider better, especially if you are shooting handheld.
When photographing people at night I shoot at f/5.6 - f/2.
Camera settings are only the starting point.
My Night Street Photography Guide goes deeper into focusing, exposure, light and practical ways to find stronger photos after dark.
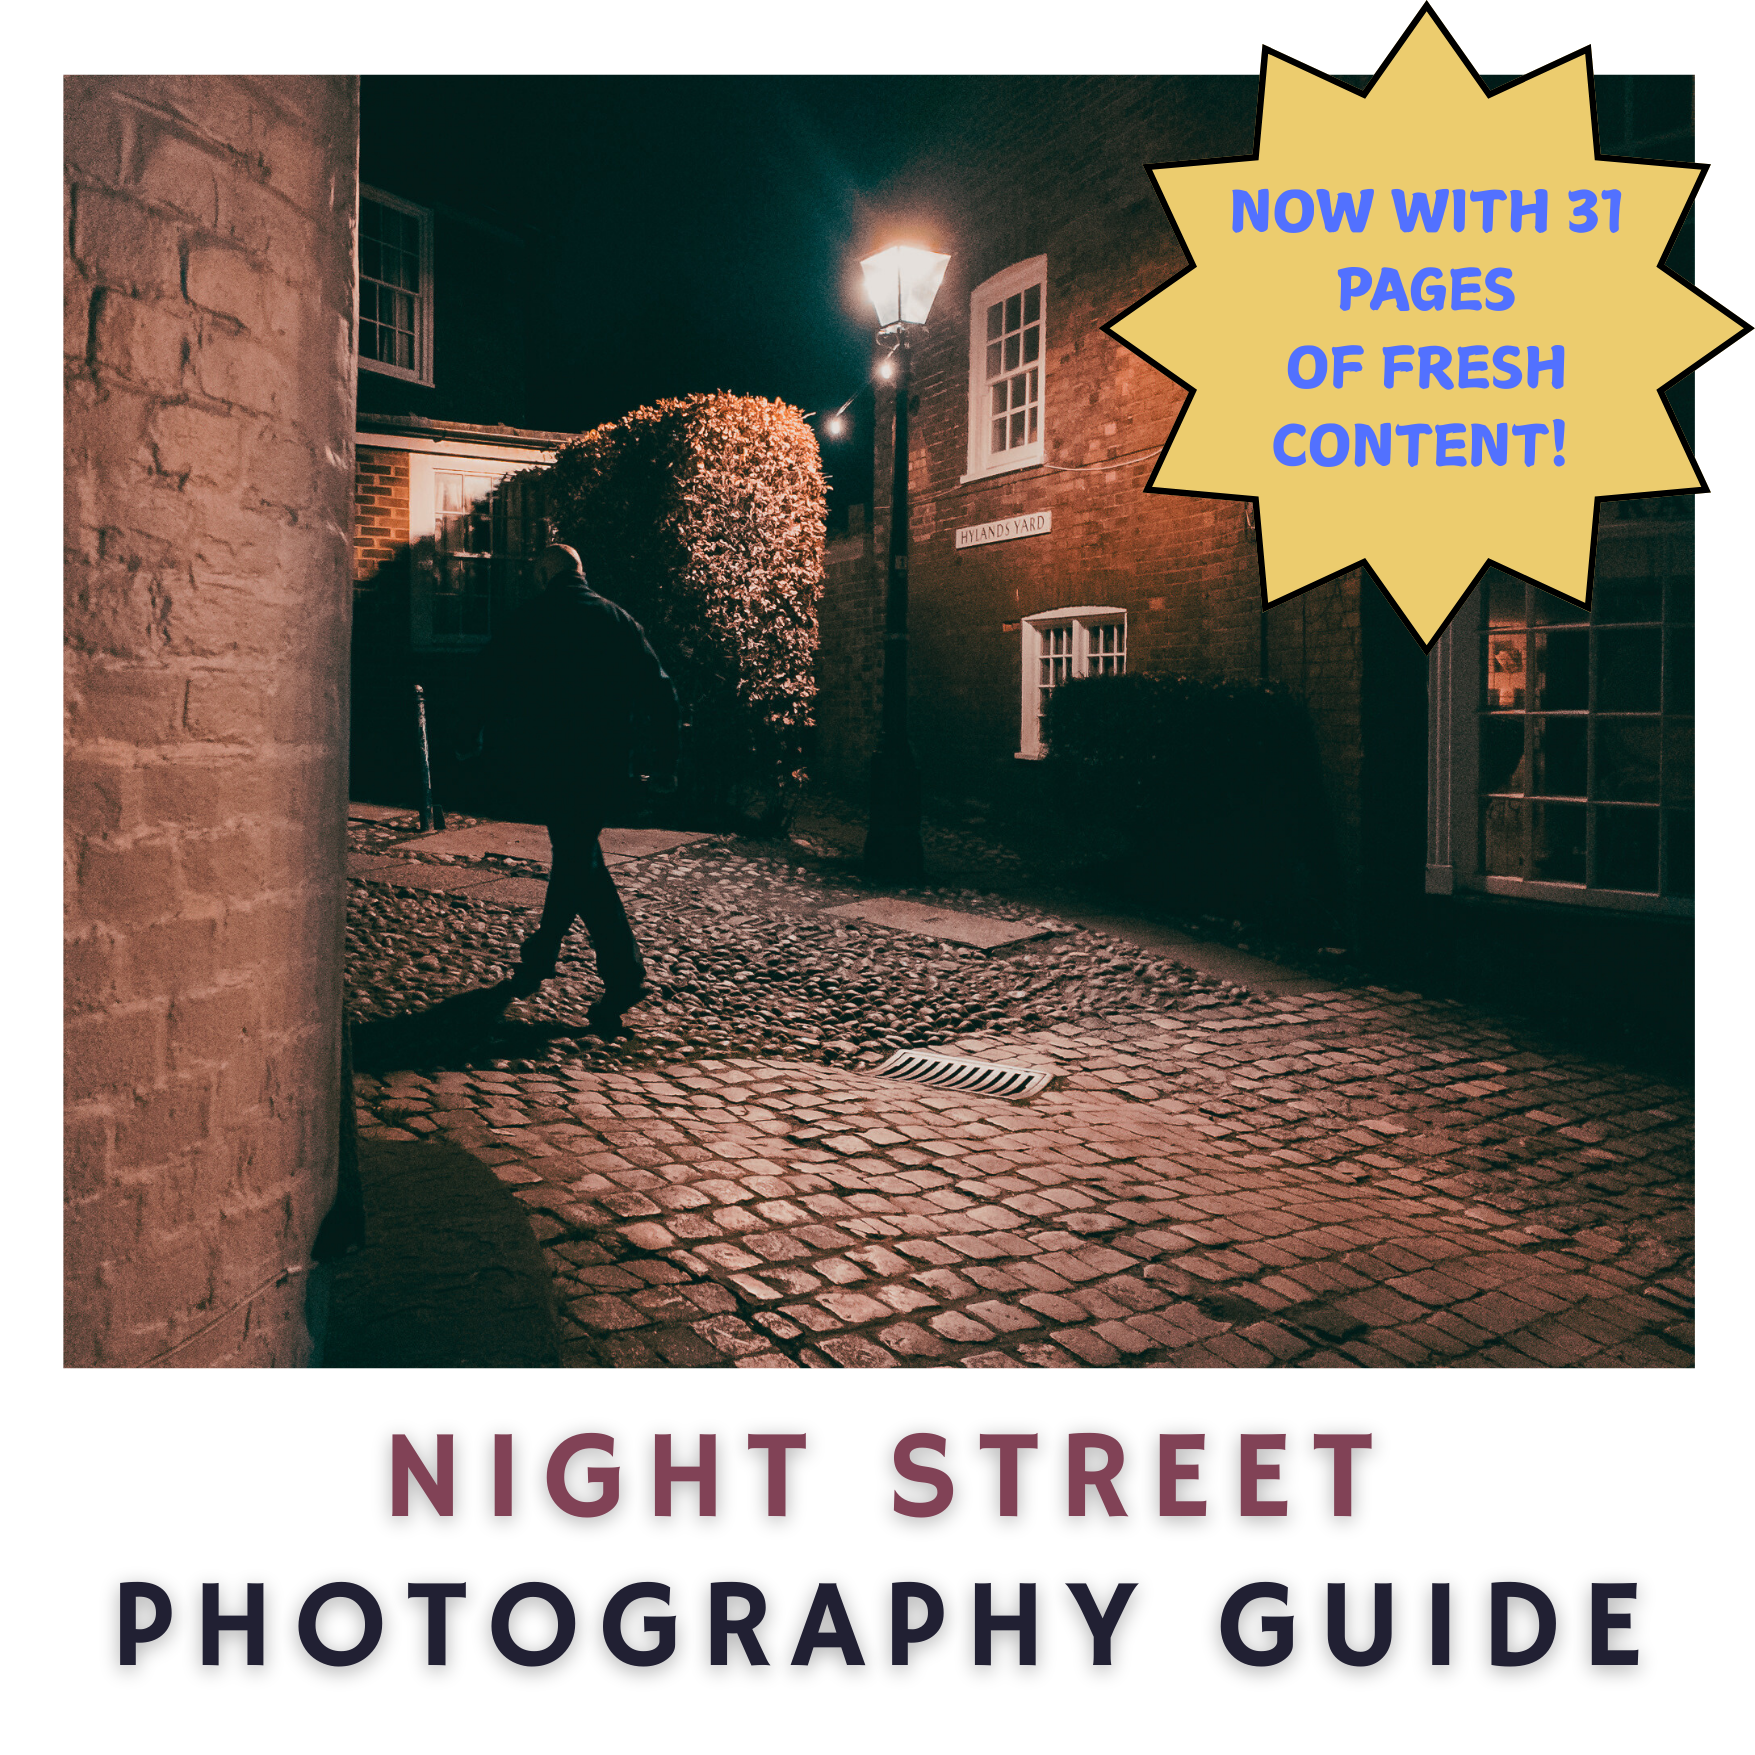
31 pages of practical night street photography guidance.
This updated guide gives you a clear, simple starting point for making stronger street photos after dark. Inside, you’ll find advice on camera settings, focusing, available light, silhouettes, shop windows, reflections, textures and creating more atmosphere in your night photography.
It has been refreshed with clearer explanations, practical examples and simple techniques to help you feel more confident shooting in low light without overcomplicating things.
If you want a focused guide for night street photography, this is the place to start.
Downloadable PDF
SHUTTER SPEED
On a tripod, if everything is quiet, you can quite easily use a slow Shutter Speed, up to 30 sec if need be, when shooting buildings. It just depends on how long you fancy waiting. As I said earlier, if there are people in your location and you don't want them in the shot, or you are shooting handheld, then you'll need to increase the Shutter Speed and ISO in order to get a decent exposure.
I've tried shooting stationary people at slower Shutter Speeds than 1/60 sec, and let me tell you, for me, it doesn't work so well. Many a tear I have shed whilst staring at blurry faces, in Lightroom.
At night if you are capturing people then you'll want to shoot at least 1/60 sec, depending on the person and the ambient light conditions. Make sure the value of your ISO is high enough and your aperture is wide enough to get a good exposure.
To sum up, for buildings, if you are on a tripod and you want to keep the aperture at f/8 - f/5 (to get the building in decent sharpness) you can keep the ISO at 100 and have a slow Shutter Speed up to 30 sec
If you want to get capture the building before people enter the shot then you will need to increase your ISO and speed up the Shutter Speed to match the exposure.
If you are shooting buildings handheld then you will need a higher ISO 800- 3200, and a Shutter Speed that you can keep your hands steady with - for me it would be about 1/60th sec - 1/200 sec depending on the light conditions.
Photographing moving people at night you will need to keep your Aperture wide f/5 - f/1.8. In bright areas, you can shoot at 1/250 sec. In darker areas 1/60 sec - 1/160 sec, but you will need a high ISO 1600 - 6400.
I personally always use a tripod or a monopod, even when I'm shooting people. You might think that would slow me down, but I've practiced and practiced to get my speed to a level that works for me out in the streets.
FOCUS SETTINGS
With stationary buildings, I simply use Single-shot autofocus.
However, if you are shooting night street photography then you will want to use continuous Auto Focus in Burst Mode. That way you can choose the best composed/posed shot and/or not have to worry too much about any missed shots.
A couple of things that have really helped me get a high proportion of keepers
I always use a wireless Shutter for all of my work
I use Back Button Focus and assign the focus button to a customizable separate button on the camera (and on my wireless remote). With back button focus, as soon as I press the button my focus is locked in before I fire the shutter. I do not have to worry that I will lose focus when I press the shutter button halfway and if I recompose. This works especially well for me in low light conditions as I was finding that when I focused with the shutter button the Autofocus would focus hunt. Now the majority of my shots are in focus. Only when I make a physical error do I lose focus.
My current camera is the Sony A7RIII and the focus area I am currently using for my night urban and street photography is the Wide area which selects focus points from the whole scene. This has actually worked for me as my street photography generally shows people from afar. If I were to shoot closer shots of people then I would be using a focus area such as expand flexible spot, which is much more successful at focusing on moving subjects. Perhaps in time, my Street photography will change and I will use a more complex focusing area system but Wide is fine for my purposes.
If you are shooting Nikon, then try: AF-C + 3D Tracking
If you have a Fuji, give AF-C + Wide/Tracking a go
Canon Cameras: AI Servo and Automatic Auto Focus Point Selection
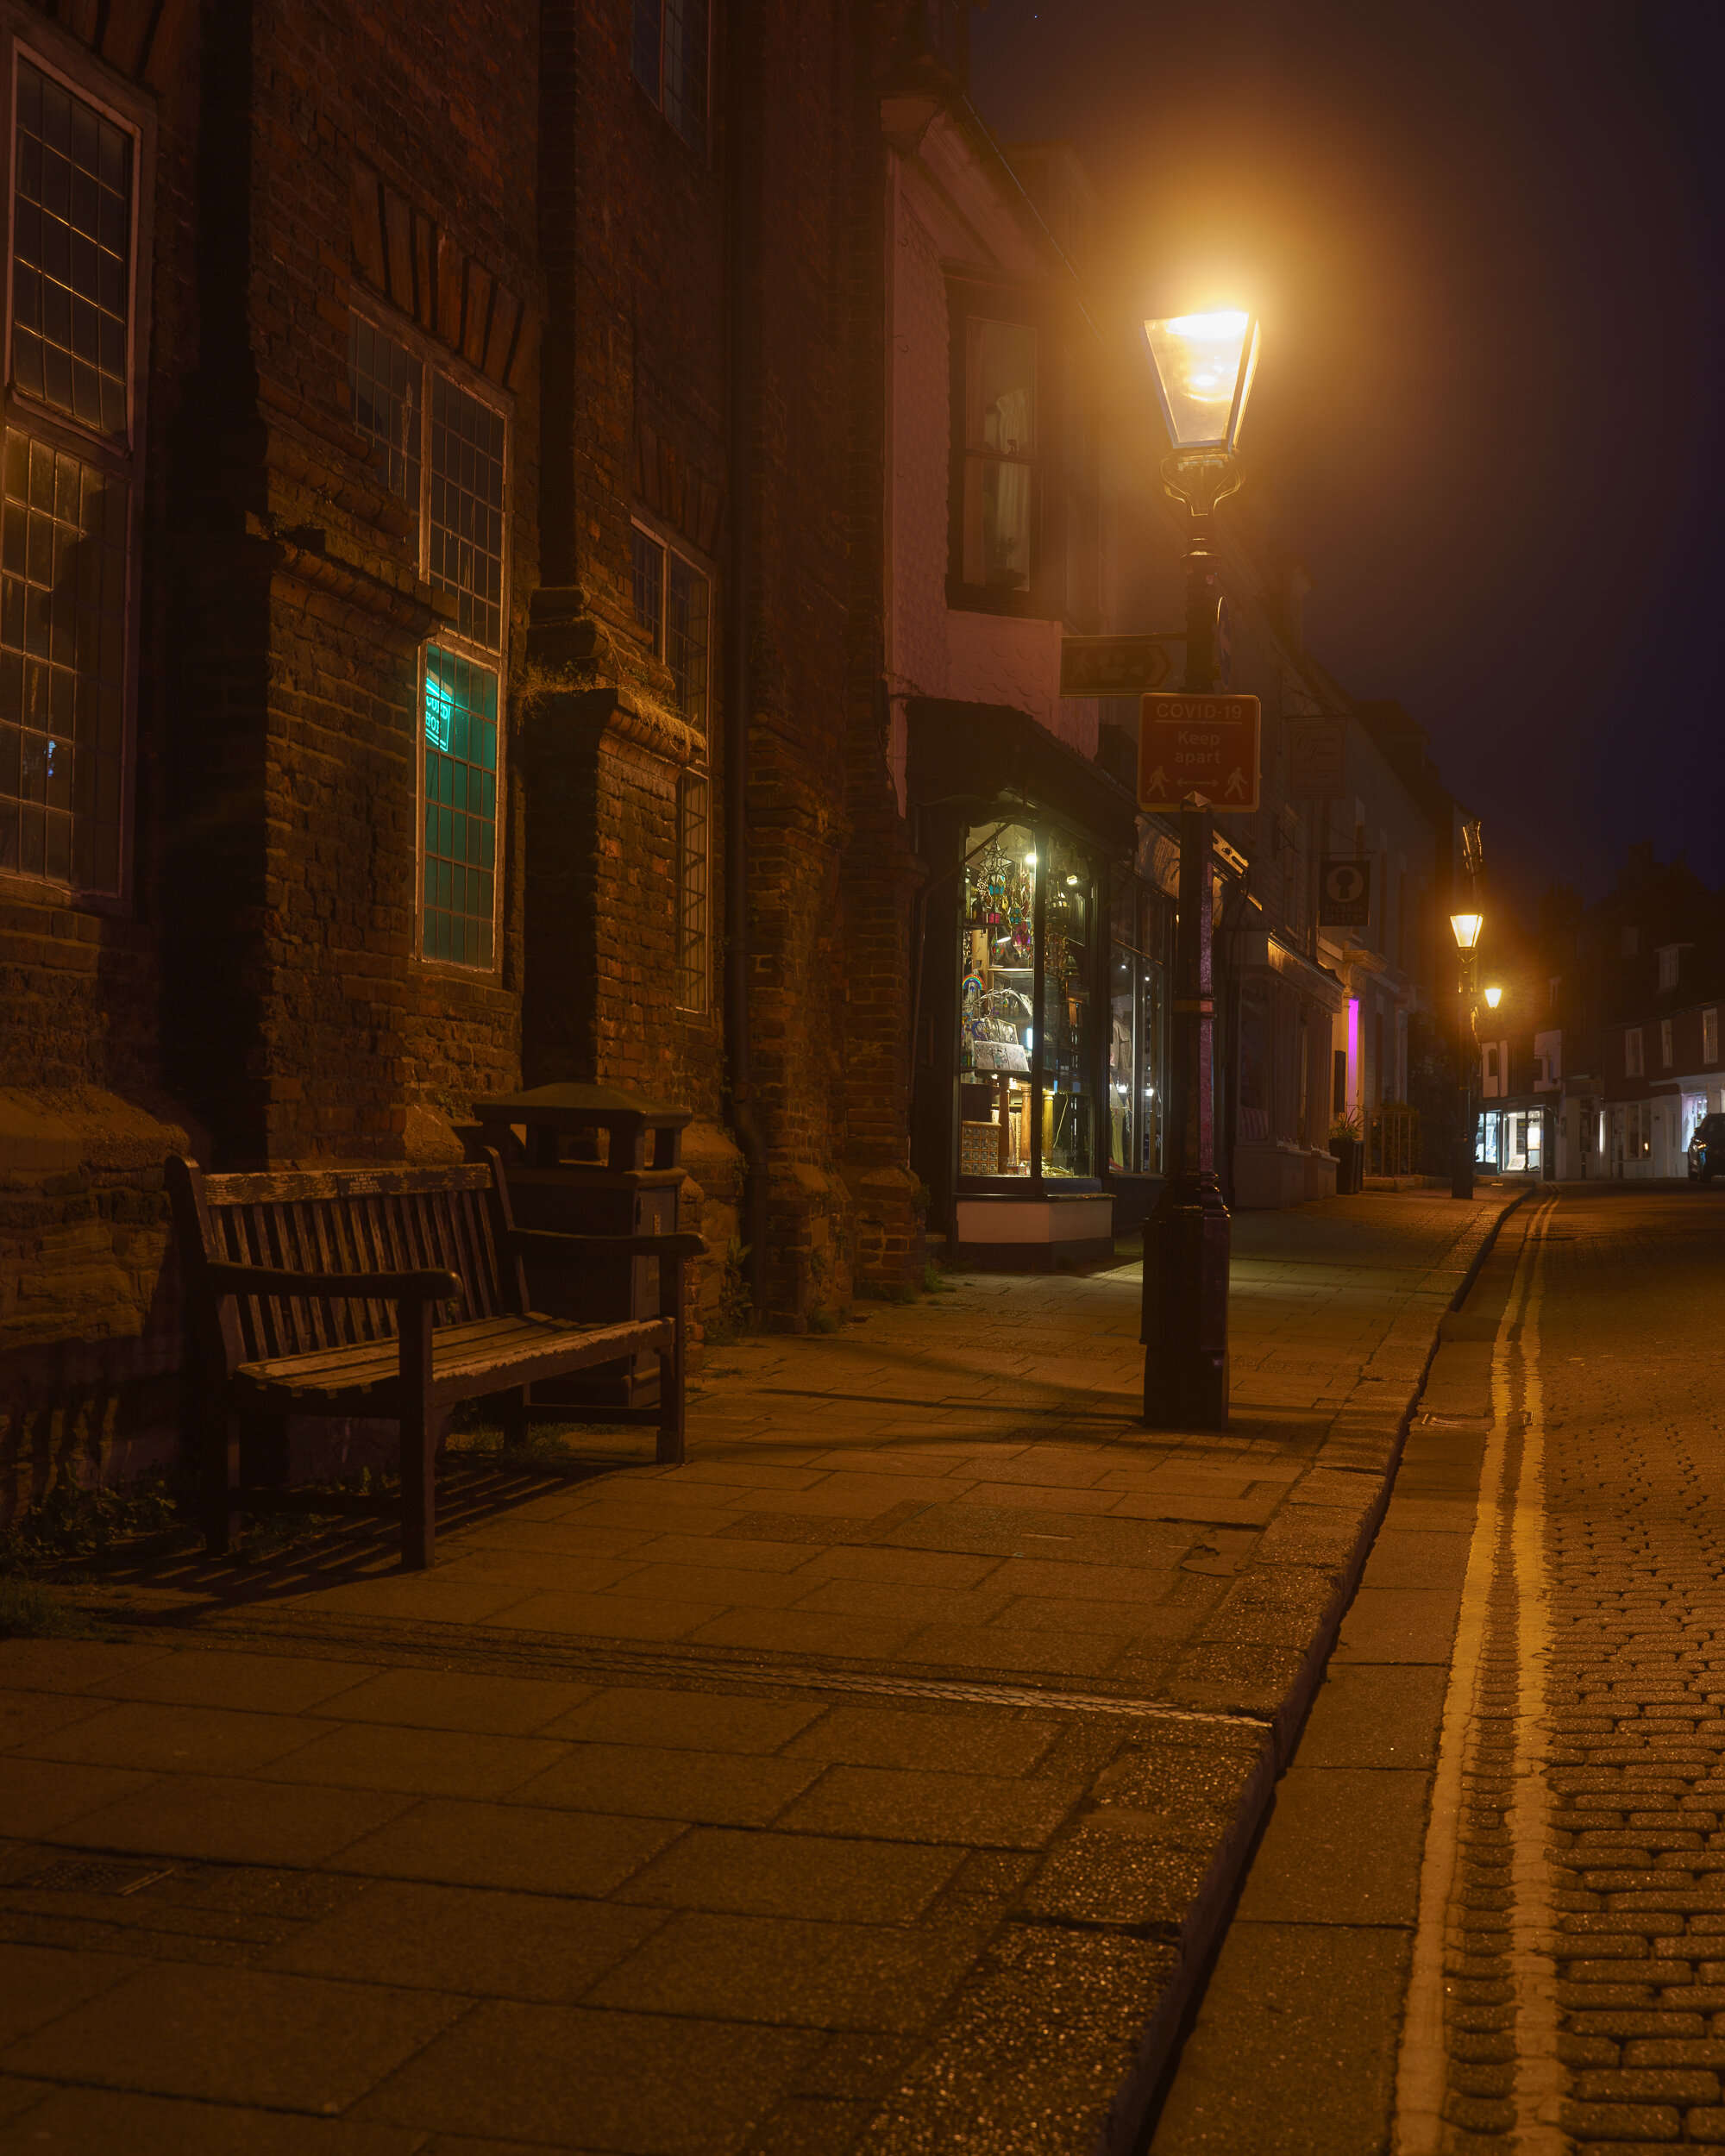
High Street Dreams
BRACKETING
Night street photography has a lot of contrast as the camera has to deal with street and window lights and also dark, unlit areas. Whatever works for you is fine, but when I am shooting stationary subjects I bracket my shots regularly so that, in Photoshop, I can blend in a street lamp from an underexposed shot with a correctly exposed shot that unfortunately has an over-exposed street lamp. Even with correctly exposed shots, you can get overexposed highlights. Bracketing just gives you the insurance in case there are underexposed and over-exposed areas. I generally shoot a triple shot. 2 stops underexposed / A correctly exposed shot / 2 stops overexposed.
With night street photography, shoot in Burst Mode so that you capture as many shots of your subject as possible. Once you have captured the subject, (person) if there are street lamps in the scene, you can always choose to shoot an extra underexposed image.
WHITE BALANCE
If you are shooting in Raw, then you can leave White Balance on Auto, and after shooting you can choose the White Balance and tones in Lightroom. If you are shooting JPEG, then Fluorescent White Balance might be applicable for night street shots.

Night Waiting
LENS
A wide-angle lens 35mm - 50mm is much better for handheld night street photography as you might struggle to keep the shots sharp with a longer focal length.
CONCLUSION
These settings have served me well on my night photography trips. You may find that you can work quite comfortably in Aperture Priority Mode. You may also find that Bracketing is not for you. Whatever the case these camera settings work as solid base for night street photography and I highly recommend them. Go forth and create.