The Street Photography Settings I'd Use If I Was Starting Again
The Short Version
Short on time? Here's the whole thing in one breath. Shoot in Aperture Priority with Auto ISO 100 - 3200. In daylight, set around f/5.6 to f/8 with a minimum Shutter Speed of about 1/250th. At night, open up to f/2.8, let Auto ISO run between roughly 800 and 6400, and drop your minimum Shutter Speed to around 1/100th. For focus, use autofocus locked to the centre — it's faster and far less fuss than people make out. That's it. The rest is light, timing and seeing.
Introduction
If I could go back to my first year of shooting on the street and hand myself one piece of advice, it wouldn't be about cameras or lenses. It would be this: stop treating your street photography settings like a puzzle you have to solve before you're allowed to take a good photo.
I spent far too long fiddling with dials, second-guessing numbers, and missing moments while I did it — all because I believed the magic lived somewhere deep in the menu. It doesn't. The settings I use today are actually simpler than the ones I agonised over back then, and that's the point. They get out of my way so I can pay attention to the thing that matters, which is the street in front of me.
So if you're starting out, or coming back to it after a break, here's exactly what I'd set up and why. No theory for the sake of theory — just the setup I'd want someone to have handed me on day one.
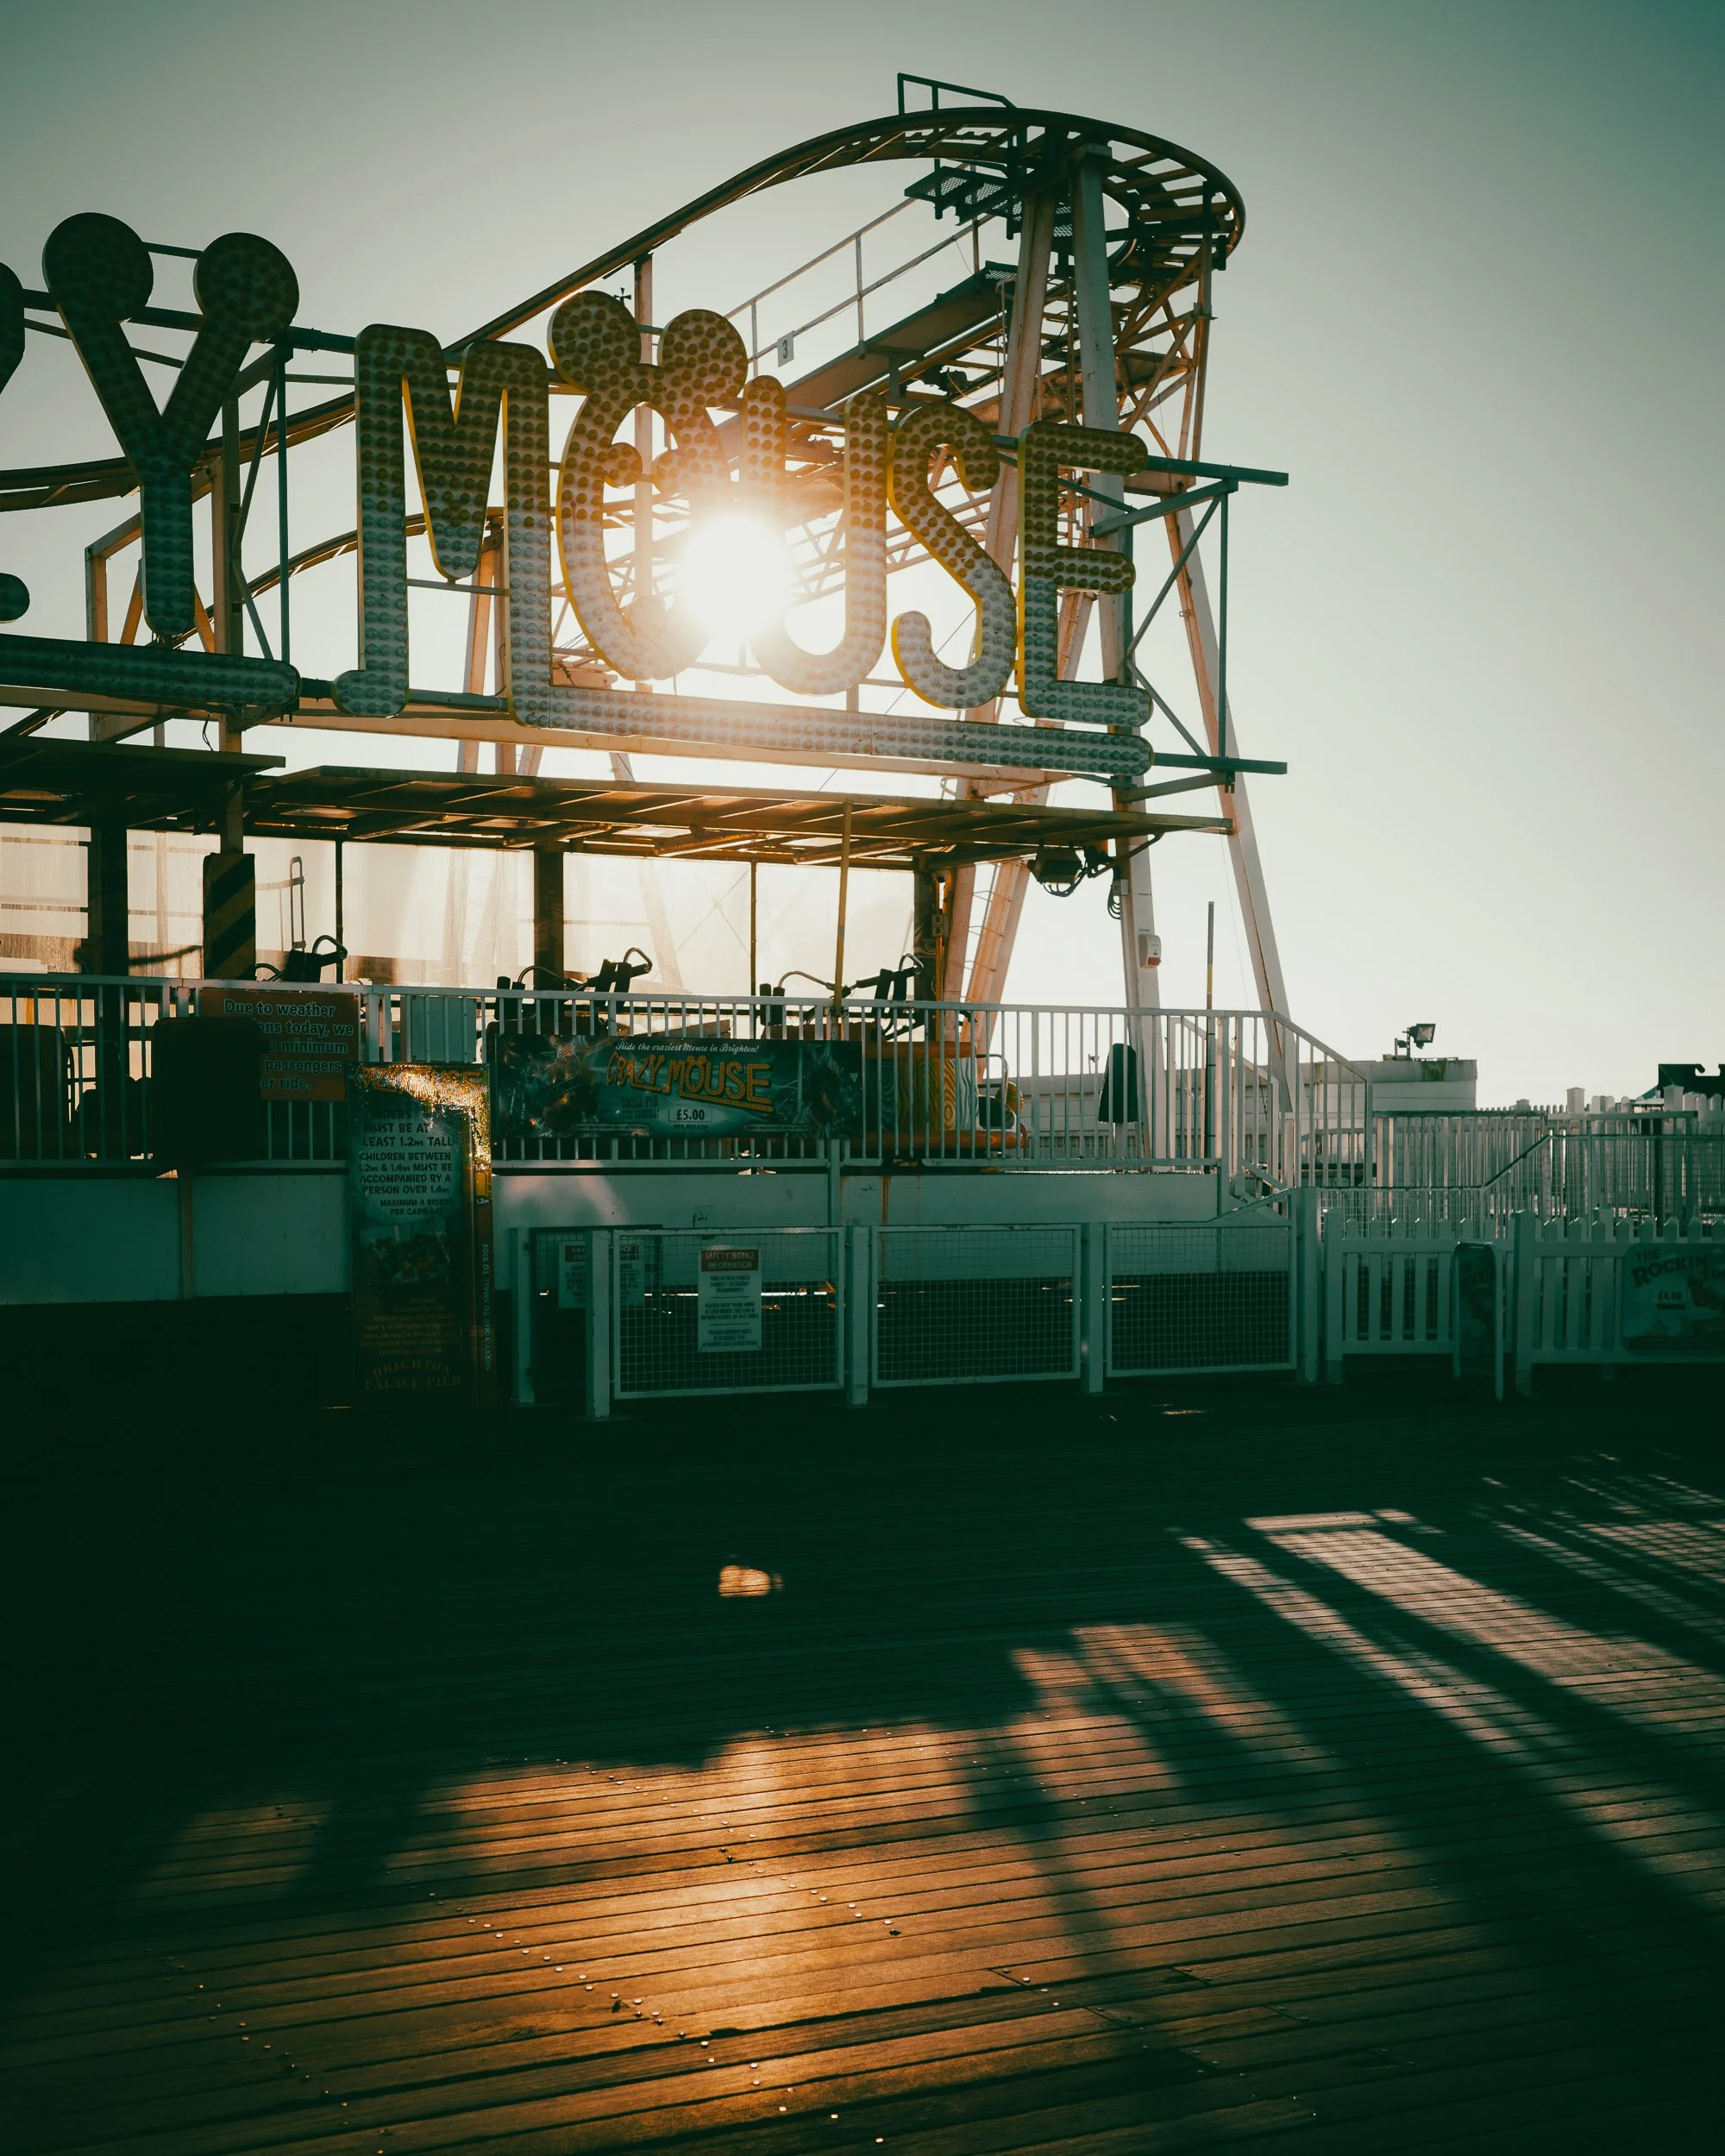
Why I'd stop hunting for the "perfect" settings
Here's the first thing I'd tell my younger self. There is no single perfect setting, and chasing one will quietly cost you photographs.
When I started, I treated camera settings like the answer. Get the numbers right and good photos would follow. But that's backwards. Settings don't make a photo good — they just remove the friction between you and the moment. Think of it like a director on a film set. Once the camera's been set up, they don't stand there thinking about ISO. They think about the actor, the light, the timing of a look. The technical stuff has done its job by becoming invisible. That's what you want your settings to do: disappear, so your head is free for light, composition, gesture and story.
So when I give you numbers below, don't take them as commandments. Take them as a sensible starting point — somewhere to stand while you learn to see. The more you shoot, the more you'll bend them to suit how you work, and that's exactly as it should be.
If you’re starting again, settings are only part of the picture. My Comprehensive Street Photography Guide covers daytime and night setup, focusing, exposure, light, composition and practical shooting ideas to help you build a stronger foundation.
Over 70 pages. Two guides in one. A complete street photography toolkit.
This fully updated edition combines my Daytime and Night Street Photography guides into one downloadable PDF, giving you a practical, complete resource for shooting stronger street photos in different light and conditions.
Inside, you’ll find clear advice on camera settings, subject selection, composition, light, mood, movement and shooting with more confidence, whether you’re working in broad daylight, low light, or after dark.
If you want one guide that brings the core street photography lessons together in a single place, this is the complete version to start with.
Downloadable PDF
The one mode I'd commit to from day one
If you take one thing from this post, take this: shoot in Aperture Priority with Auto ISO, and stop agonising about Manual mode.
Aperture Priority means you choose the Aperture, and the camera works out the Shutter Speed for you. Pair it with Auto ISO and the camera handles the brightness too, within limits you set. What you're left controlling is the one creative decision that actually changes the look of your photo on the street — how much of the scene is in focus. Everything else gets handled while you concentrate on the moment.
People love to tell beginners that "real" photographers shoot Manual. I don't buy it. On the street, things happen fast, the light shifts as you move between sun and shadow, and you simply don't have time to ride three dials at once. Aperture Priority gives you creative control where it counts and takes the busywork off your hands. If you want the full reasoning, I've written about exactly why it's my default in The Street Photographer's Guide to Aperture Priority — but the short version is that it lets you keep your eyes up and your camera ready.
My daytime street photography settings
So, what does a good daytime setup actually look like? Here's mine.
Aperture Priority. Auto ISO set to 100–3200. Minimum Shutter Speed around 1/250th. Aperture between f/5.6 and f/8.
That's the whole thing, and it covers the vast majority of daylight situations I find myself in. Let me explain the why behind each one.
The Aperture range of f/5.6 to f/8 gives you a generous depth of field, which on the street is a gift. It means that if your subject moves a little, or you misjudge the distance slightly, they're still sharp. On a bright day I'll often sit closer to f/8, which keeps most of the scene crisp from front to back — ideal for the kind of layered, busy frames street photography thrives on. If the light drops or I want a softer, shallower vibe, I'll open up towards f/5.6.
The minimum Shutter Speed of 1/250th is your safety net. Because you're in Auto ISO, the camera will raise the ISO before it lets the Shutter Speed fall below that floor — and 1/250th is fast enough to freeze a walking person without thinking about it. I've gone into this in more depth in The Best Minimum Shutter Speed to Use for Street Photography, but 1/250th is the number I keep coming back to. It's quick enough for movement and slow enough that you're not forcing the ISO sky-high in good light.
And the Auto ISO range itself? I set mine from 100 to 3200, and there's a reason for both ends of it. The 100 floor keeps your images clean and noise-free in bright daylight, where you've got light to spare. The 3200 ceiling lets the camera lift the brightness when the light drops — say you step into a shaded alley, an underpass, or a covered market — without ever pushing the ISO so high that grain starts taking over the photo. Here's how the whole thing works together: when the light fades, the camera raises the ISO first, up to that 3200 limit, to protect your 1/250th minimum Shutter Speed. Only if it runs out of ISO headroom will it let the Shutter Speed drop below the floor. In daylight that almost never happens — so once you've dialled this in, you genuinely don't need to touch it again all day.
If you want this broken down even further with examples, my full daytime street photography settings guide walks through the lot. But honestly? Set those few numbers above and go shoot. You'll spend the day thinking about people and light instead of menus.
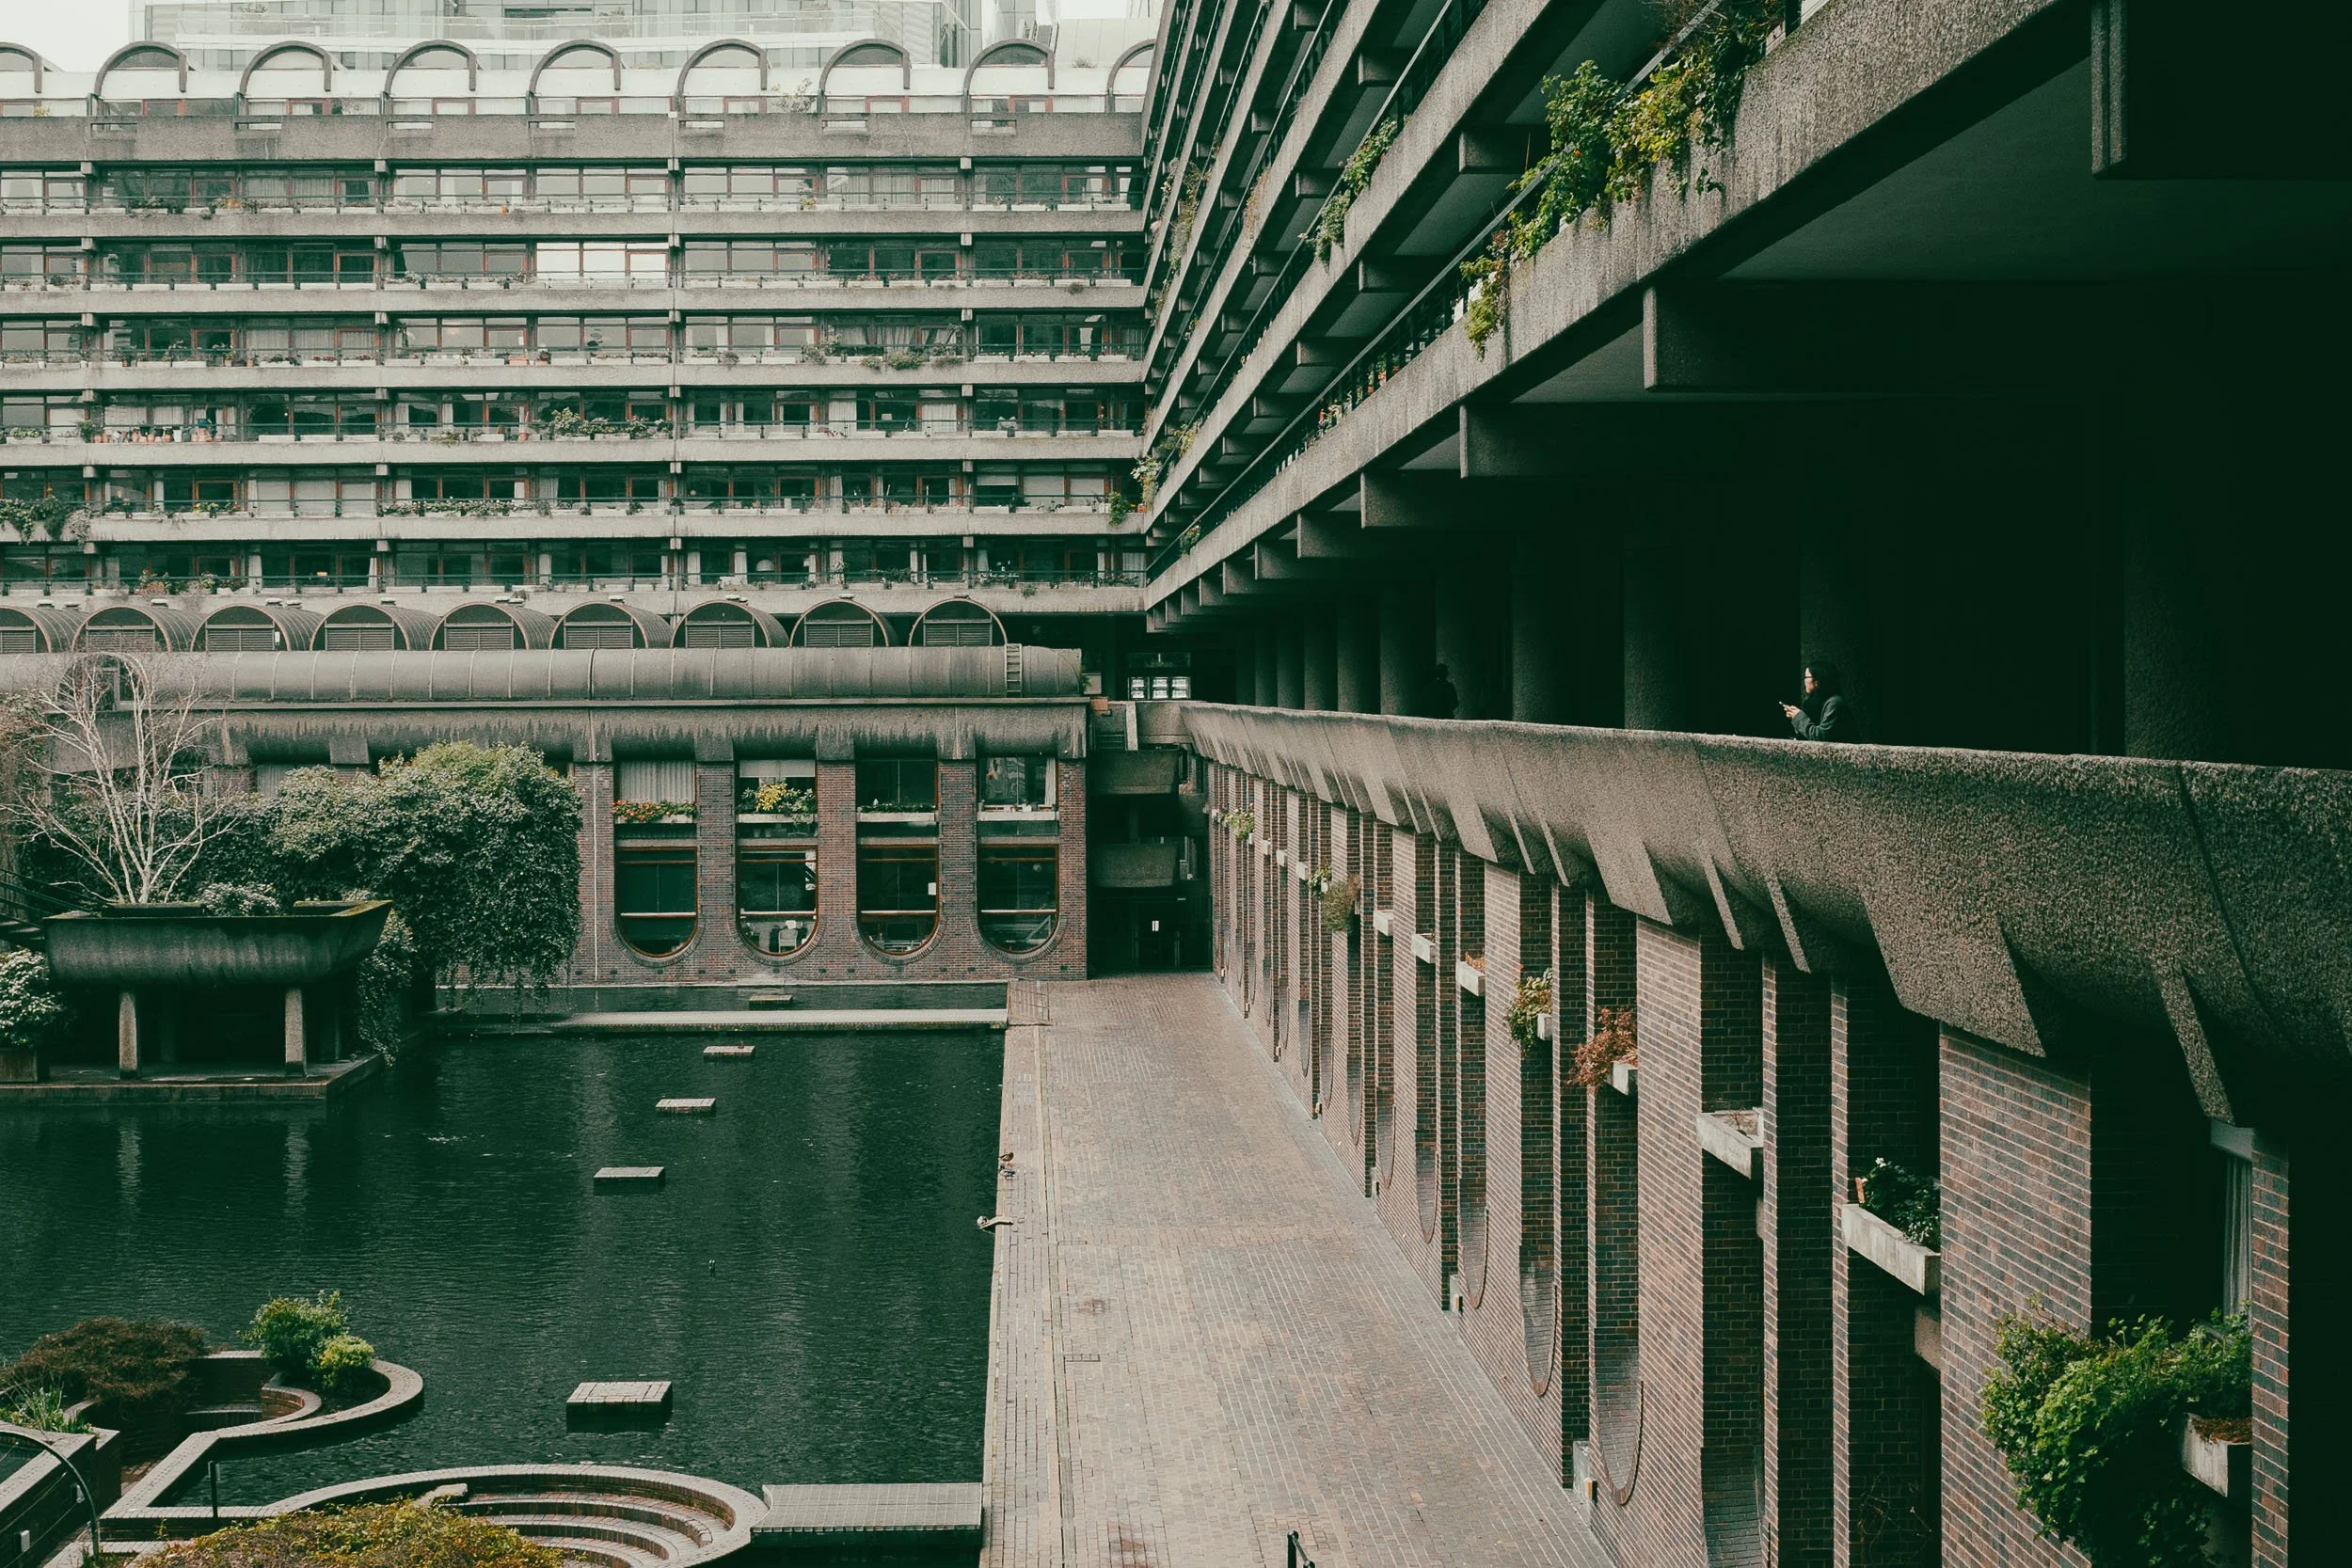
My night street photography settings
Night is where most people panic and start dragging the camera into Manual. You don't need to. You just need to shift the same simple setup to suit the darkness.
Aperture Priority. f/2.8. Auto ISO running between roughly 800 and 6400. Minimum Shutter Speed around 1/100th.
The big change is the Aperture. At night I open right up to f/2.8 to let in as much light as possible. Yes, you lose some of that deep depth of field — but at night you're usually working with a single subject under a pool of light rather than a busy, layered daytime scene, so you don't need everything sharp. You need the photo to exist at all.
I let Auto ISO run high, 800 - 6400, because a bit of grain at night is honestly part of the atmosphere. Clean isn't the goal — mood is. And I drop the minimum Shutter Speed to about 1/100th, which is still fast enough for someone strolling past a shopfront, while giving the camera room to keep the ISO from climbing higher than it needs to. If there's faster movement in the frame, I'll nudge it back up.
This is close to how I set up my own compact for after-dark work, which I've detailed in My Ricoh GRIIIx: Optimized Settings for Night Street Photography. Night shooting is my personal favourite — there's instant atmosphere baked into a dark street and a streetlamp — and the settings above are all you need to start chasing it.
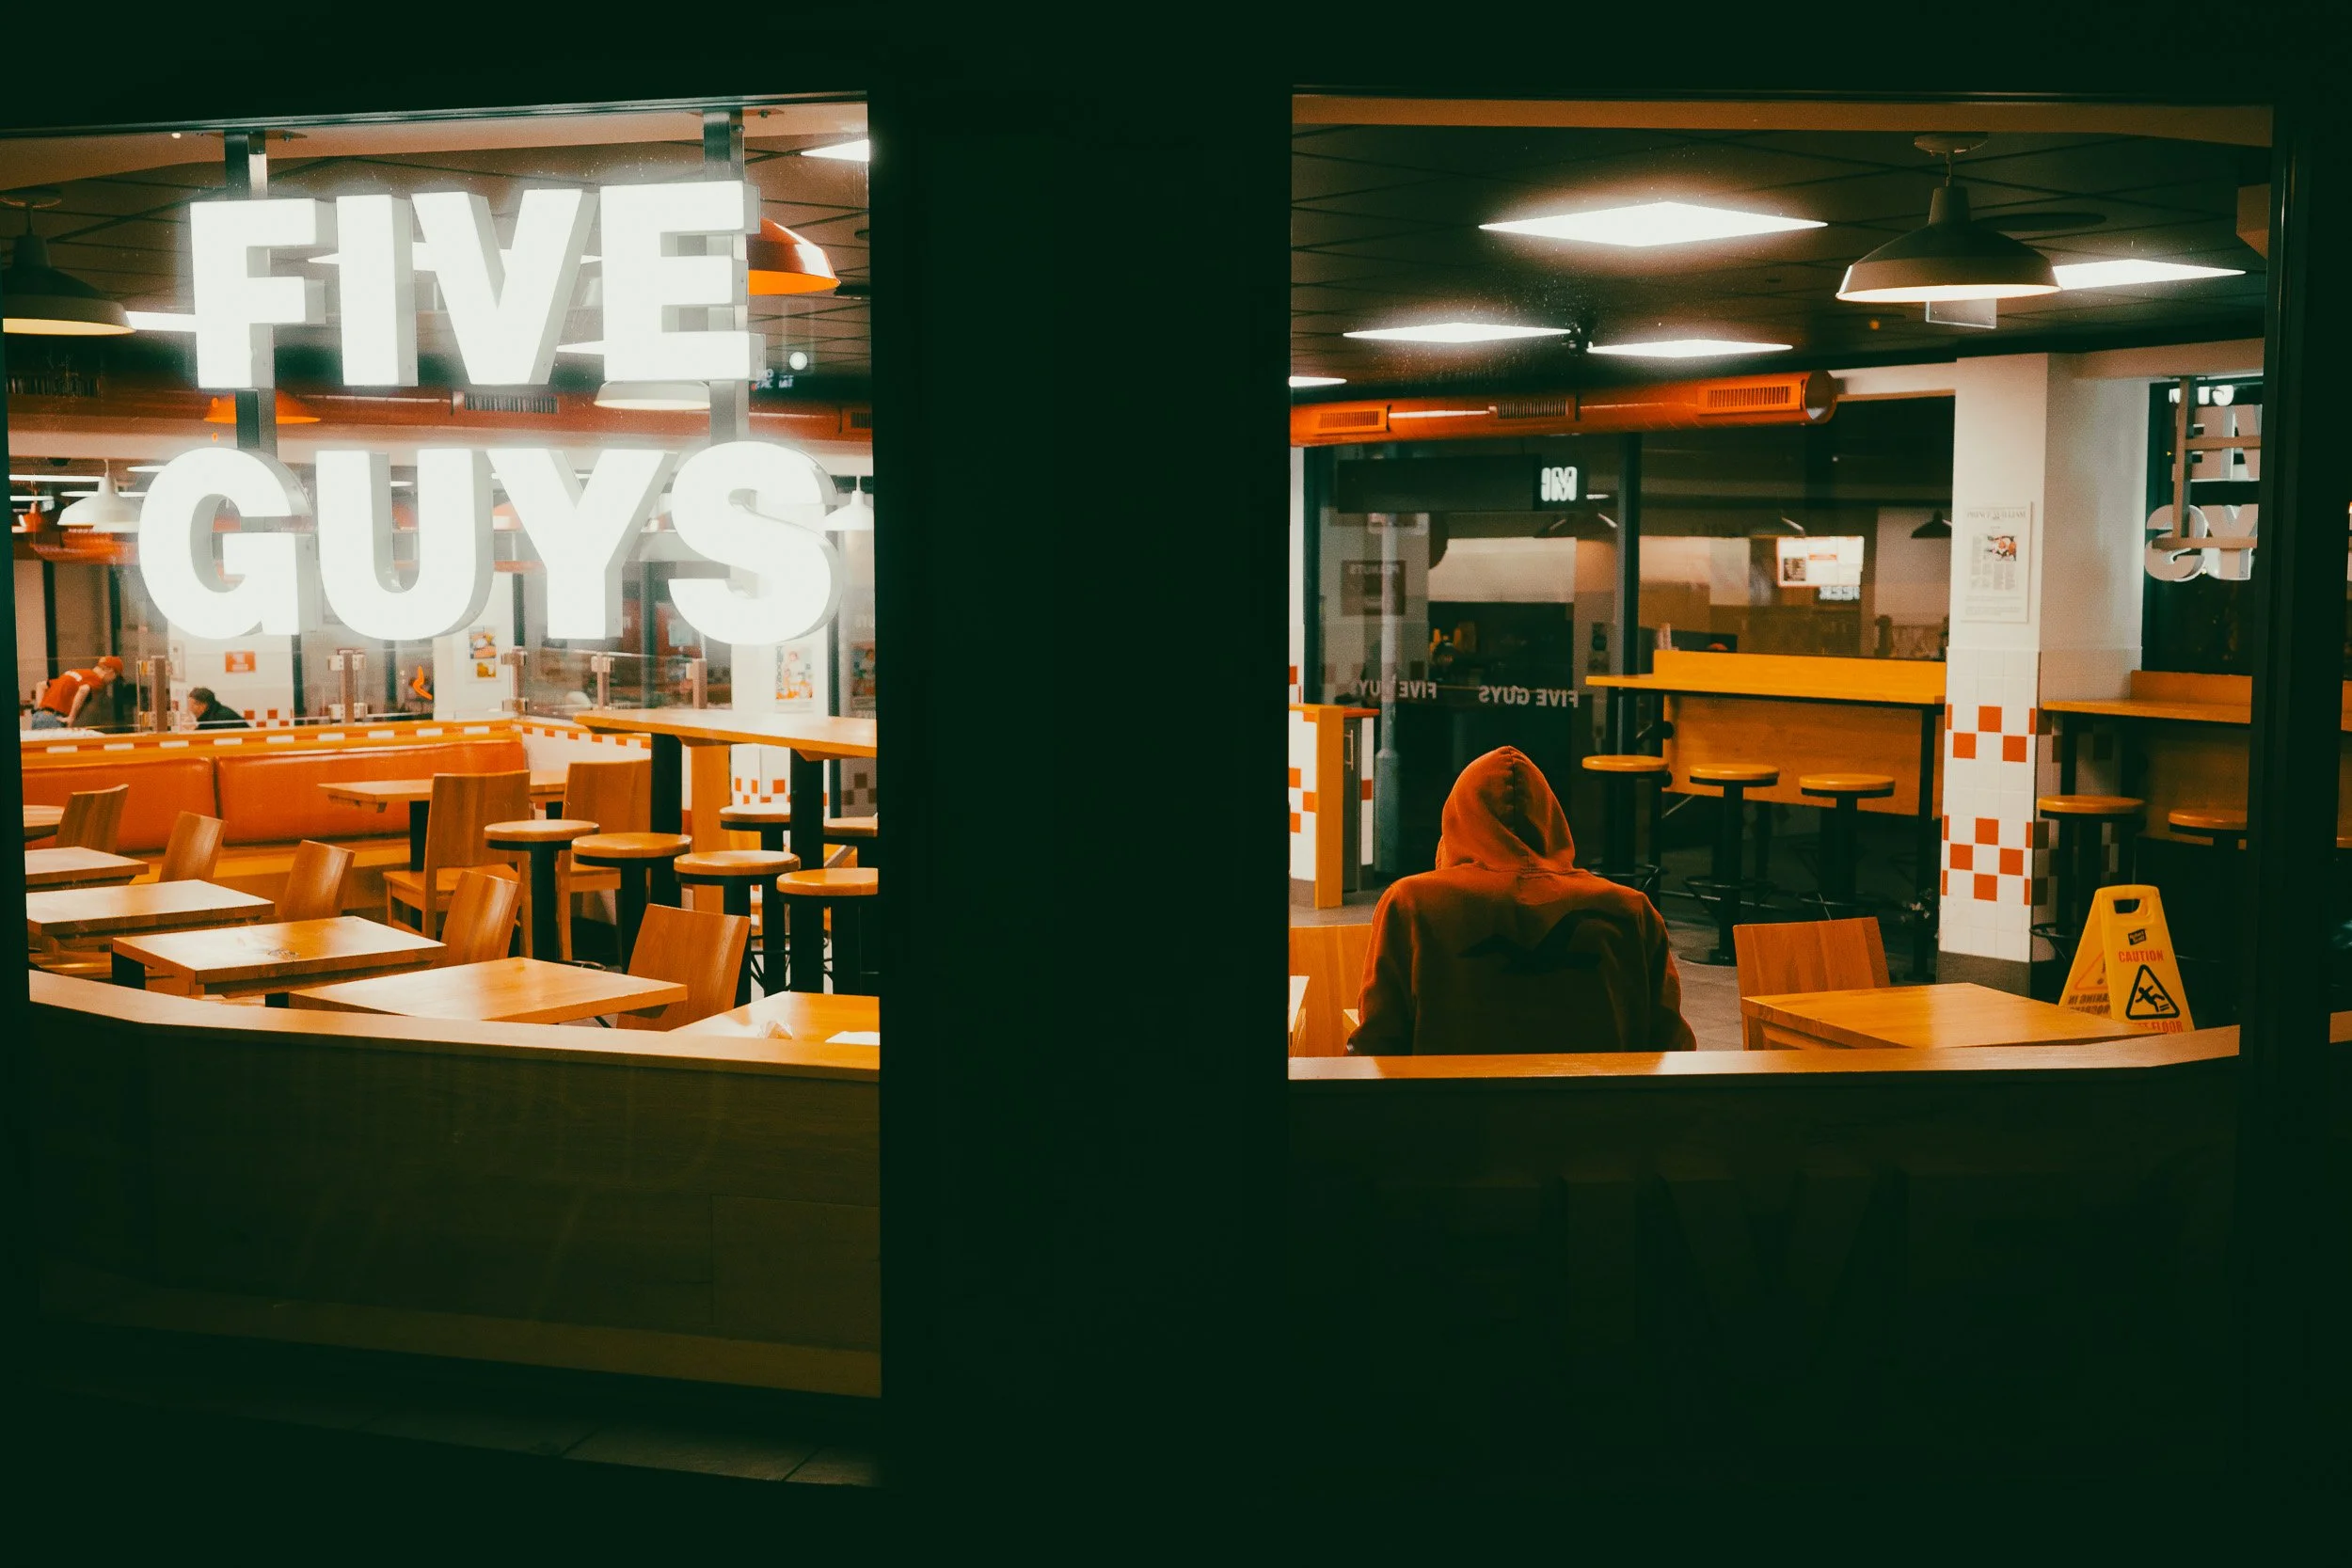
The focusing setting I'd stop overthinking
Now here's where I go against a lot of what you'll read online.
If you spend any time around street photography forums, you'll be told that the "proper" way to focus is to abandon autofocus altogether and learn zone focusing — pre-setting your focus to a fixed distance so anything within a certain range comes out sharp. On a Ricoh GR that's the famous Snap Focus feature, and there are people who swear by it.
I'm not one of them. I don't use Snap Focus, and I don't use Manual focus on the street. I shoot autofocus, set to focus in the centre of the frame, and it gets me roughly a 90% hit rate. That's good enough for me, and I'd bet it's good enough for you too.
Why does it work so well? Because focusing on the centre area rather than the whole frame stops the camera making decisions you didn't ask for — Ricoh themselves point out that centre-area autofocus avoids grabbing onto the wrong thing at the edges of the frame, or the pavement under someone's feet. Your subject is almost always somewhere near the middle when you raise the camera, so you're telling it to look exactly where you're looking. Focus, recompose if you need to, shoot. It's quick and it's reliable.
I'm not saying zone focusing is wrong — it works beautifully for some people, and if you enjoy it, use it. But I'd hate for you to think you have to master it before you're allowed to call yourself a street photographer. You don't. Autofocus, locked to the centre, will carry you a very long way. Experiment with both and keep whichever one puts more keepers on your card.
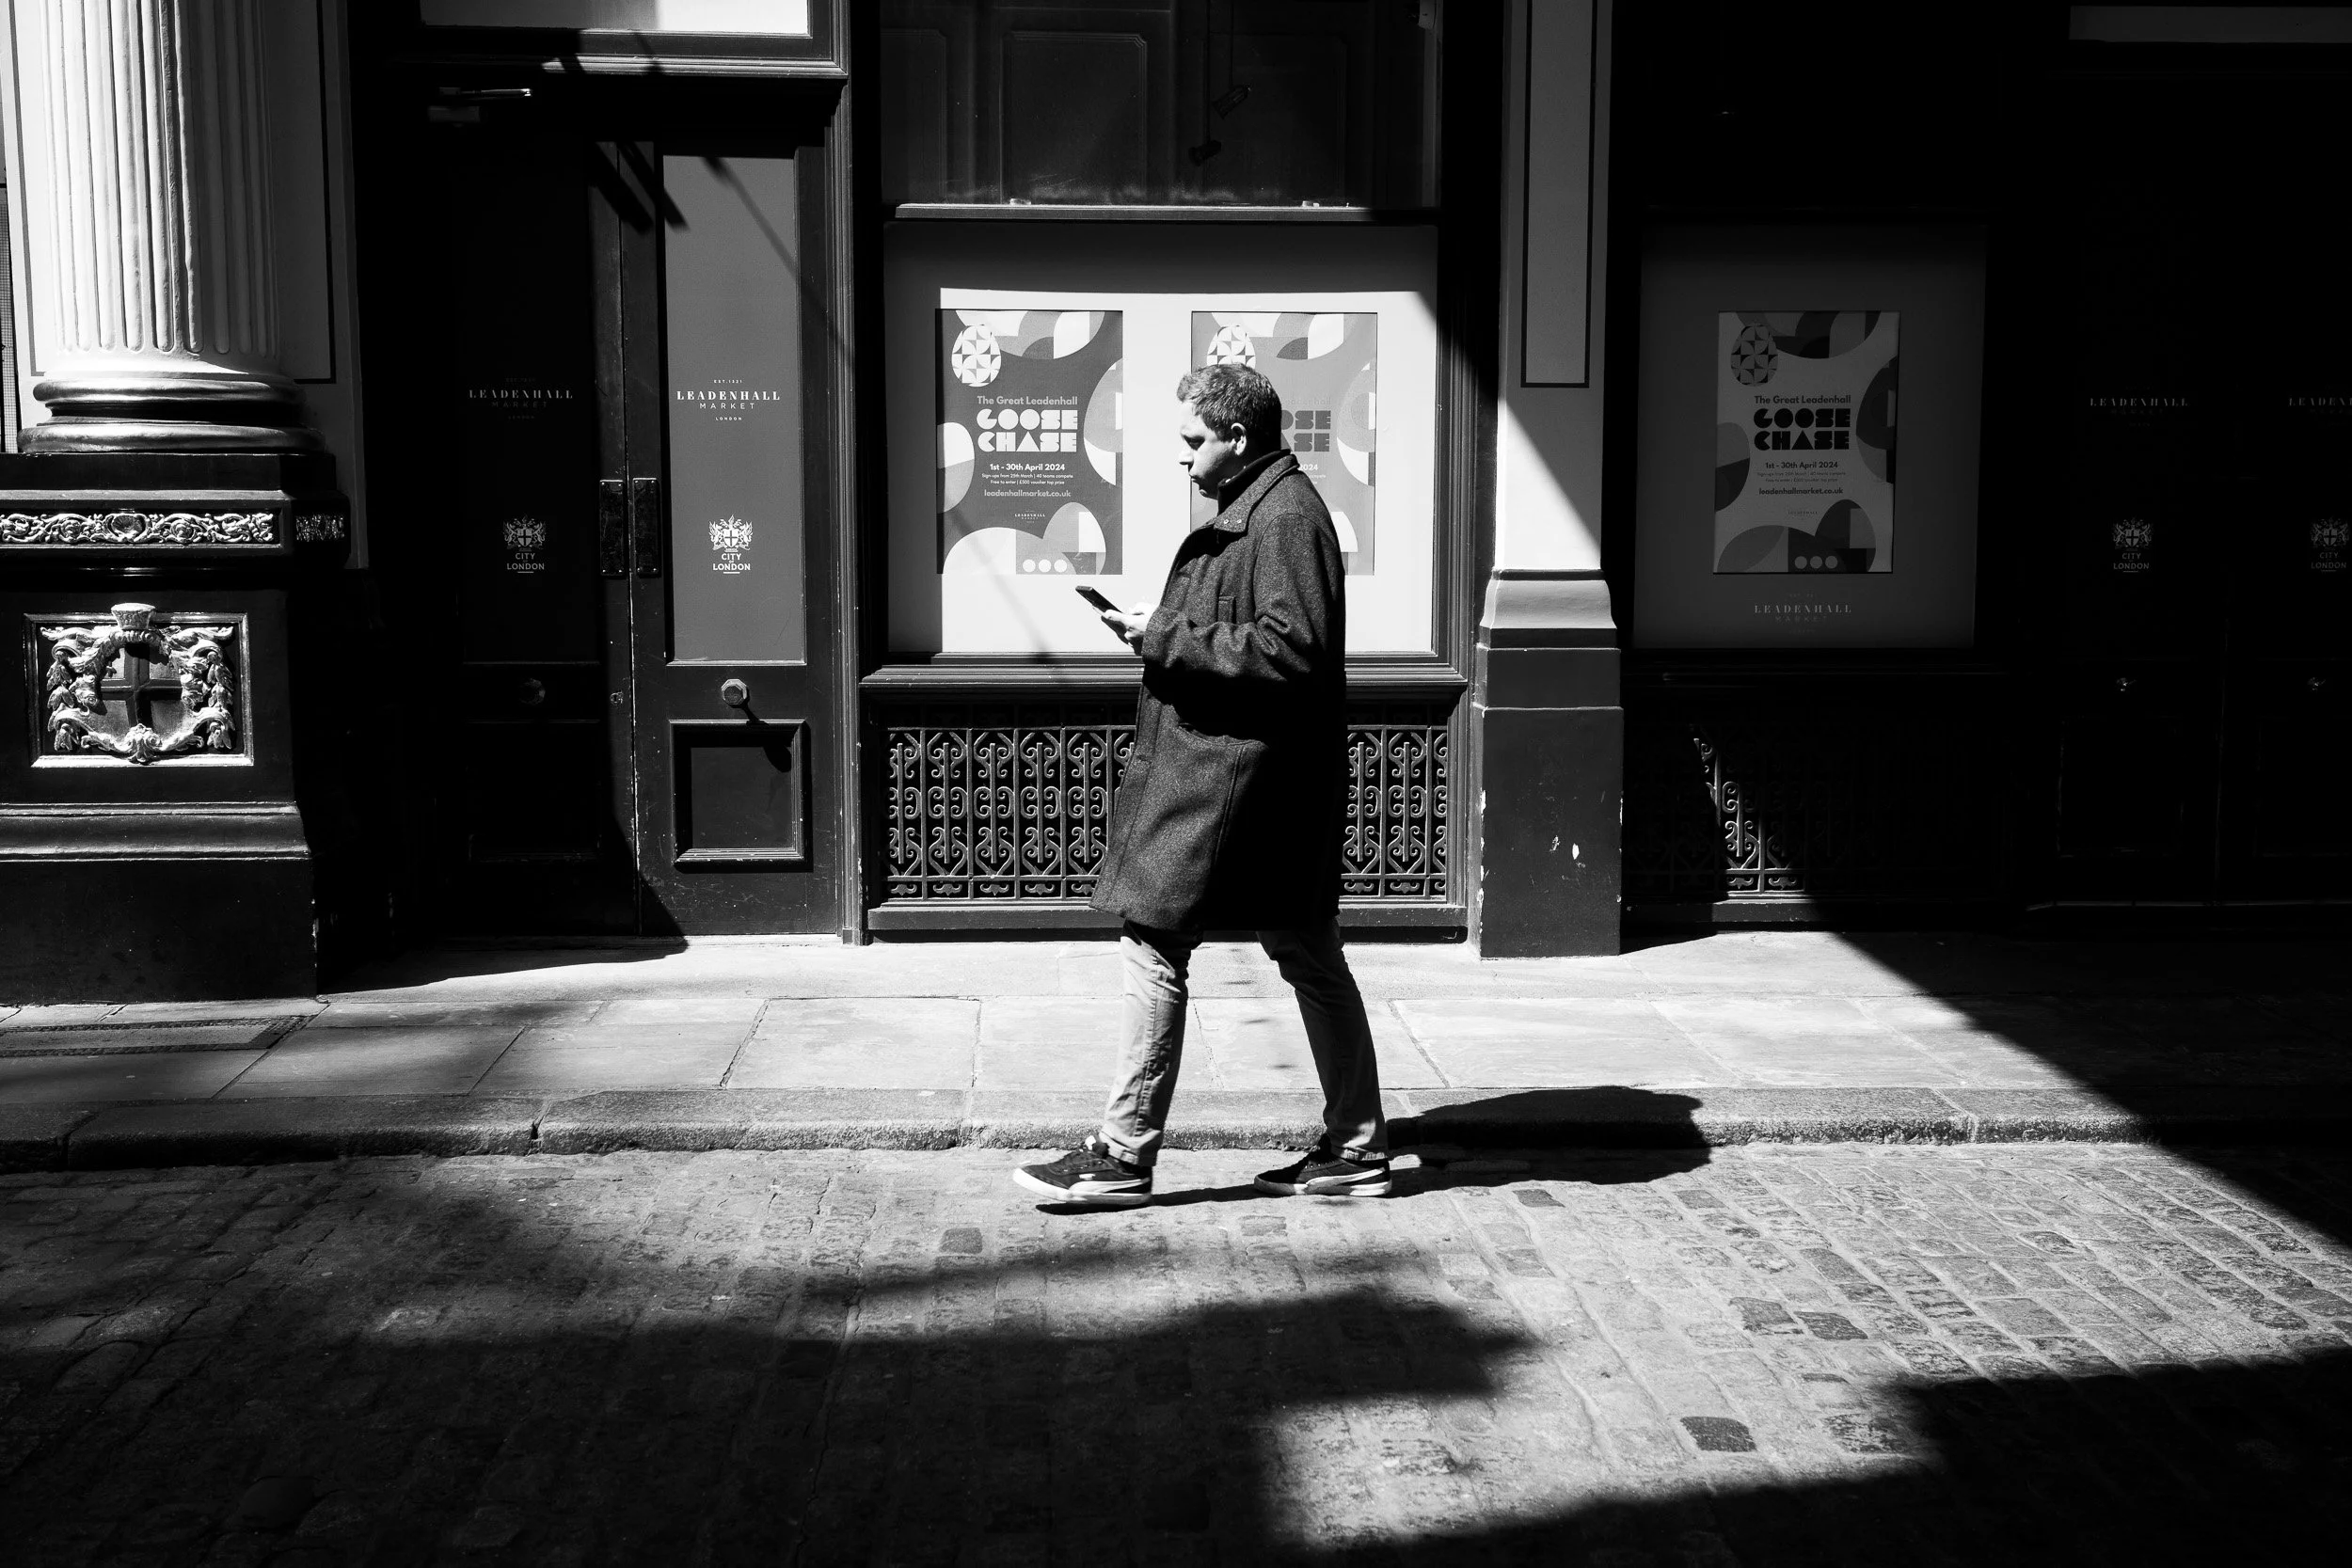
The setting that matters more than any of these
I'll be honest with you, because it's the most important thing in this whole post. None of the numbers above are what makes a photograph good.
You can nail every setting and still come home with a card full of dull frames. The settings exist for one reason only — to get you to the point where you're no longer thinking about them, so your full attention is on the things that actually create a strong street photo. The quality of the light. The timing of a gesture. The way a background frames a stranger. The story hiding in an ordinary scene.
That's why I'd set everything up exactly as above and then, frankly, forget it. Lock in Aperture Priority, set your floors, pick your focus, and spend the rest of your time learning to see. Because the camera will happily handle the exposure for the rest of your life — but learning to notice the moment before it happens is the work of a lifetime, and it's the part worth giving yourself to.
Key takeaways
Shoot Aperture Priority with Auto ISO. It gives you creative control where it counts and removes the busywork.
Daytime: f/5.6 to f/8 minimum Shutter Speed around 1/250th, Auto ISO 100 - 3200. Sit near f/8 in bright light.
Night: open up to f/2.8, Auto ISO 800 - 6400, drop the minimum Shutter Speed to about 1/100th. Embrace a little grain.
Focus: autofocus locked to the centre will get you most of the way. You don't have to learn zone focusing first.
Remember what settings are for. They remove friction so you can concentrate on light, timing, composition and story.
Before you go
If you'd like these settings somewhere you can actually keep — a single page you can glance at before you head out, rather than a blog post you have to remember — grab my free street photography settings cheat sheet. It puts the daytime and night setups in one place so you can stop second-guessing and start shooting. And if you want the full breakdown with examples, my daytime street photography settings guide takes it further.
Set it all up once, then go out and pay attention to the street. The settings will look after themselves. Let me know in the comments what setup you've landed on — I'm always curious how other people work.
Until next time, go forth and create.
FAQ
What aperture should I use for street photography? For daytime, somewhere between f/5.6 and f/8 works for most situations, with f/8 a reliable middle ground that keeps the whole scene sharp. At night, open up to f/2.8 to gather as much light as possible.
What ISO is best for street photography? Let Auto ISO do the work. In daylight it'll usually stay low on its own. At night, allowing it to run up to around 6400 is fine — a bit of grain adds to the atmosphere rather than ruining the shot.
Should I use Aperture Priority or Manual mode for street photography? Aperture Priority. It gives you control over the one creative decision that matters most — depth of field — while the camera handles exposure, which is exactly what you want when things happen quickly on the street.
Do I need to learn zone focusing or Snap Focus for street photography? No. Plenty of photographers love zone focusing, but autofocus set to the centre of the frame is fast, reliable and gets a high hit rate. Learn it later if you're curious, but you don't need it to start.