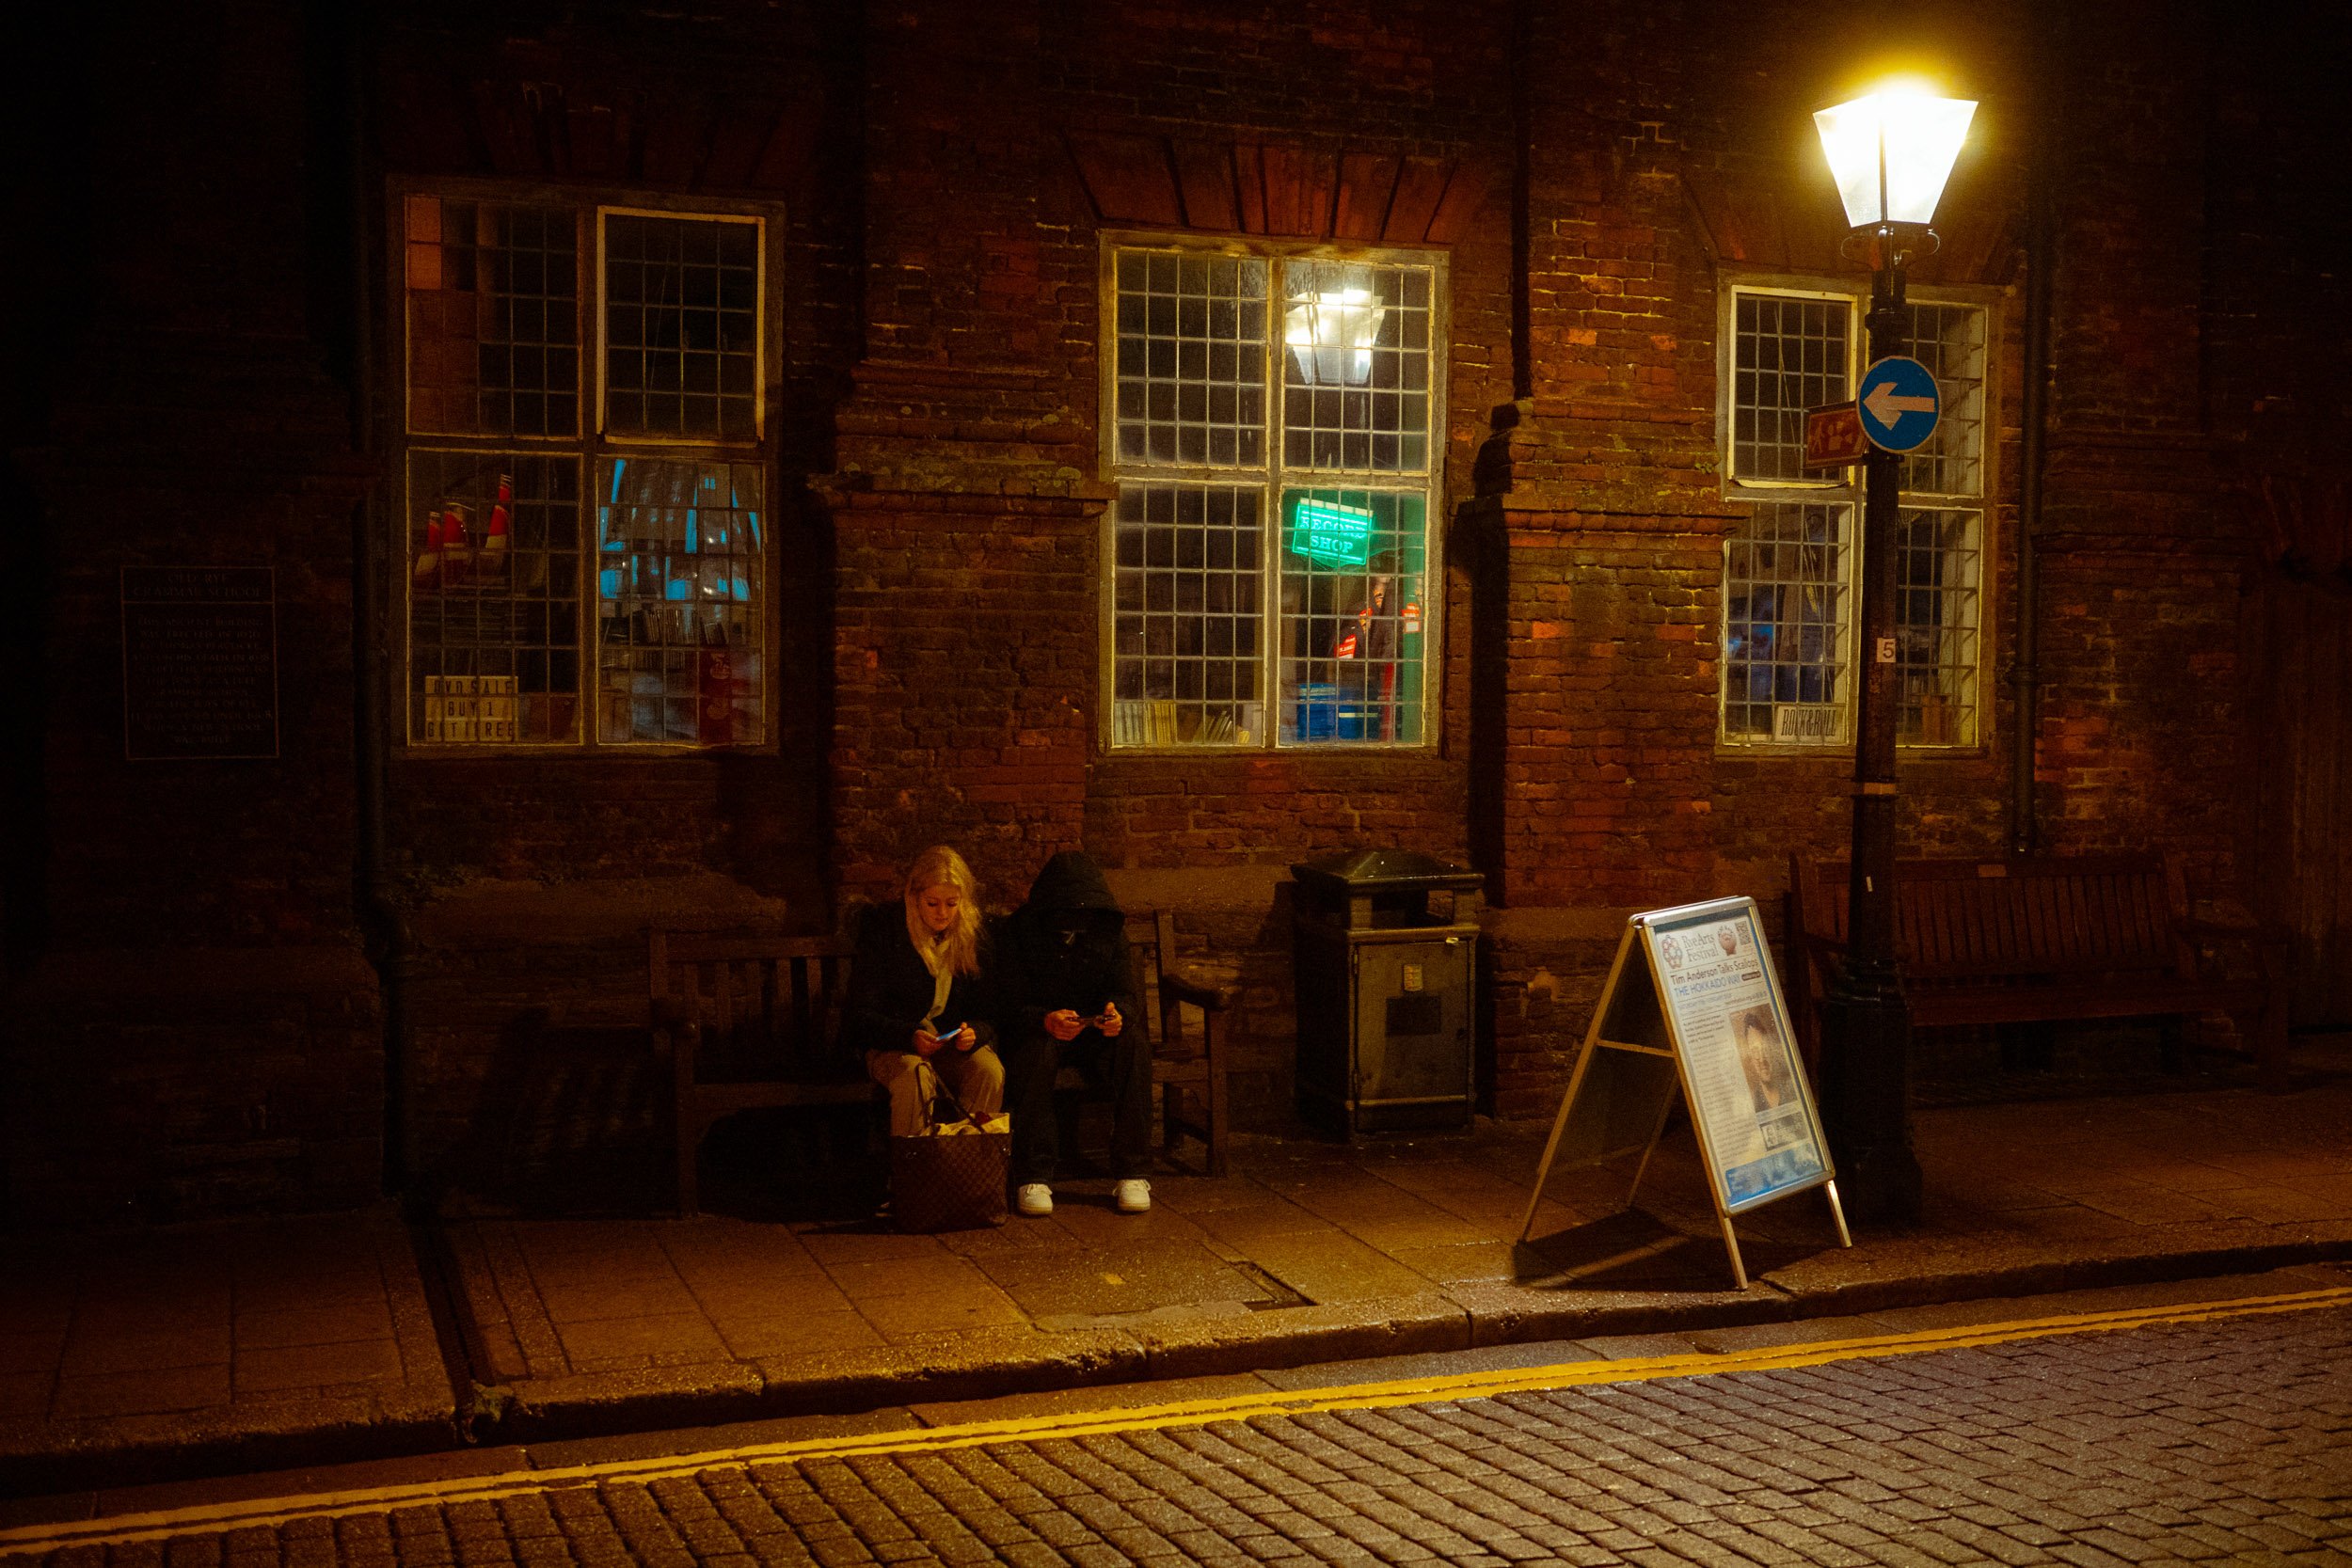
My Ricoh GRIIIX: Optimized Settings for Night Street Photography
Introduction Dive into my world of night street photography as I unveil the customized settings of my Ricoh GR3X. These settings are fine-tuned to capture the fleeting and vivid moments that make street photography so compelling.
Camera Body and Essential Gear
Ricoh GA-2 Lens Adapter on the GRIIIX and the GA-1 on the GRIII: A vital addition for attaching various filters, enhancing the versatility of my 28mm Ricoh GRIII and GR3X.
Wired Shutter Release Cable: An affordable, yet crucial accessory, allowing for quick and unobtrusive shooting.
Custom Dial Configurations
U1 - Daytime Aperture Priority: Ideal for dynamic daylight environments.
U2 - Daytime Manual Mode: For full creative control in varied daylight conditions.
U3 - Night Photography: Specially configured for the unique challenges of night scenes.
Focus Mode and Efficiency
Auto Area AF Centre: Chosen for its impressive focus accuracy post-firmware update.
Face/Eye Detection: Always active for effective subject capturing.
AF Assist Light: A necessary feature for low-light conditions.
Snap Focus Distance: Set to 2 meters, though its utility is limited at night due to the need for wider apertures.
Exposure and ISO Settings
Exposure Mode: AV Aperture Priority, striking a balance between depth of field and exposure levels.
Mastering Auto ISO: I've set my Auto ISO with a lower limit of 800 and an upper limit of 6400. This range is crucial for adapting to the varying lighting conditions encountered in street photography, especially at night. The lower limit of 800 ensures sufficient sensitivity in dimly lit scenarios, while the upper limit of 6400 allows me to capture scenes in very low light without excessive noise. The versatility of Auto ISO means I'm prepared for everything from well-lit streets to darker alleys. Additionally, my minimum shutter speed is set to 1/80 of a second, ensuring that I capture movement without blur. In cases where light is limited, the camera can go down to 1/50 of a second, allowing me to capture sharper images in lower light, with a touch of motion blur that adds an ethereal feel to my photos.
Further Camera Configurations
Flash Usage: I prefer to shoot without flash to maintain the natural ambiance of street scenes.
Program Mode: Not utilized, as my focus is on manual and semi-automatic modes.
Image Quality and Control Settings
Color Space: Standard SRGB for true-to-life color reproduction.
Image Control: Set to standard, but would switch to positive film in JPEG mode for its distinctive daytime look.
Advanced Settings for Optimal Capture
Dynamic Range Correction: Highlight correction is enabled to prevent overexposure in night shots.
Noise Reduction: Turned off to preserve the natural texture of images.
Shake Reduction: A must-have for the handheld shooting stability.
Customization for Quick Functionality
Dial and Button Configuration: Tailored for immediate adjustments to aperture, shutter speed, image control, focus modes, and metering modes.
AF and AE Lock: Optimized for instant focus and exposure adjustments.
Display and Review Adjustments
LCD Settings: Simplified for a clear and quick glance while shooting.
Playback and Review: Instant review is off for uninterrupted shooting sessions.
Conclusion These are the settings that transform my Ricoh GR3X into an indispensable tool for street photography. Whether day or night, these configurations help me effortlessly capture the essence of urban life. Curious about these settings in action or have questions? Feel free to comment below or watch my detailed video from a night in Brighton with my Ricoh GR3X.


