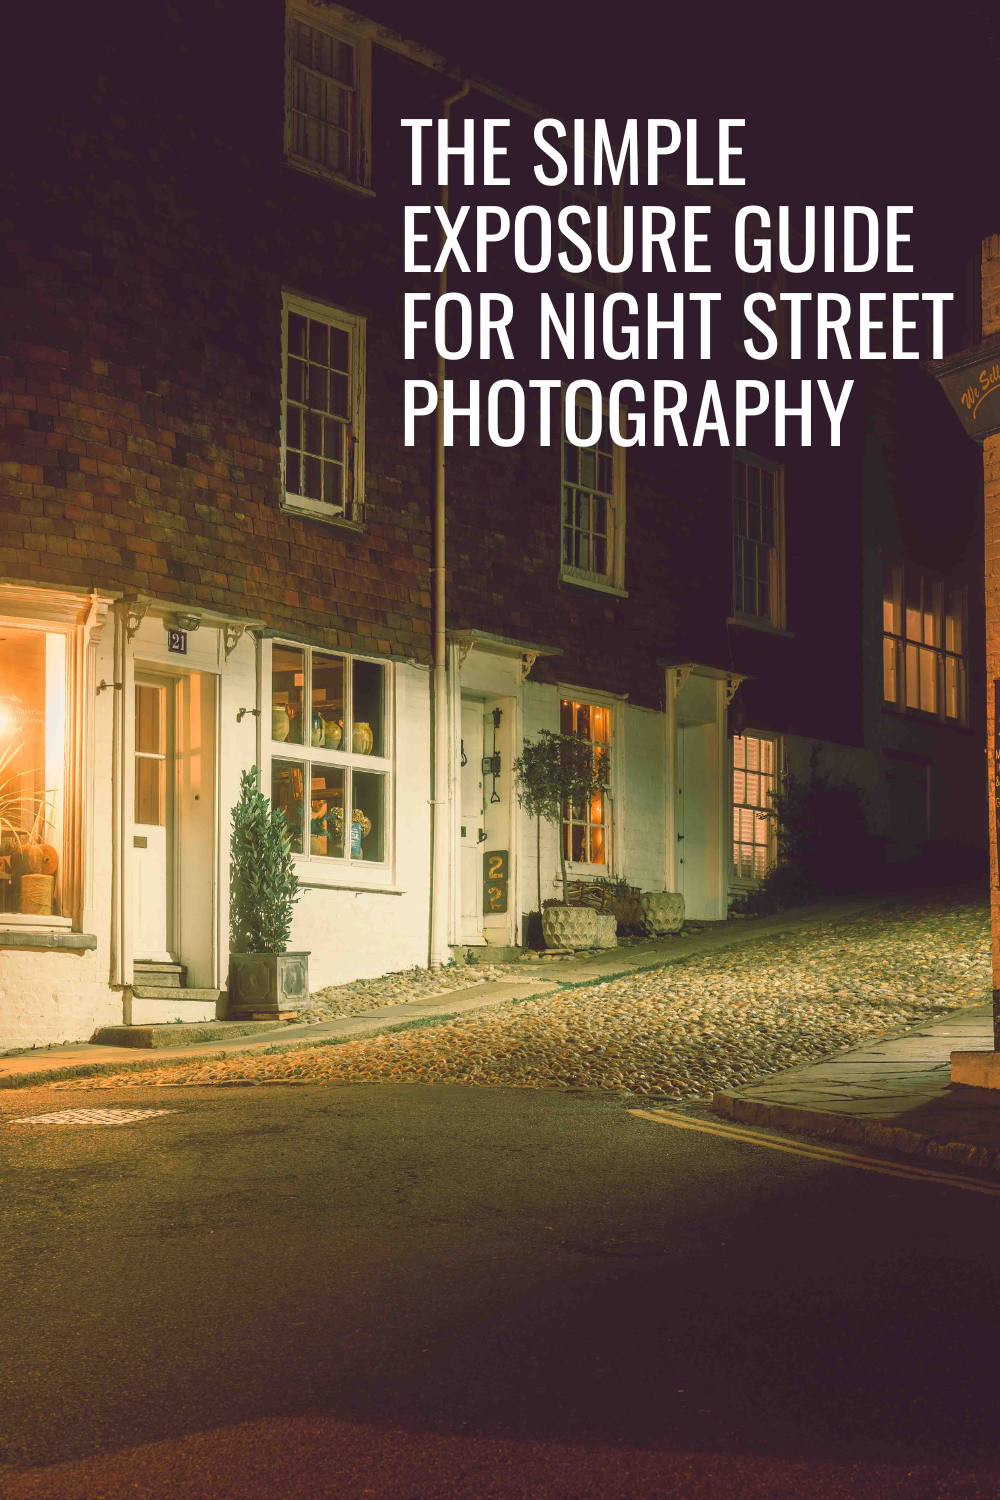
The Simple Exposure Guide For Night Street Photography
Introduction
Night Street photography is pretty easy to master once you get to grips with the settings that you need to use regularly. In this blog post we are going to take a look at the approximate Aperture, Shutter Speed and ISO settings that you need to select in your camera, after dark.
Let’s get into it!

Aperture
Making up just one third of the exposure triangle, Aperture is very important when shooting photos at night. In a nutshell, Aperture controls the amount of light that enters the lens and at night time you need as much light as possible to enter your camera’s lens.
First, it's important to understand what aperture is and how it works. Aperture is the opening in the lens that controls the amount of light that enters the camera. It's measured in f-stops, with a lower f-stop number indicating a wider aperture and a higher f-stop number indicating a narrower aperture. A wide aperture, such as f/1.8 or f/2.8, allows more light to enter the camera, while a narrow aperture, such as f/16 or f/22, allows less light to enter.
So how does Aperture actually work?
Aperture is the opening in the lens that controls the amount of light that enters the camera. Aperture is measured in f- stops. A lower f-stop such as f/1.8, denotes a wide aperture, which is great for a shallow depth of field and bokeh. On the other side of the spectrum you have a narrow Aperture which lets less light in through the lens’ Iris.
Apertures such as f/ 22, f / 16 and even f /11 allow for a greater depth of field, which is perfect for landscape photography and any kind of image where you want the foreground and background to be in sharp focus.
Lowlight conditions require a brighter exposure which means that a wide aperture is pretty much essential for night street photography. You want as much light coming into your camera’s sensor as possible. Therefore expect to be using an aperture from approximately f /2.8 - f/ 5.6, depending upon the conditions that you find yourself in.
Shutter Speed
Coupling with a wide aperture, is having a fast enough Shutter Speed which enables you to freeze action. But at the same time it cannot be too fast. You cannot you shutter speeds of around 1/250 sec, in the same way you would use it during the day time. This is because the faster the Shutter Speed, the shorter the amount of time the Shutter’s curtain is open, which means less light hitting the sensor. On the flip side, having a very long Shutter Speed, such as one second, allows light to hit your camera’s sensor for a much longer period of time, but it also blurs action. This is why at night, you want to find a happy medium - with a Shutter Speed that gives you enough light to get a proper exposure, as well as being able to freeze your subject. Usually a Shutter Speed of around 1/80 sec to 1/125 sec will suffice. Also having in body image stabilisation and/or lens stabilisation will allow you to get sharper shots when holding the camera at slow Shutter Speeds.

ISO
The final component that you will need to master to get well exposed shots at night is ISO.
During the daytime you can afford to use a low ISO - anything from ISO 100 to 800, depending upon the lighting conditions, will allow you to to get noise free Street photography images that also have the highest amount of dynamic range. Because ISO ultimately increases or decreases the brightness of a photograph, at night you will need to increase the ISO, so that you can afford to be able to have a shutter speed which is not too slow that your images are blurred. Increasing your ISO allows you to pick an aperture of around f /4 - f/ 5.6. And this is important because, unless you want to shoot only soft images with a very shallow depth of field, having an aperture of around f /4 will allow certain details in your images to be in focus. Obviously, using an ISO of approximately 1600 - 6400 increases the chance of noise in your images and it also ultimately decreases your dynamic range. However, cameras these days are able to take almost noise free images up to ISO 6400. And also, because most of your image taken at night will be dark, you will not need to have any major increases in the shadows in post processing - dynamic range or lack there of really isn’t issue at all.

Putting It All Together
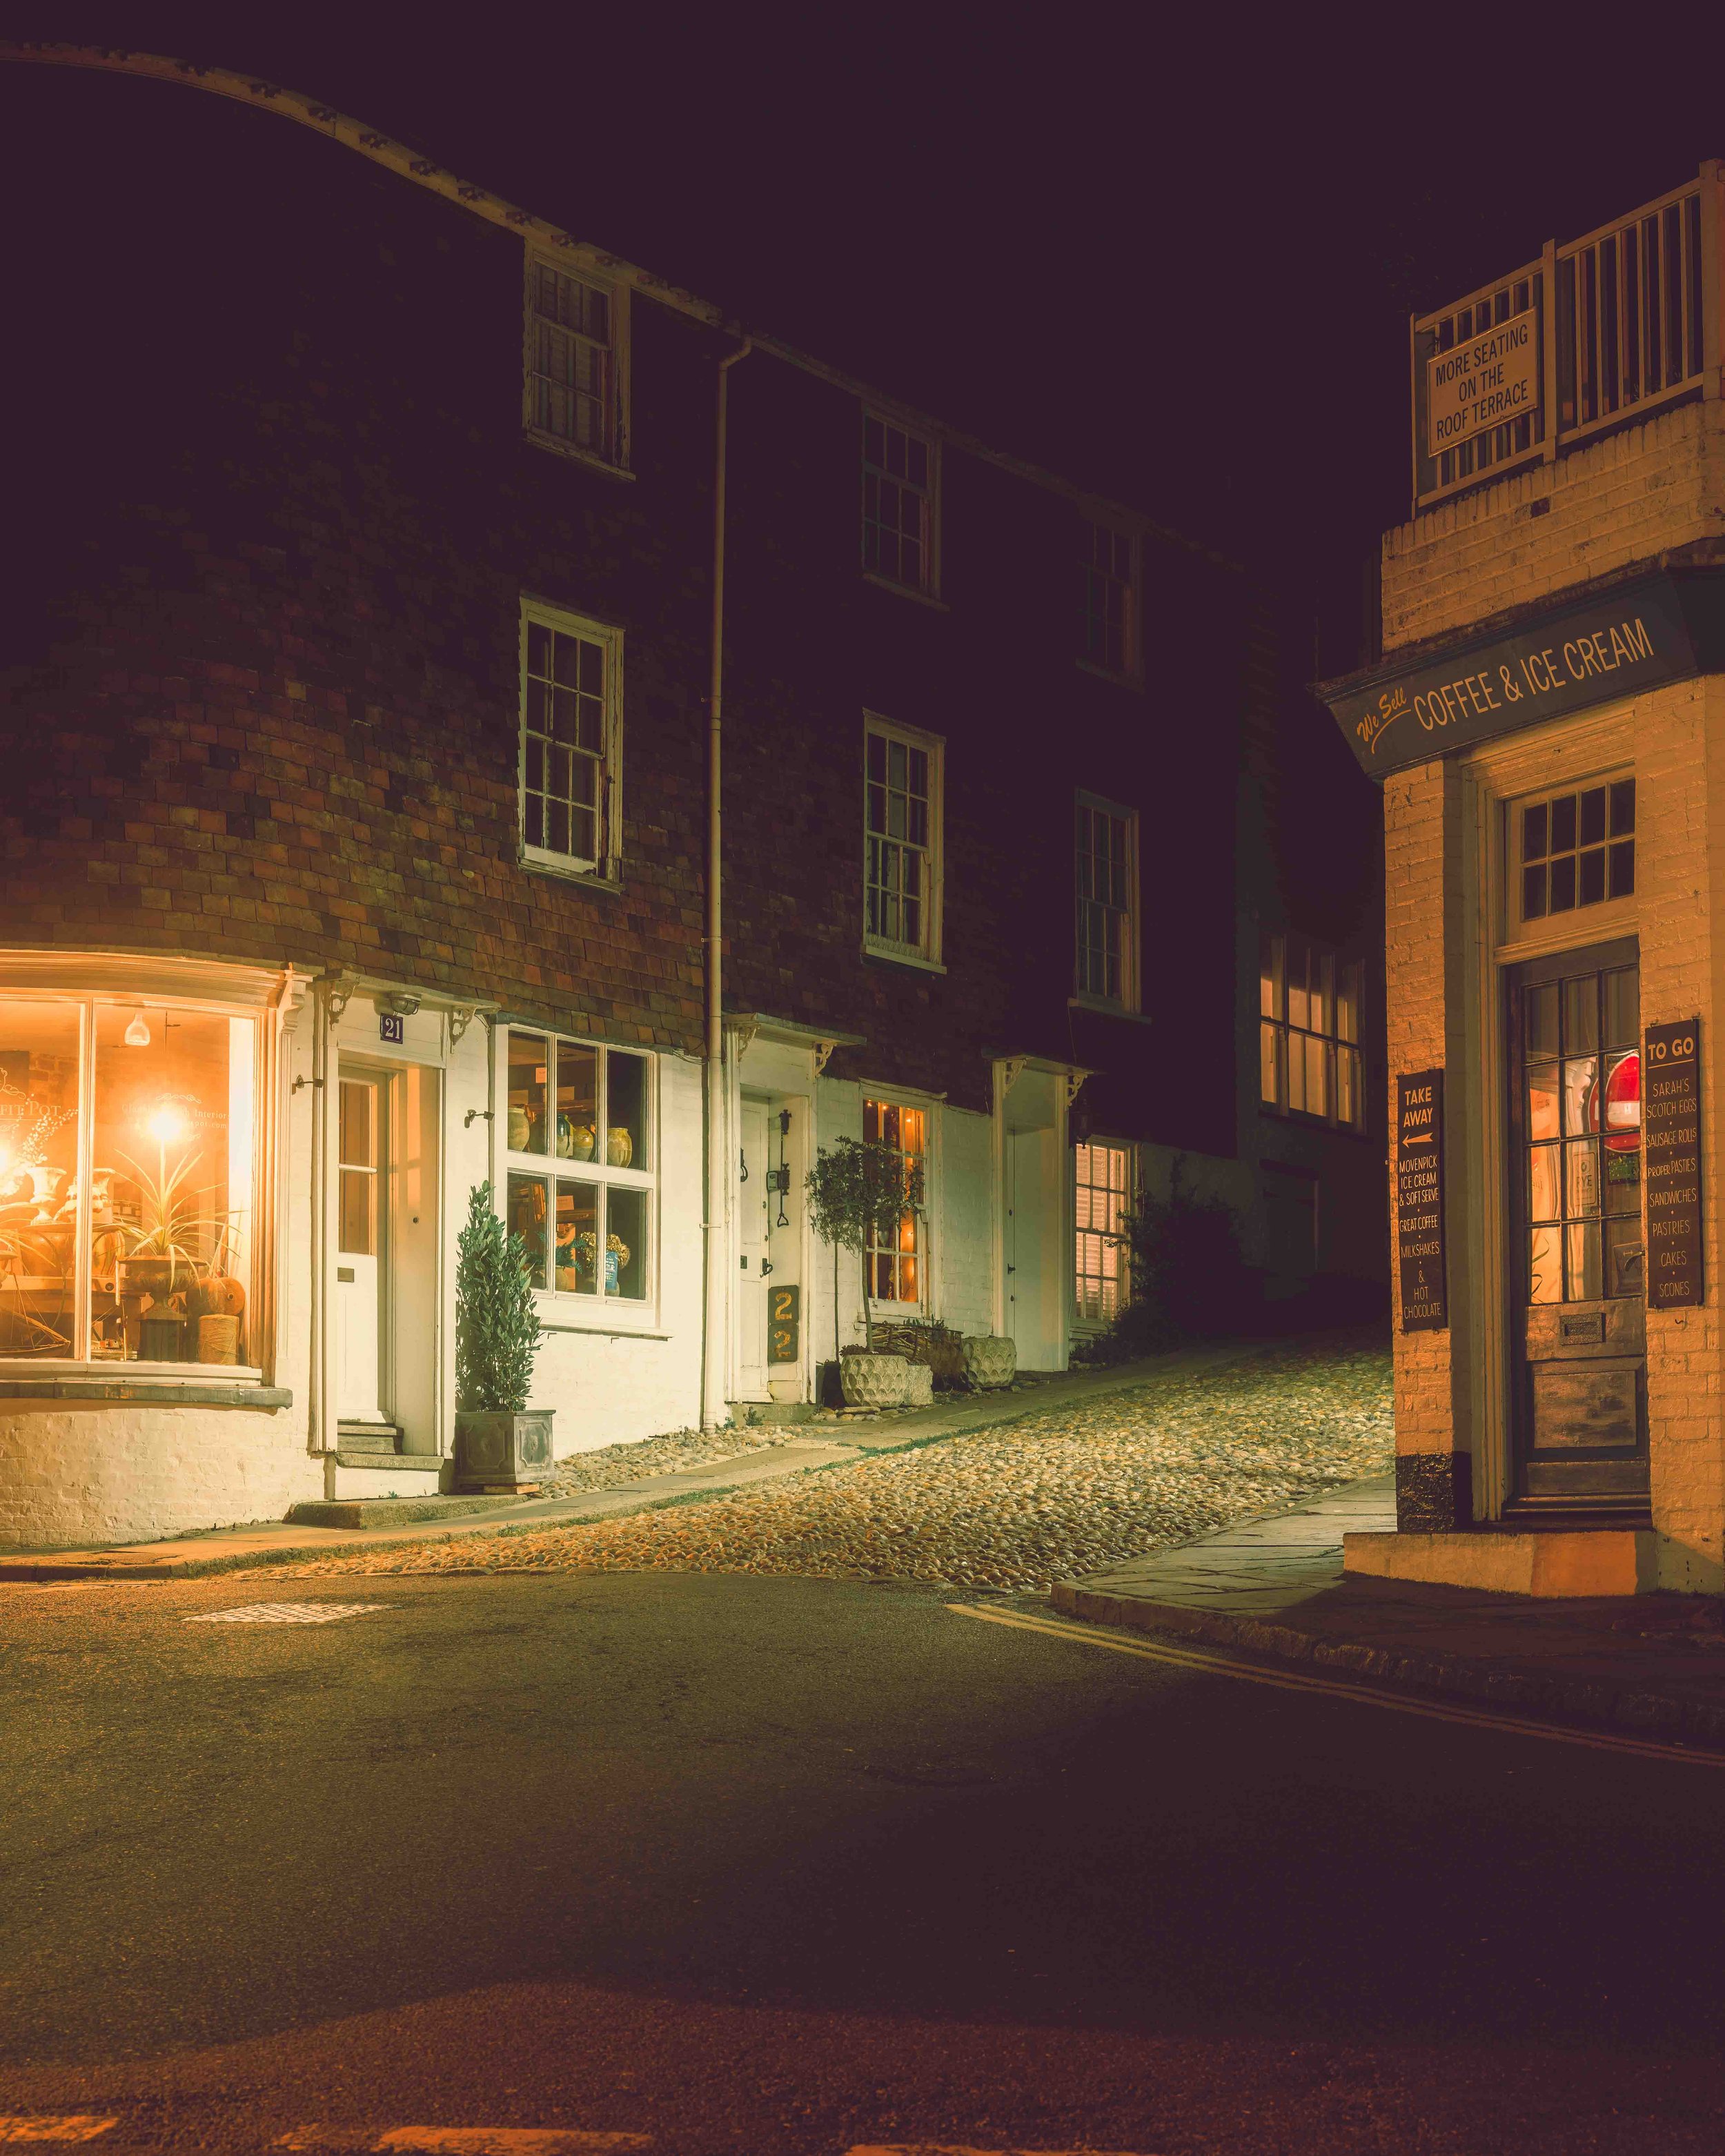
So your head out tonight. Darkness has fallen. Yet the neon signs and the street lights are beautifully illuminating your local Town or city. There is somebody walking towards you and they are wearing interesting clothes and they are stopping to have a cigarette underneath a lamp post. You switch the top dial to Manual Mode. f/ 4 seems like a good aperture to be able to capture them from your distance and also be able to get some detail from the lamp post and the surrounding pavement, which is also illuminated by the lamp light. They are moving their head and their hands as they smoke the cigarette, so you want to use shutter speed which you know it’s going to catch of them in sharp enough detail and also be able to give you a decent exposure. So you pick a shutter speed of 1/100 sec. Finally, to give you a bright enough photograph you increase your ISO to 3200.
All these components give you a good exposure where the histogram is exposed to the right, and you noticed that the lamp light, fortunately, is not clipped in the histogram. If it was, you would simply increase your Aperture to f /5.6 or even higher. But you are lucky, you do not need to narrow your aperture.
Framing the shot and using Continuous Autofocus you take the shot.
Once you have used these settings a few times adjusted them to the conditions that you find yourself in, they will start to become second nature to you, and every time you go out you will know how to choose the right exposure parameters, time and time again.
Go forth and create.