How to Shoot Outdoor Event Photography (Street Style)
The Quickly Noted Best Settings for Event Photography
The best settings for street style outdoor event photography:
Aperture Priority - f /2.8 - f / 8
Auto ISO, Minimum Shutter Speed - ISO 100 - 1600 / Minimum shutter speed 1 /250 sec
Continuous Autofocus Wide setting with human face detection turned on.
The Introduction
I had a job on Saturday photographing event photography images for the non-profit organisation ‘18 Hours’.
The job consisted of taking photos for an outdoor event that lasted pretty much the entirety of the afternoon in a small seaside town in East Sussex, called Bexhill.
But how did I take these photos and what settings and methods did I use? And how does event photography correlate with street style photography?
Let's get into it…

ISO 100 f /8 1/320 sec 64mm
The Schedule
On the day, there were a number of very interesting acts that needed to be photographed.
First up were the exciting and energetic ‘Dende Sama Drumming Group’.
Second was the glamorous and amazing ‘Dolly Delicious’ who entertained with her stilt walking, feathers, loud and exciting outfit and vibrant personality.
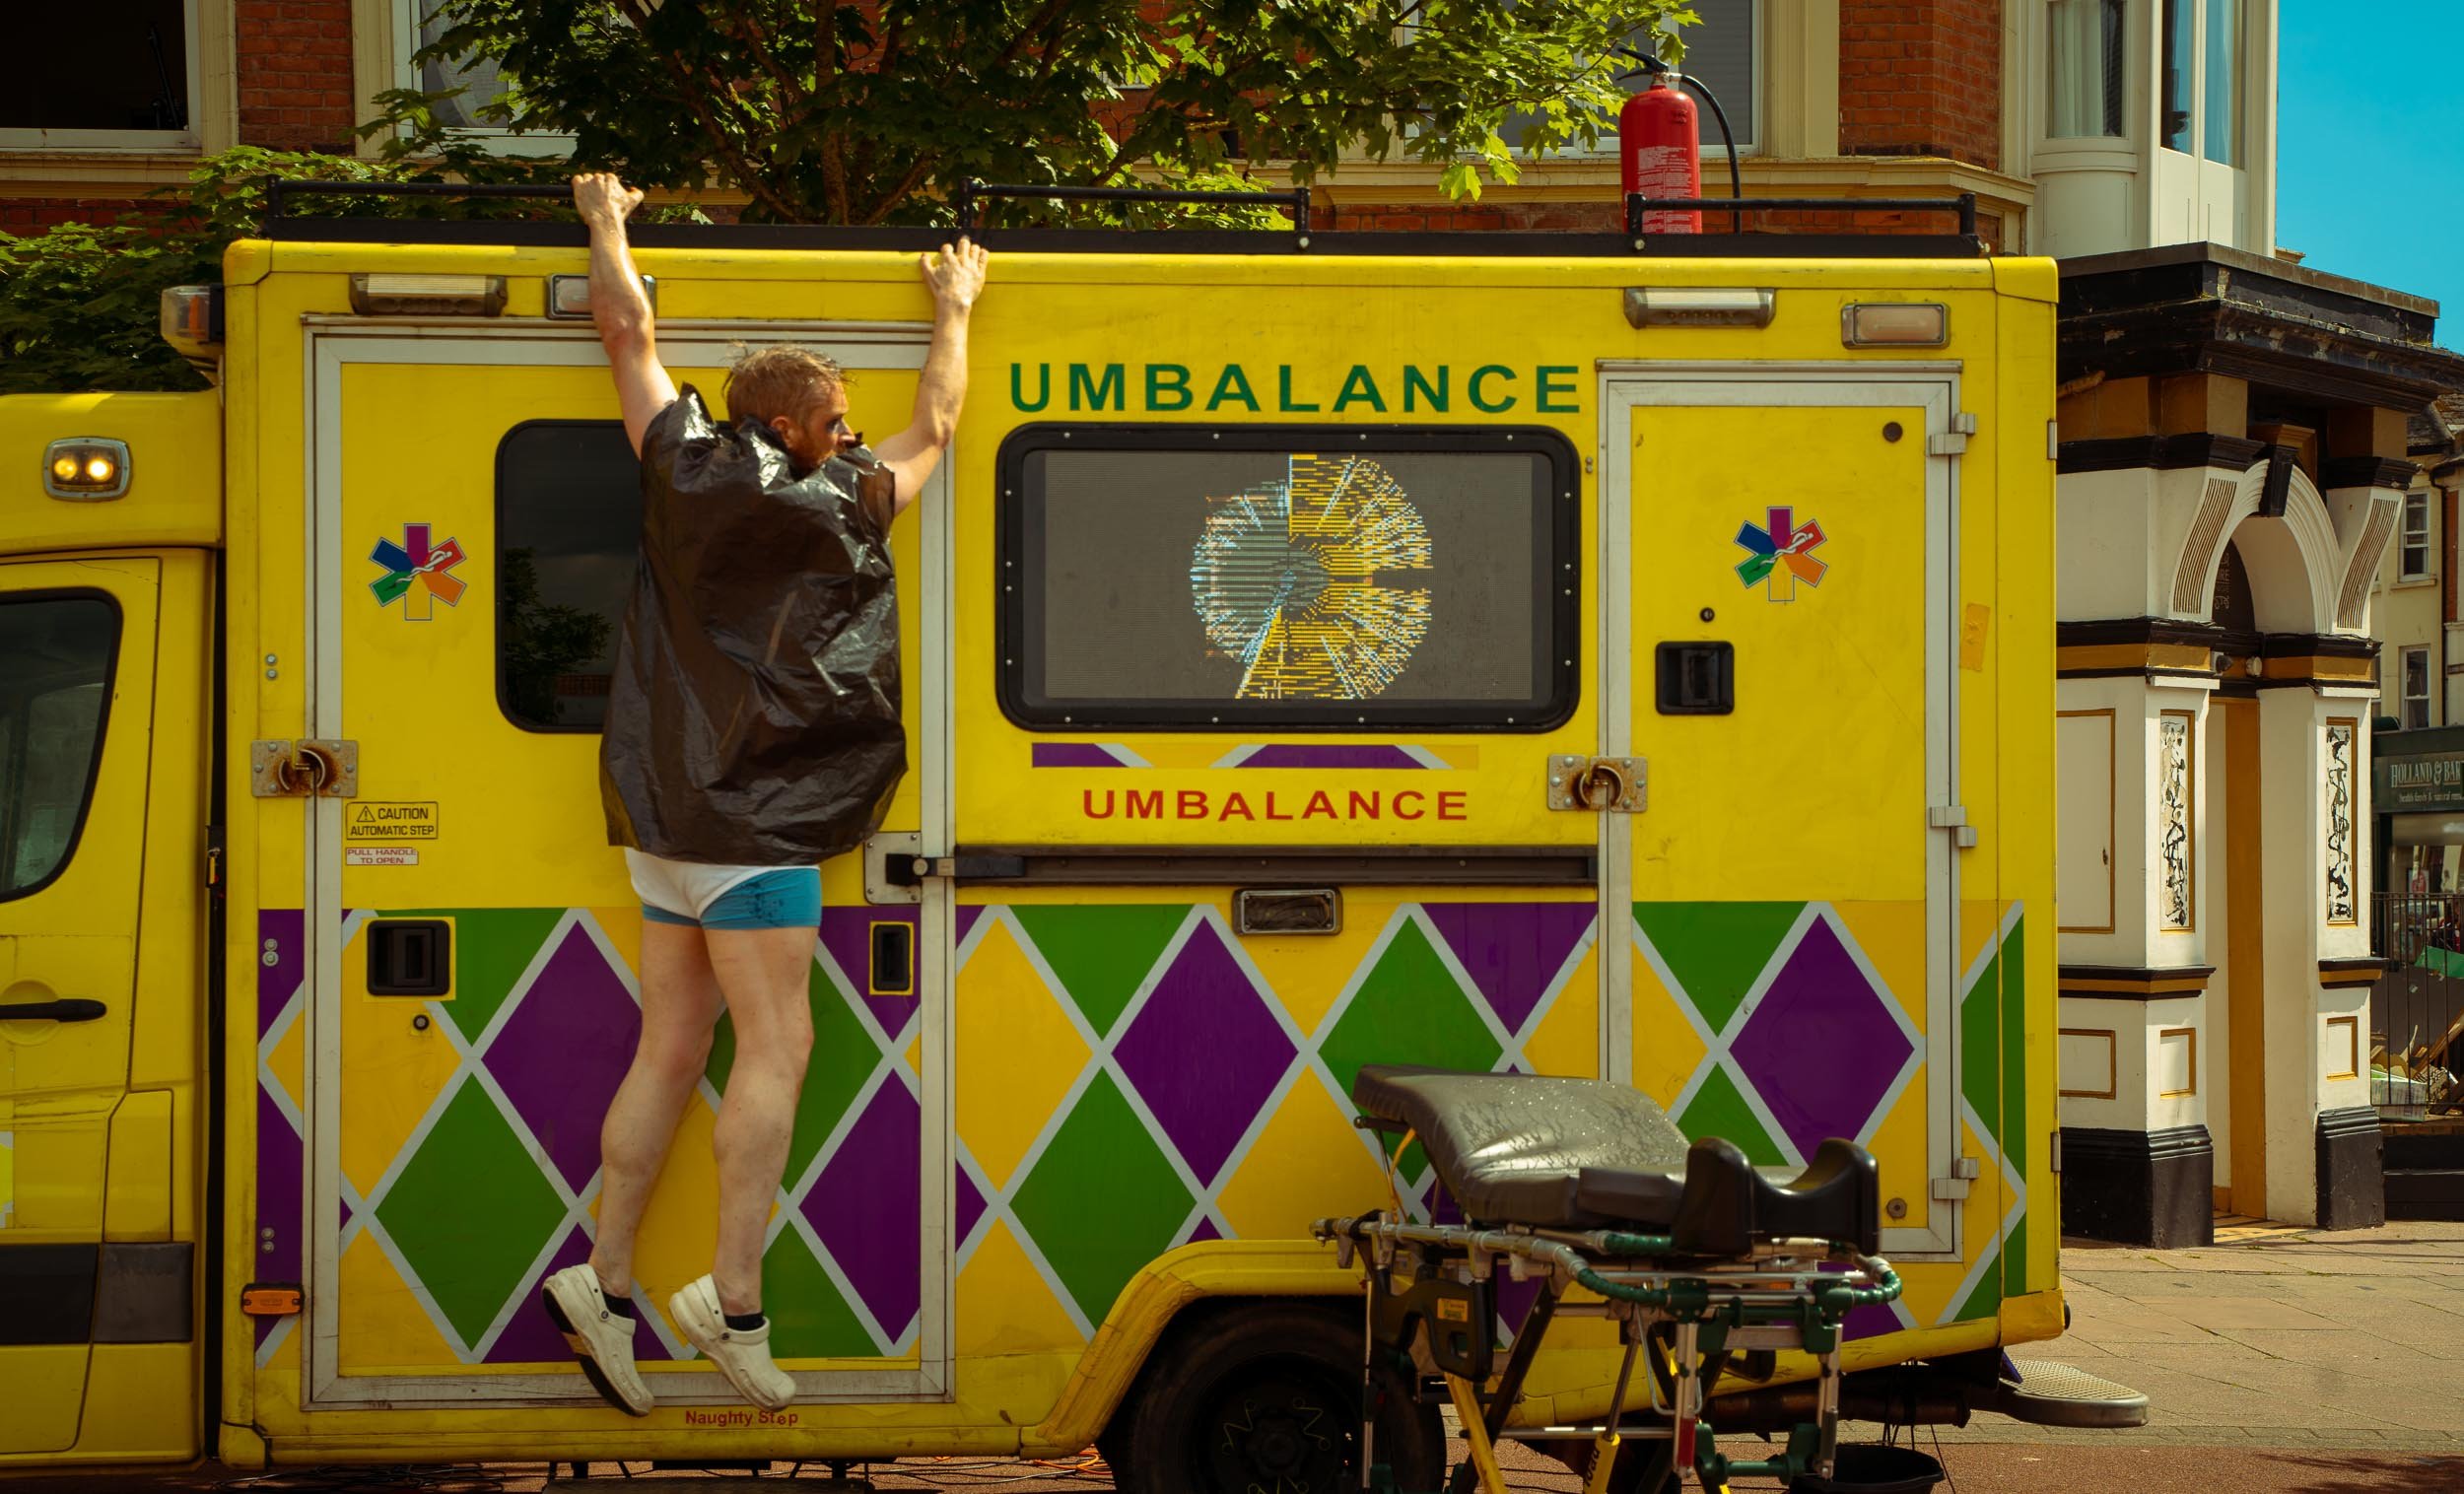
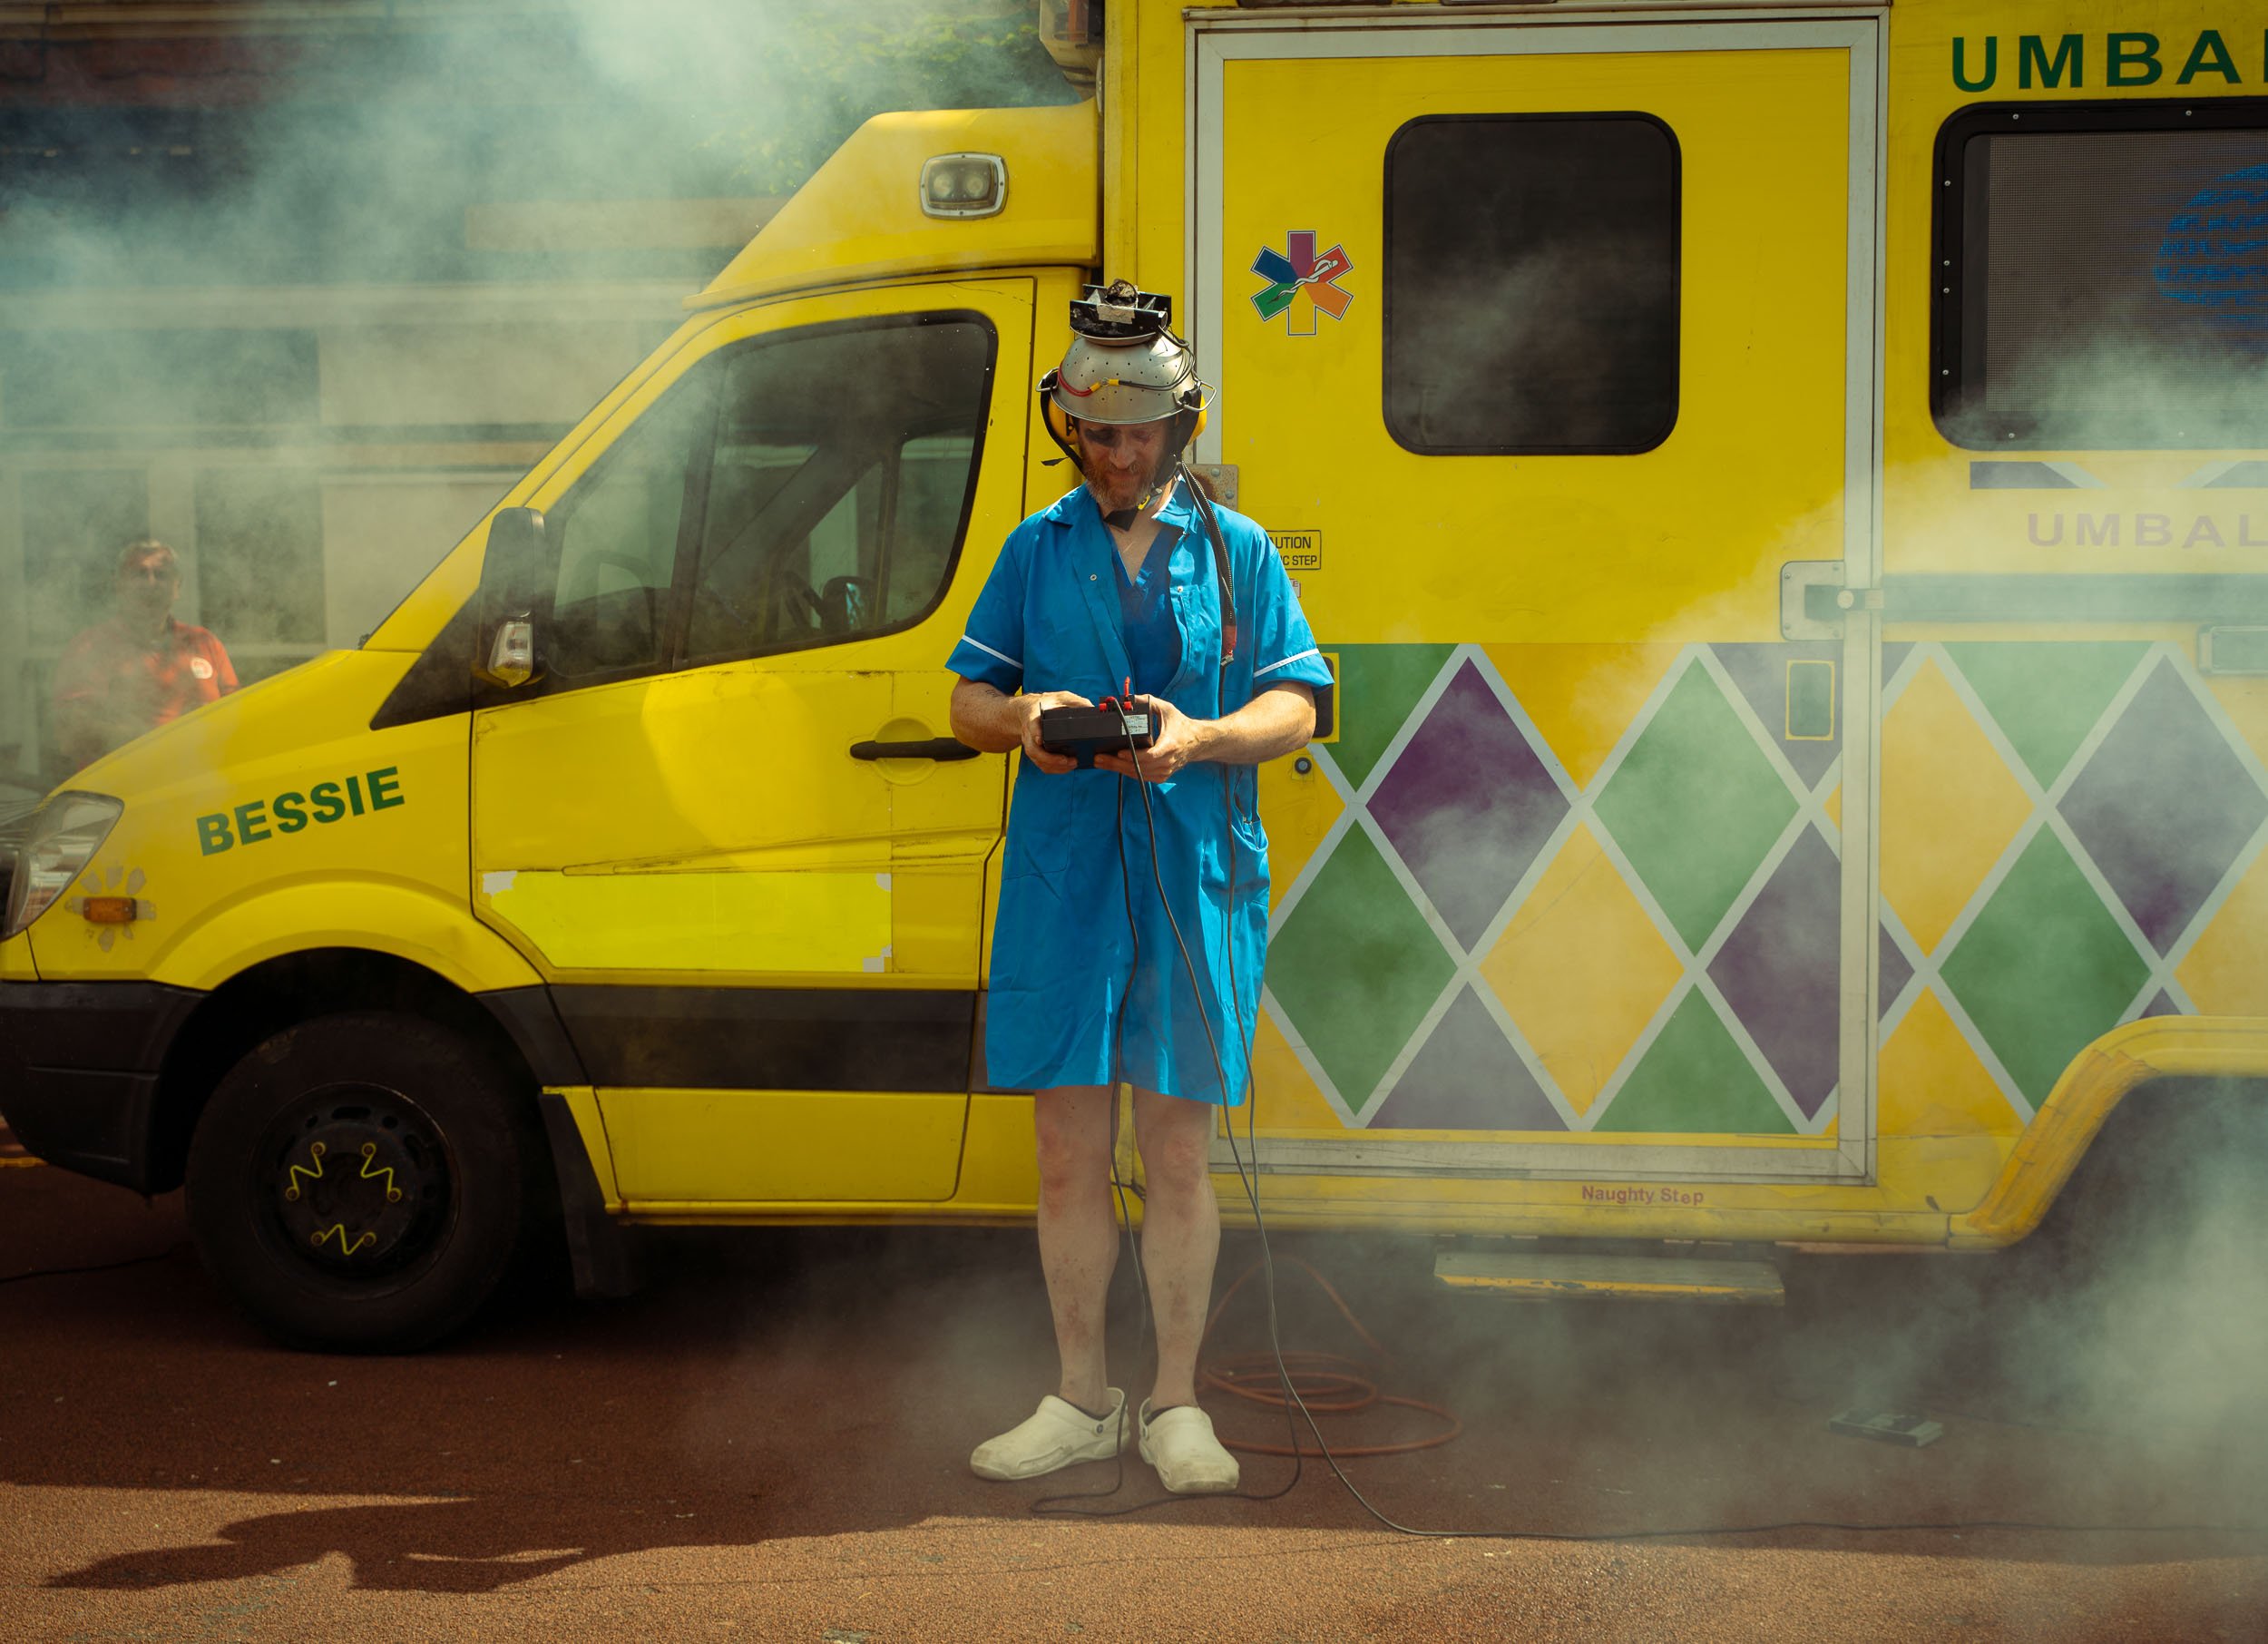
Then we had the totally fun and unique, Garth Williams of ‘Safety Catch Theatre’. Think of an eccentric doctor who gets blown up, completely soaked, with even more highbrow antics, all from the confines of a talking ambulance!
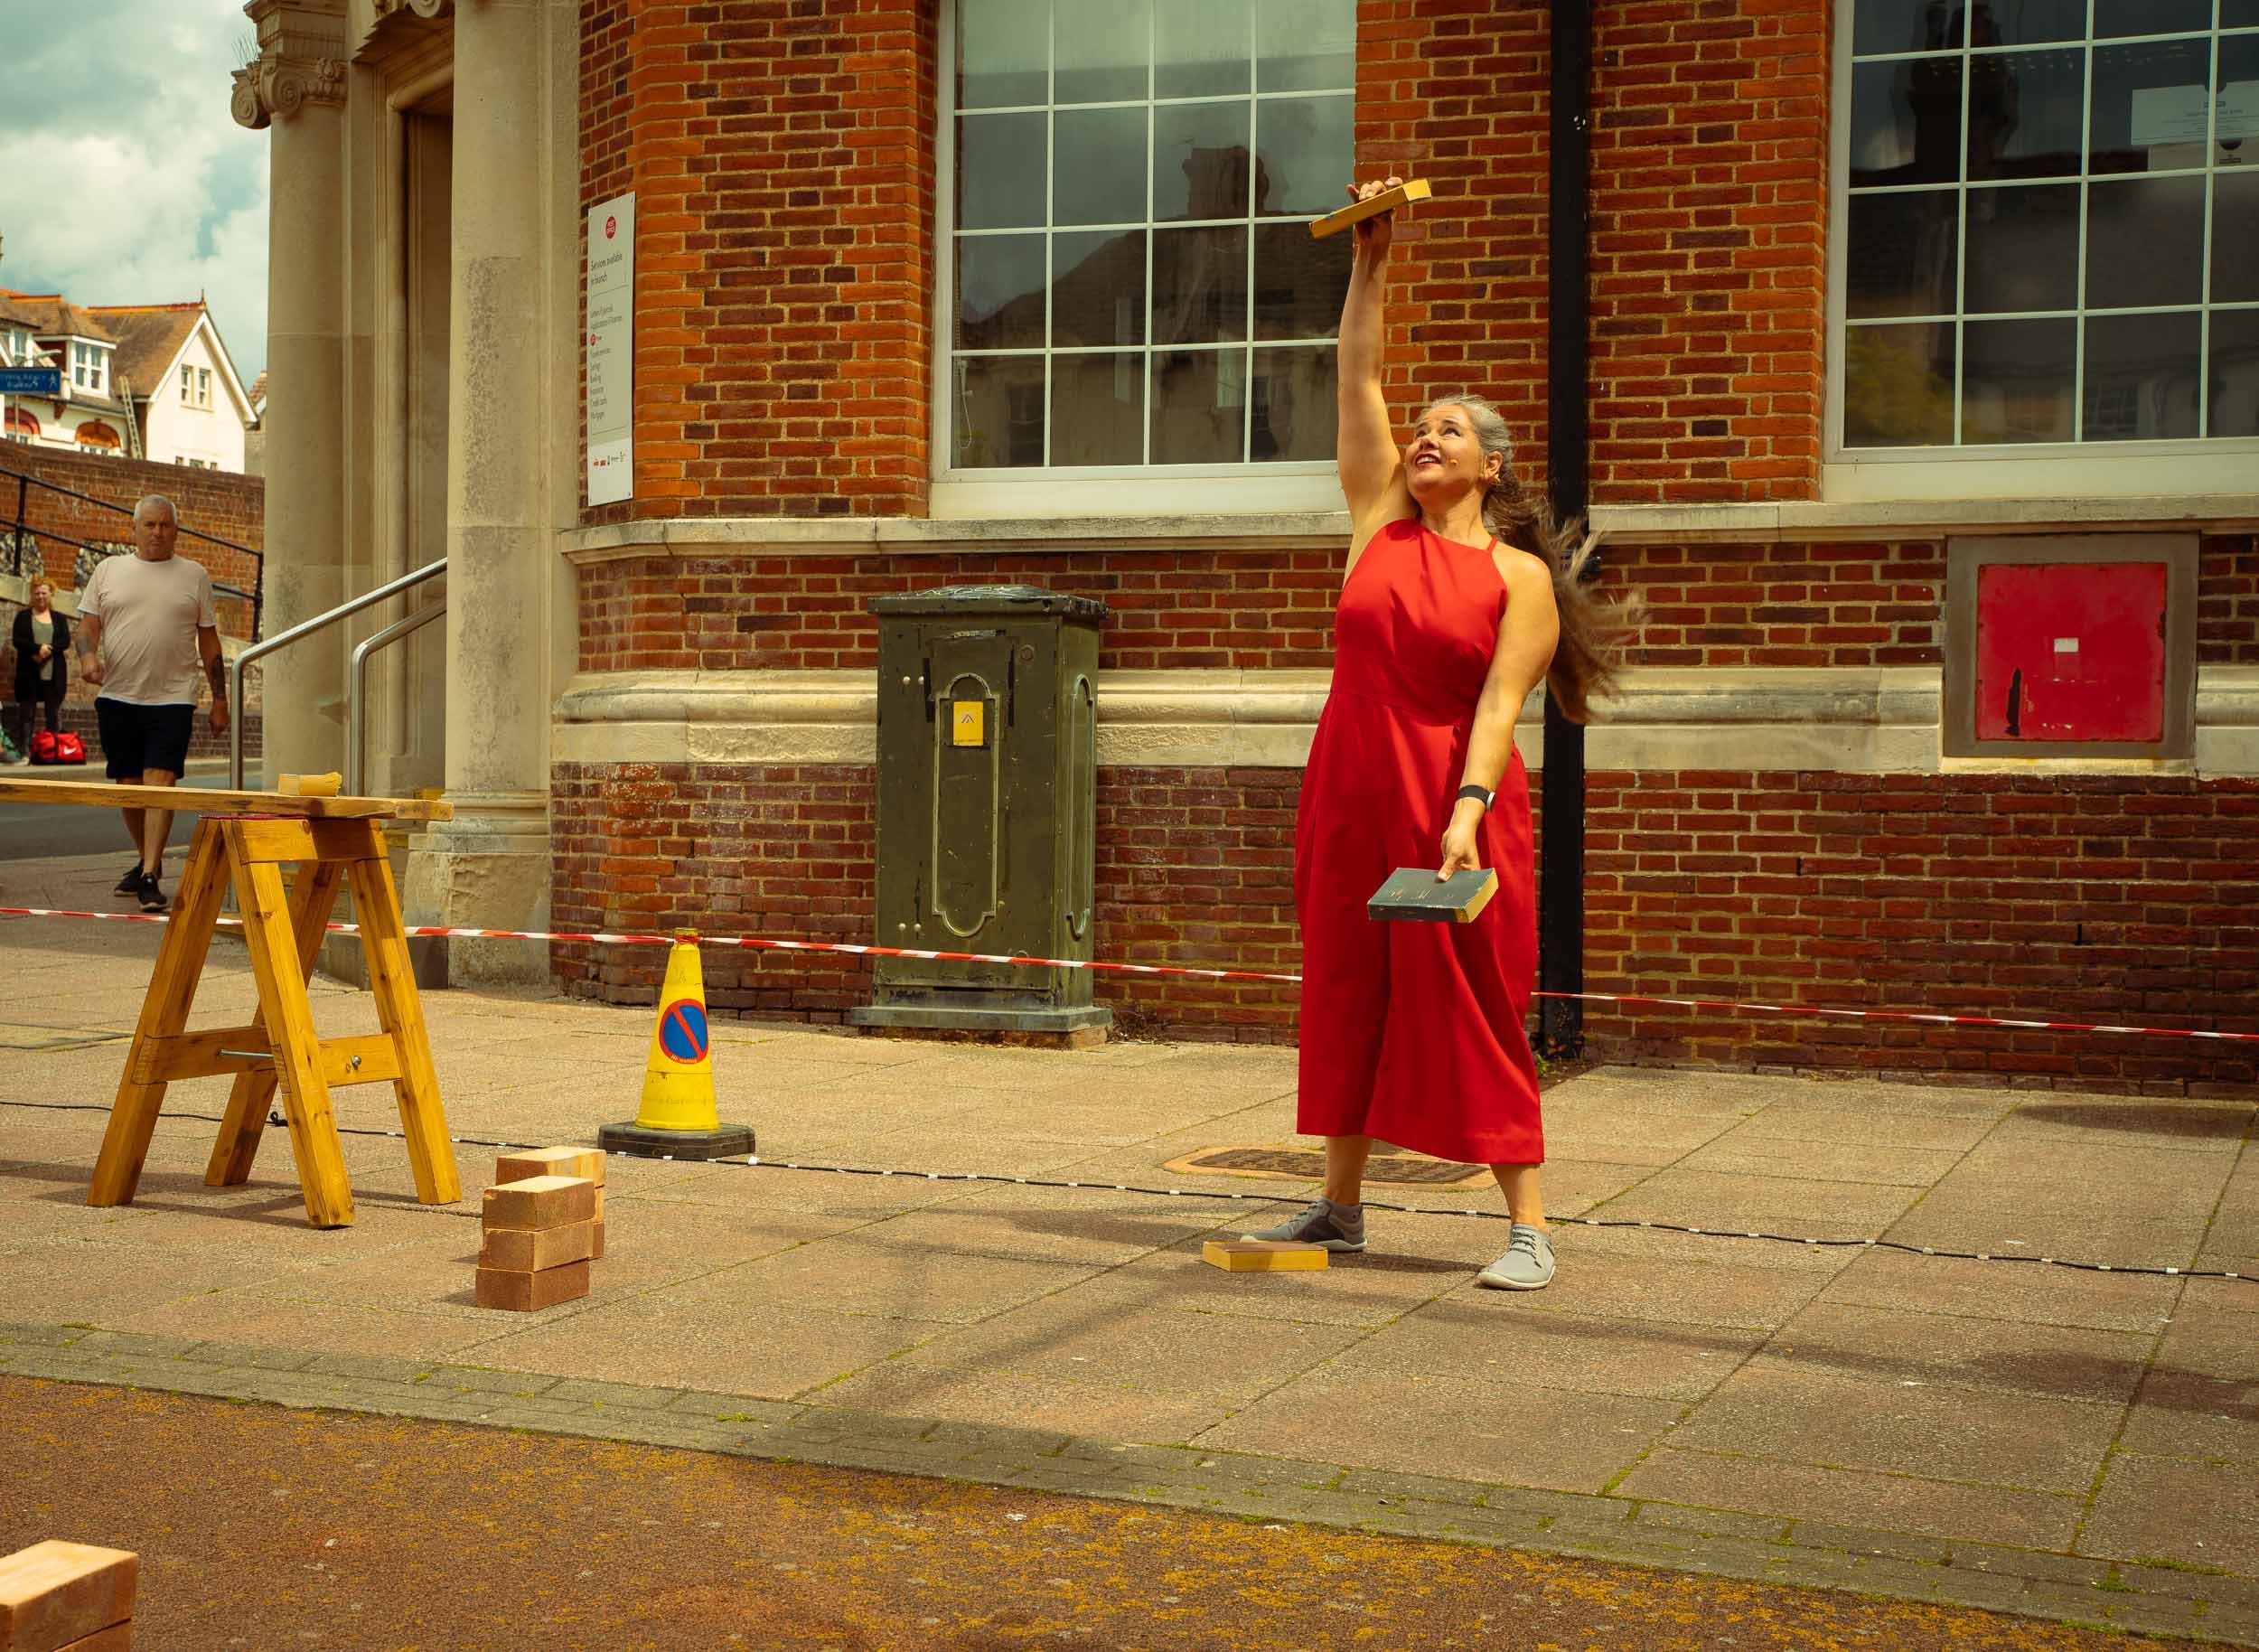
Next up was the awe-inspiring, ‘Strong Lady Productions’. Which is exactly what she said she is. A very strong lady with many interesting and powerful messages. Lifting up a large plank of wood with bricks on top on top of her head is something that even I would struggle to do.
The fantastic ‘Inside Out Theatre Company’ consisted of excellent performers from the ‘Bexhill Mencap SoC’. They put on two comedic and entertaining performances that delighted the crowds.
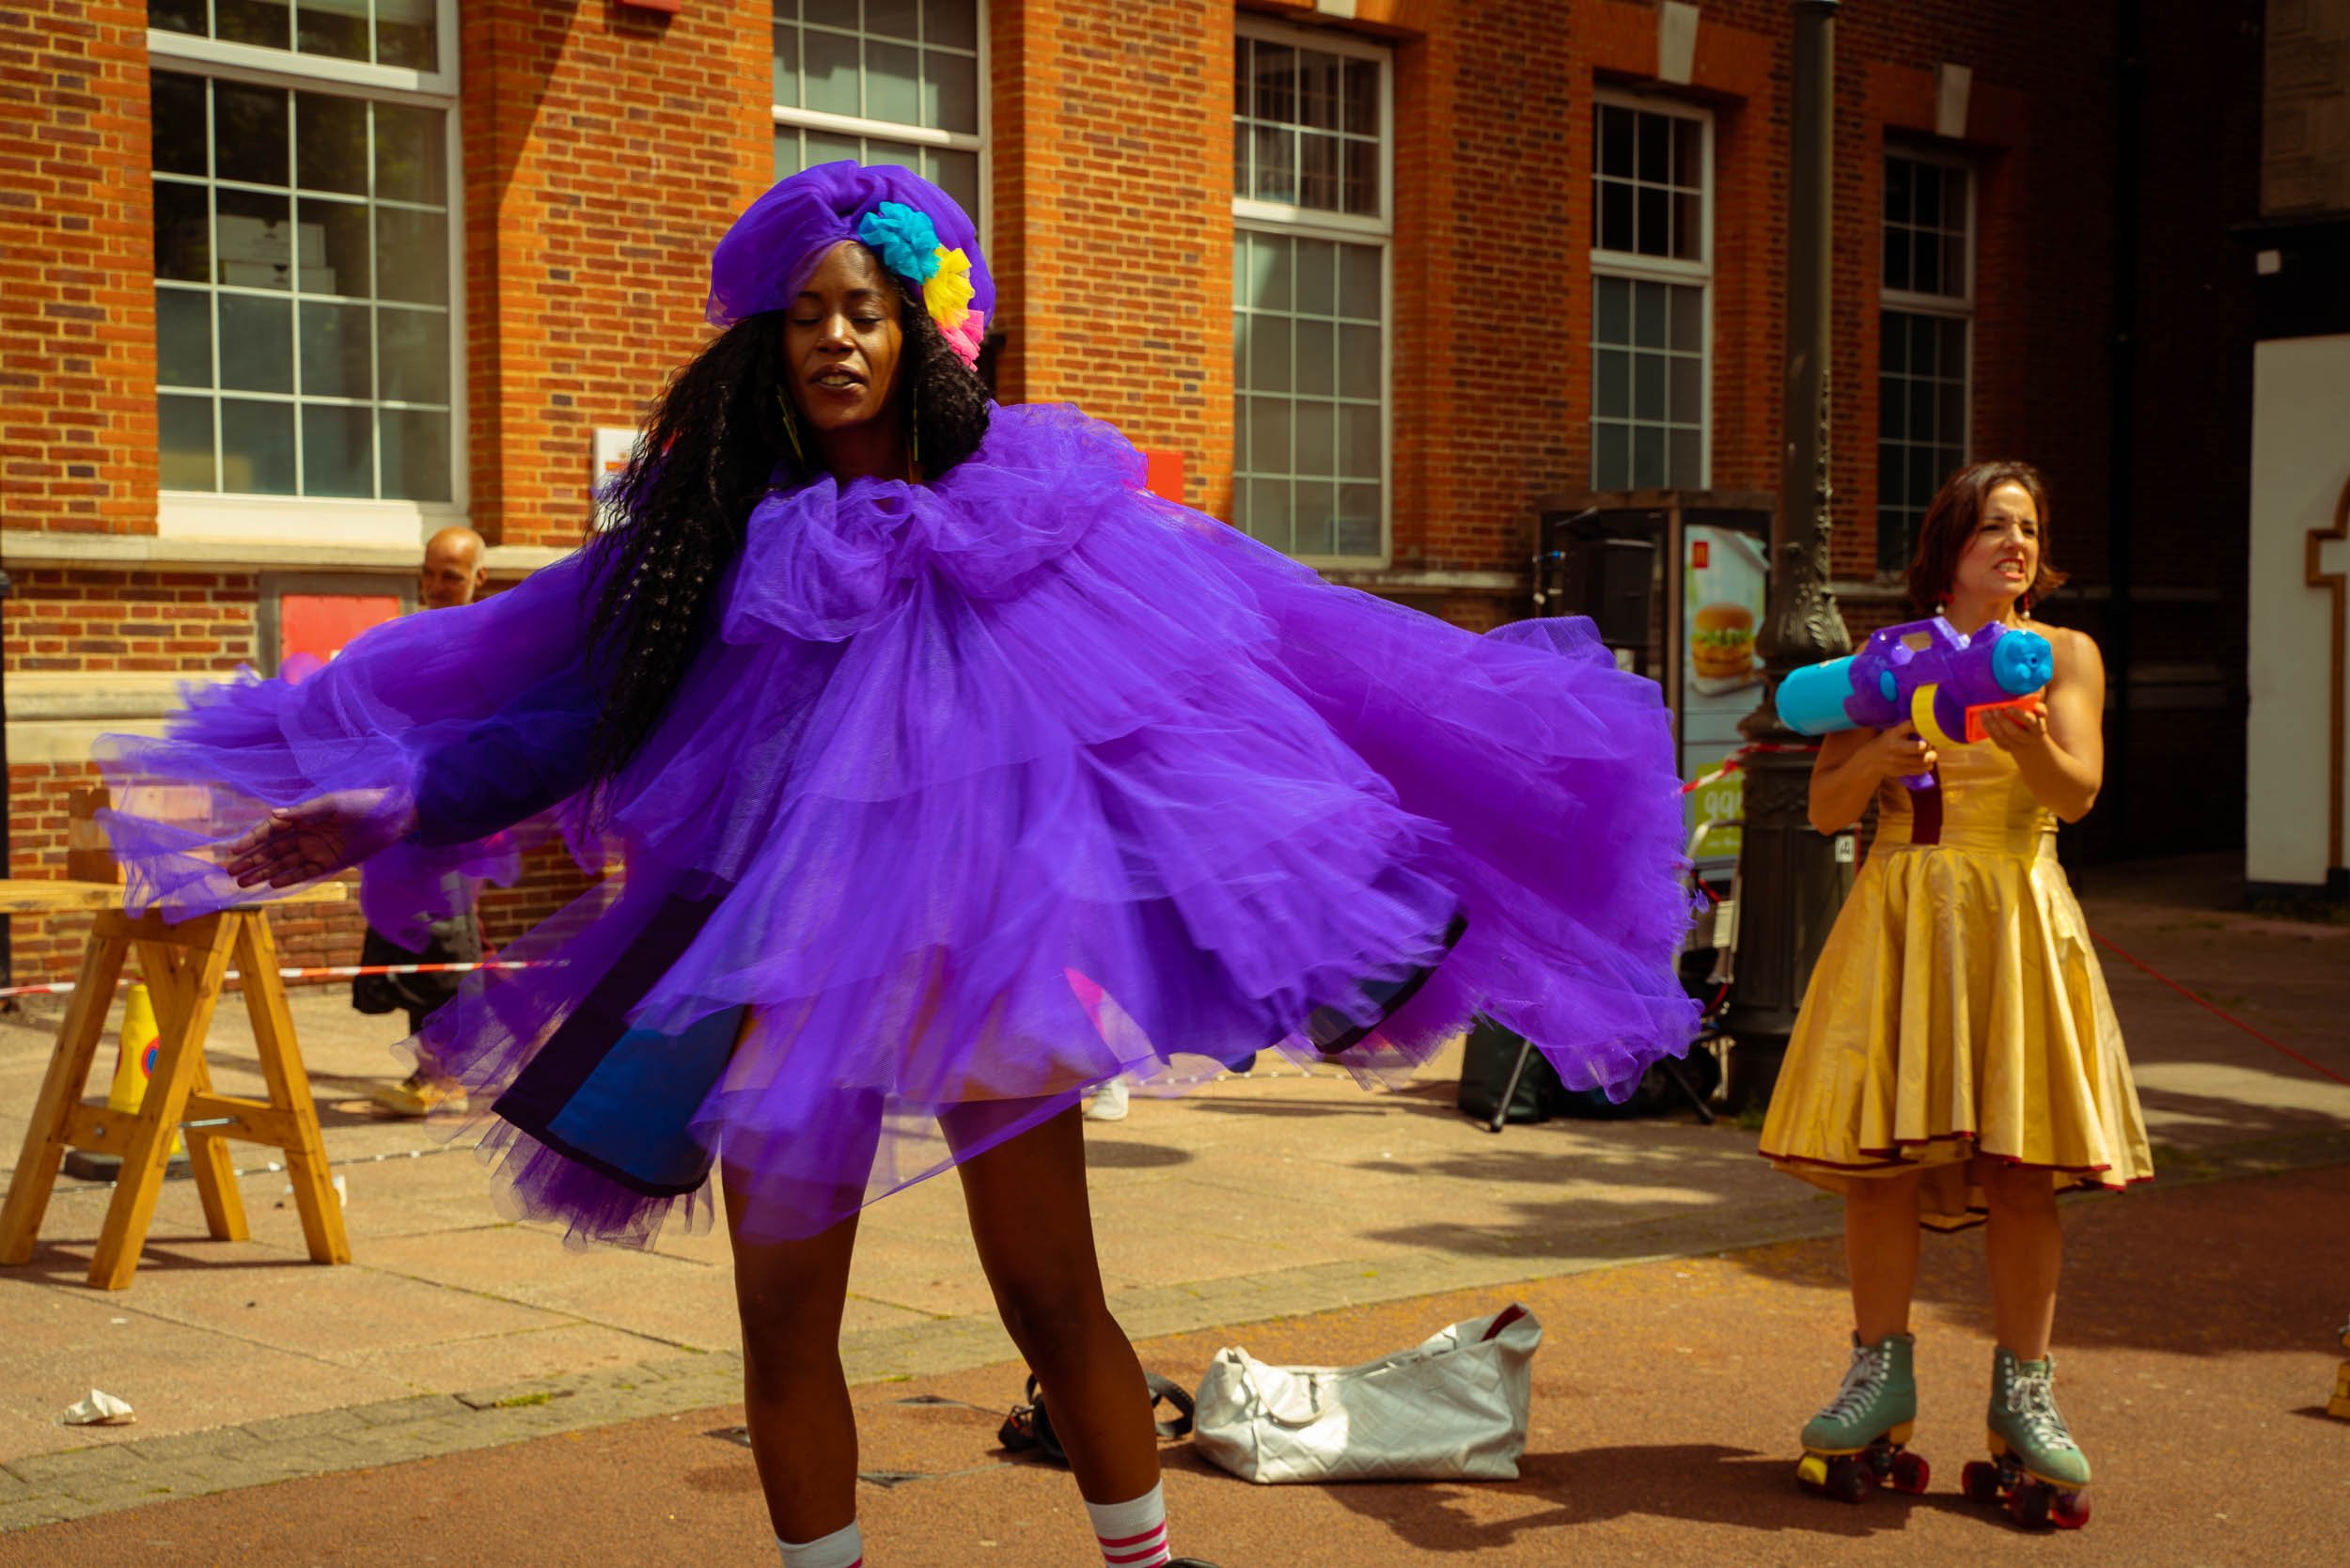
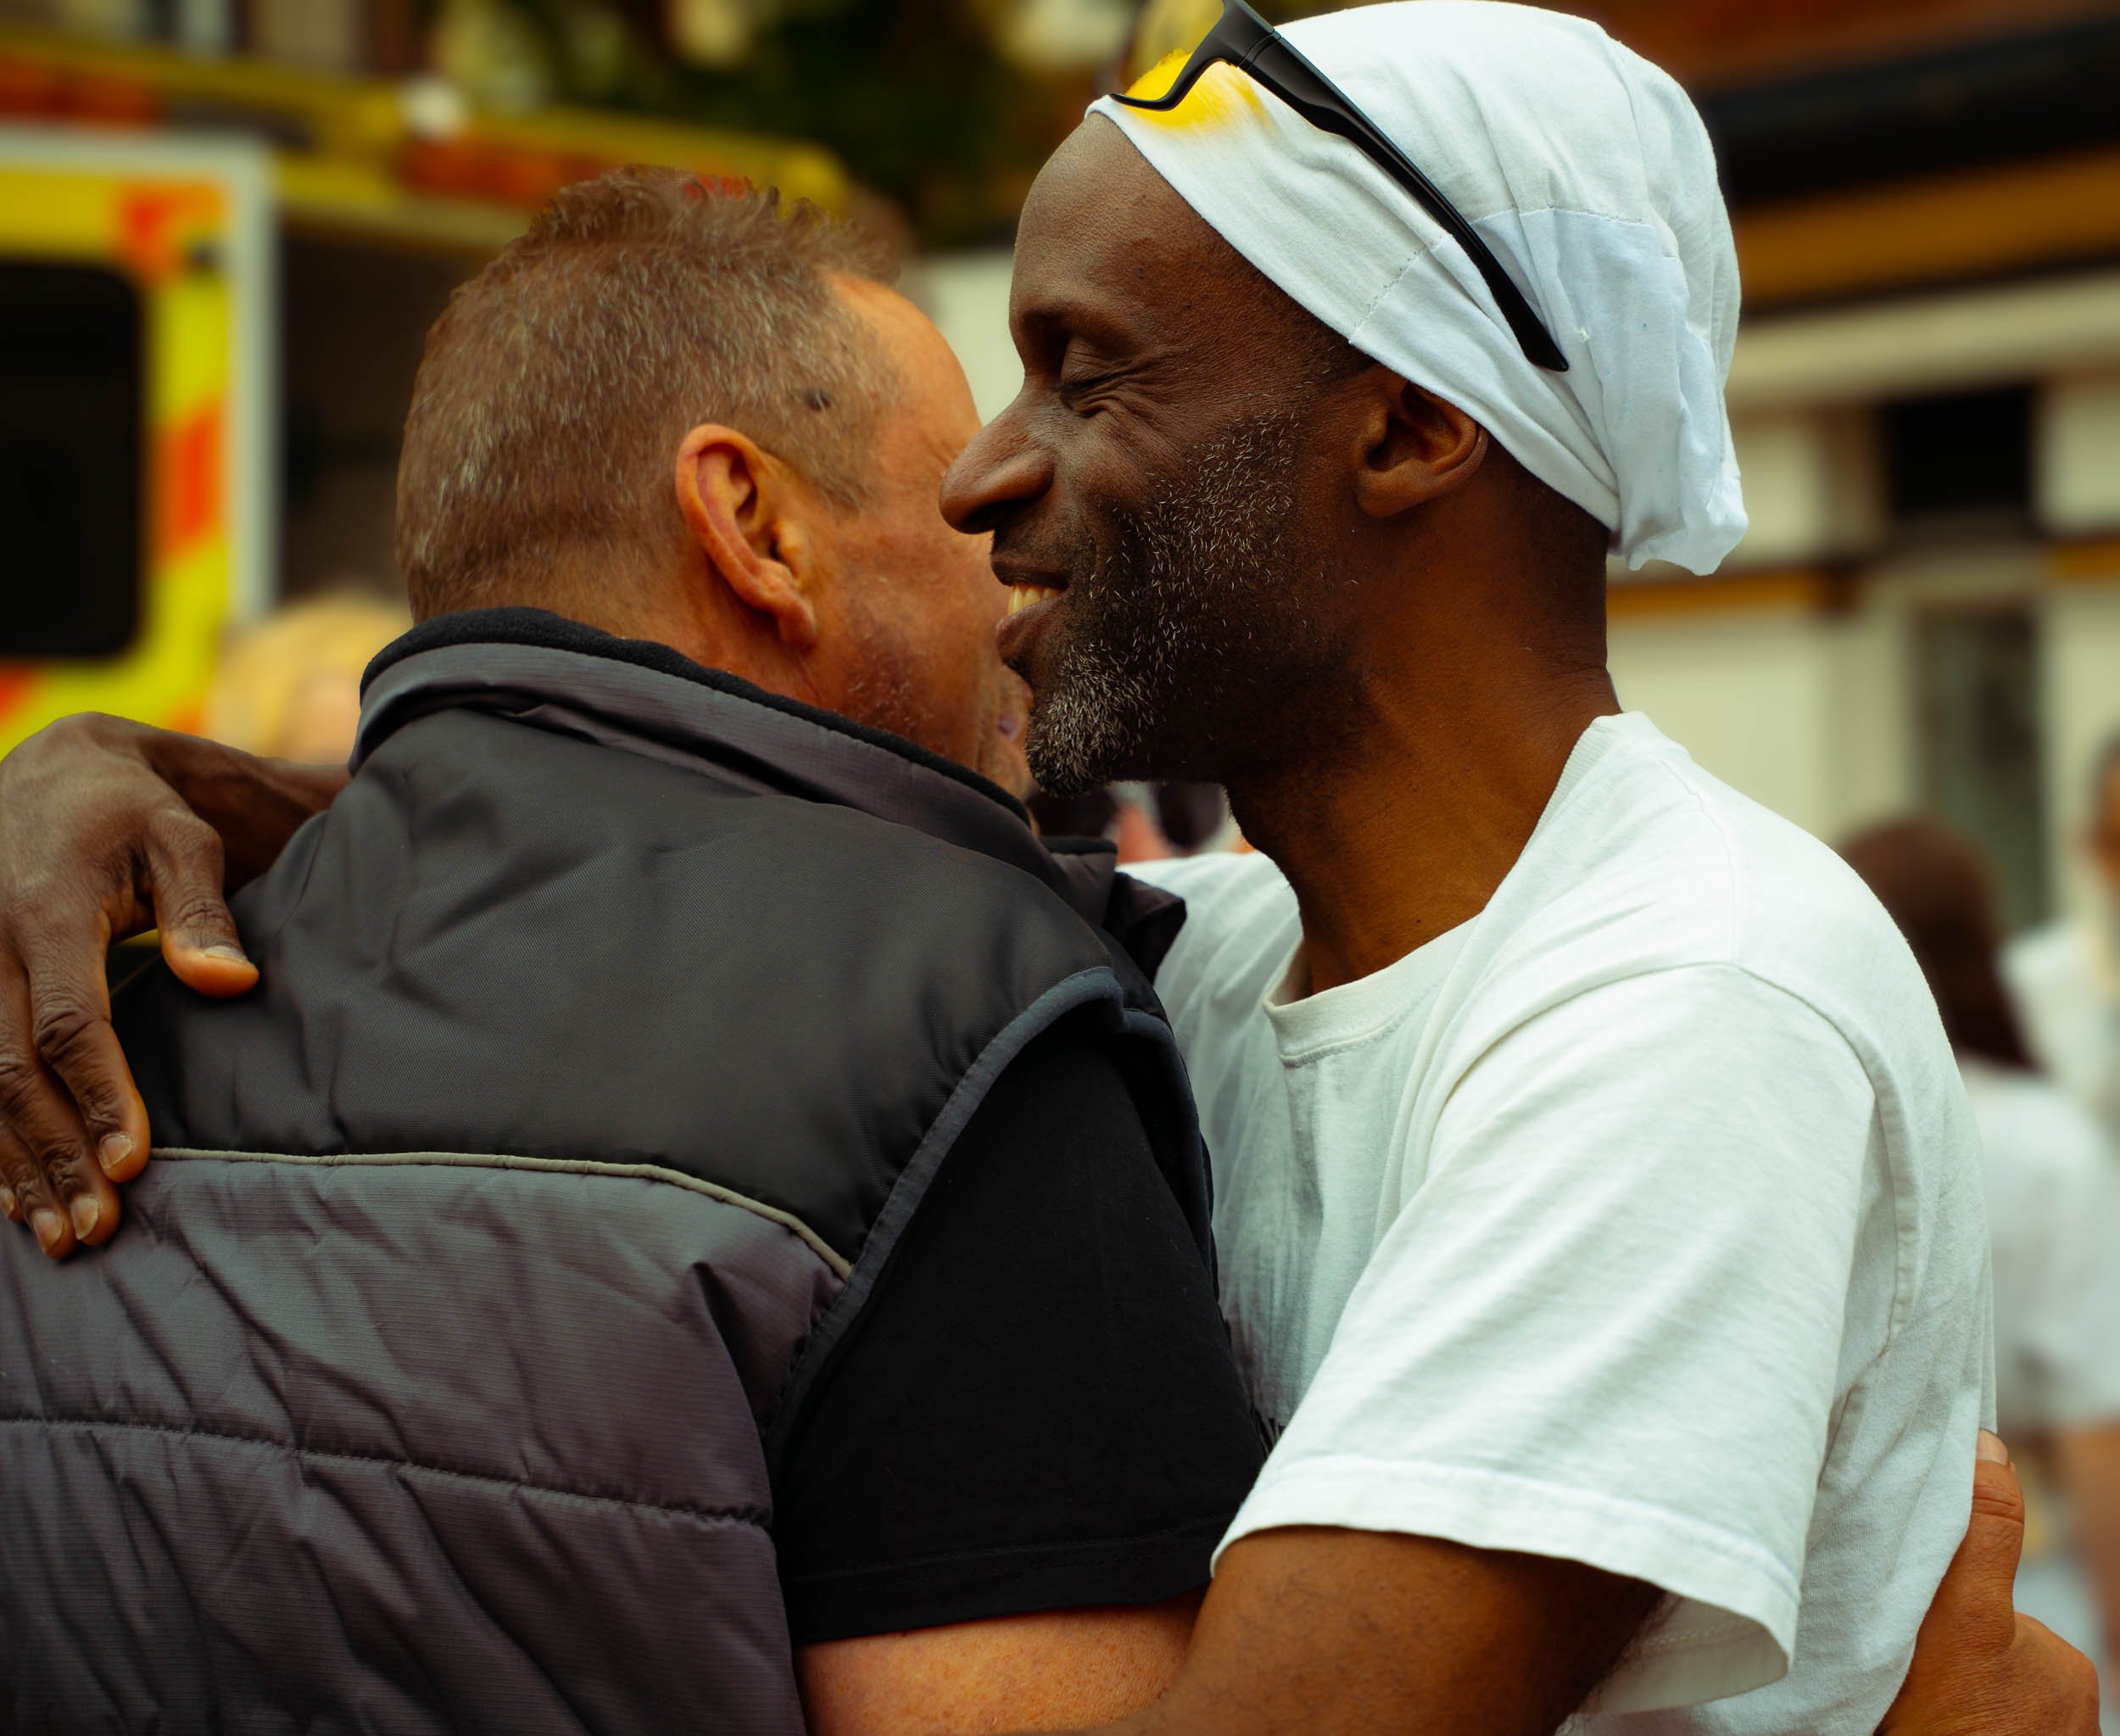
Finally, there was the unforgettable roller skating duo that was ‘Dulce Dulca’. Highly energetic, vivid colours, interesting characters - basically a street photographer's dream.
I had my work cut out for me…

Dolly Delicious - ISO 100 f /5 1/400 sec 44mm
The Prep
Memory cards galore.
That's the only thing I would say to anybody getting into event photography. Make sure you have enough memory cards to do the job. They really are an investment, as you have to buy the fastest cards that your camera allows. In my case, using the Sony A7RIII, meant that I needed to use UHS-II cards in slot one and a slower UHS I card for slot 2. During the 4 hours that I was shooting, I got through two 128 gigabyte UHS-II cards and also two 128 gig UHS I cards (simultaneous shooting). I then moved on to the slower cheap named brand 256GB cards. Trust me, you notice the difference when you are shooting on continuous shooting drive mode even at a low setting. Before this gig, I was unsure if fast cards made any difference; however, on this day, the 3rd of June, in the year 2022, I finally see the power of the fast memory card.
I wanted to use a zoom lens on the day as I knew I had to pick out details from fairly close up yet also needed to keep my distance to be able to get everybody in the shot, and typically, the week before I was asked to undertake this shoot, I needed to send my trusty Tamron 28 - 75mm in for repair (the autofocus stopped working). Therefore, I had no choice but to rent the same lens that I owned. Could I have gotten by with my 55mm Zeiss? Probably, but I wanted to do the best job possible and I knew that I needed to be able to zoom in and out to many different distances to get every shot that I wanted.
If you know me by now, and you have read my last blog post which is all about little ol’ me, then you'll know that I have a disability in my arms. So in order to balance the camera (as I can't naturally hold it up to my eyes without a base for support), I brought along my trusty Manfrotto monopod. Using this stick, with IBIS on, I have no problems getting 99.9% sharp shots throughout the day. Even when I'm working quickly. Out of the thousands of shots that I took, I think there was only one that was ever so slightly out of focus.

Inside Out Theatre Company - ISO 100 f /8 1/500 sec 38mm
The Settings
I knew that I needed to be able to get all the shots quickly and efficiently as possible.
Observing those storytelling moments which conveyed emotion, comedy, character and also colour and movement was my top priority. Therefore, even though when I am on the streets I am a Manual Mode shooter, I didn't want to spend time messing around with settings in Manual Mode; so I opted to use Aperture Priority. When I was focusing on the performers, in order to separate them from the background, I was shooting anything from f /2.8 - f /5.6. If I wanted to photograph the reactions of the audience I was generally picking f / 8. I also used Auto ISO. I knew it was going to be a pretty sunny day, so before the day, I set a range from 100 - 1600 ISO. I knew that this would cover pretty much any sunny day eventualities, cloudy or not. The minimum shutter speed I wanted was 1/250 sec. I knew that I wouldn't have any blurred performers or audience members having this shutter speed as my minimum. I didn't mess around with the White Balance - I kept this on auto. I also used Multi Metering Mode, which is perfect for my uses, as it measures light from across the scene.

Safety Catch Theatre - ISO 100 f /8 1/500 sec 38mm
The A7RIII’s Autofocus is always up to scratch, especially when you are using Continuous Autofocus with the Wide mode setting. Having the human face detection turned on is also very beneficial when you want to pick out the performer or the audience member. It works quickly and efficiently which is what I needed for the job.
In retrospect, I made the right choice in using the zoom lens. When I was shooting crowds or shooting the whole performance from afar, I was generally at the widest focal length of the lens. And when I was picking out the reactions of the performer I was zoomed way in, up to 75mm.
The trickiness for me shooting when having a disability is shooting from different perspectives. Fortunately, this is easily exacted using the monopod, where I quickly adjust the height, minimising or increasing each section and literally kneeling on the floor to get the shot.

Strong Woman Productions - ISO 100 f /5.6 1/640 sec 28mm
The Street Event Photography
These are all settings that I would use out on the streets. The crossover between street photography and outdoor event photography is absolute. I would normally be using a prime lens for street photography but I have been known to use the 28 - 75mm when shooting on the streets.
Aperture Priority is perfect when you're on the streets when you want to focus on composition and storytelling quickly and efficiently.
I have expressed my love for the benefits of Auto ISO for street photography many times on this website.
I would also use exactly the same Continuous Autofocus settings.
Watching the performers work and the audience enjoy the performances makes it easy to pick out those special exciting moments - it's all right in front of you. I noted that event photography is actually very good practice for street photography as you have no choice but to observe people who are doing interesting things right in front of you. It's basically the gift that keeps on giving.
With each shot that you take on an event shoot, just focus on improving your framing, composition, observing and aperture choosing skills.

Dulce Duca - ISO 250 f /5 1/250 sec 33mm
The Transferring
As soon as I got back to my studio I had the pleasure of transferring all of the images from the SD cards to the computer. I had my cards stored in a hard, drop-proof case that even I have trouble opening. Even with my SD card reader using USB 3.0, it still took over an hour to transfer the images. I even had time to take a quick shower whilst the images were hitting my hard drive.

Dende Sama Drumming Group - ISO 100 f /4 1/1000 sec 70mm
The Lightroom
I personally find that the best way to select the right images to be sent to the client is by using Lightroom's star rating system. 1 star for rejects, 2 for maybes, 3 for yeses and so on.
Once the picks were selected it was time to edit them which involved cropping, increasing saturation, highlights and shadows and maybe a bit of exposure adjustment here and there. Even though syncing settings across all of the images is a must for any event and wedding photographer. I still felt certain images needed individual tweaking to get them looking as good as possible.
The great thing about shooting events on a sunny day is that everybody looks really vibrant, so you don't need to use too much Vibrance or Saturation at all.

ISO 125 f /8 1/250 sec 68mm
The TakeAway
Would I shoot this event again?
Absolutely. I loved every minute of it, just as much as I love street photography. I might even make a career out of it ;)
if you want to practise your street photography but you are just beginning and/or are a little bit nervous then I can only recommend that you look through your local ads for the next outdoor event in your area. Everybody enjoying themselves and performers doing unusual and exciting things is observing and photographing made easy.
Go forth and create.