My Awesome Settings for Night Street Photography (and Why You Should Use Them Too)

Introduction
I know this from first-hand experience - it can be a minefield knowing what settings to use for your night street photography pursuits. That's why I've created this handy guide to the settings that I currently use, that hopefully, you can use too.
Let's get into it.
The Cameras I use
At the moment I am using two cameras. The Ricoh GRIII and the Sony A7RIII.
The Sony is a great low light beast. The autofocus is fantastic, even at night. I've spent many a wonderful night taking night street photography images with this camera.
However, the Ricoh is now the camera that I use the most as of February 2022. The small size is perfect for street photography and the ability to use ‘Snap Focus’, (which is a simple and functional way of pre-focusing your camera to a certain distance so that subjects within that distance are in focus) revolutionises my street photography. I use Snap Focus and the autofocus system on the Ricoh all of the time. In fact, the autofocus at night on the Ricoh is perfectly usable. I have got taken great images on this little street photography camera, even in the darkest of conditions.
The Camera Mode
I am a great believer in having complete control of your settings. This way, I can change settings depending on the situation I am in. If I am on a brightly lit street and the subject is walking toward me, if I want, I can choose to blur out the background slightly, using the widest aperture and I can also choose a fast enough shutter speed to freeze the subject. If a few minutes later, I then see somebody standing outside a takeaway and they are surrounded by shops that don't have their lights on, I can immediately slow my shutter speed down to increase the exposure and increase my aperture slightly, because I want slightly more depth to be able to see behind the subject, inside the takeaway. If I need to dial back the exposure on some artificial lights, such as street lamps I can either increase the shutter speed or stop down the aperture slightly.
This is the reason I use Manual Mode for night street photography
Why should you use it?
Learning how aperture, ISO and shutter speed work together allows you to make informed decisions depending upon the situation (light conditions, subjects) where you are shooting and also allows you to get creative with your street photography. It gives you an underpinning that you can refer to and it gives you a base of knowledge to help you improve your craft as a photographer. Once you know how to use Manual Mode you can make quick decisions when on the streets. And after you have learned how to master the exposure triangle, you can then choose Aperture Priority or Shutter Priority from a place of knowledge, rather than just hoping the camera gets exposure right.
Obviously, this is just a suggestion, you can quite simply learn the other way around, taking it step by step, by using Aperture Priority or Shutter Priority before you use Manual Mode.
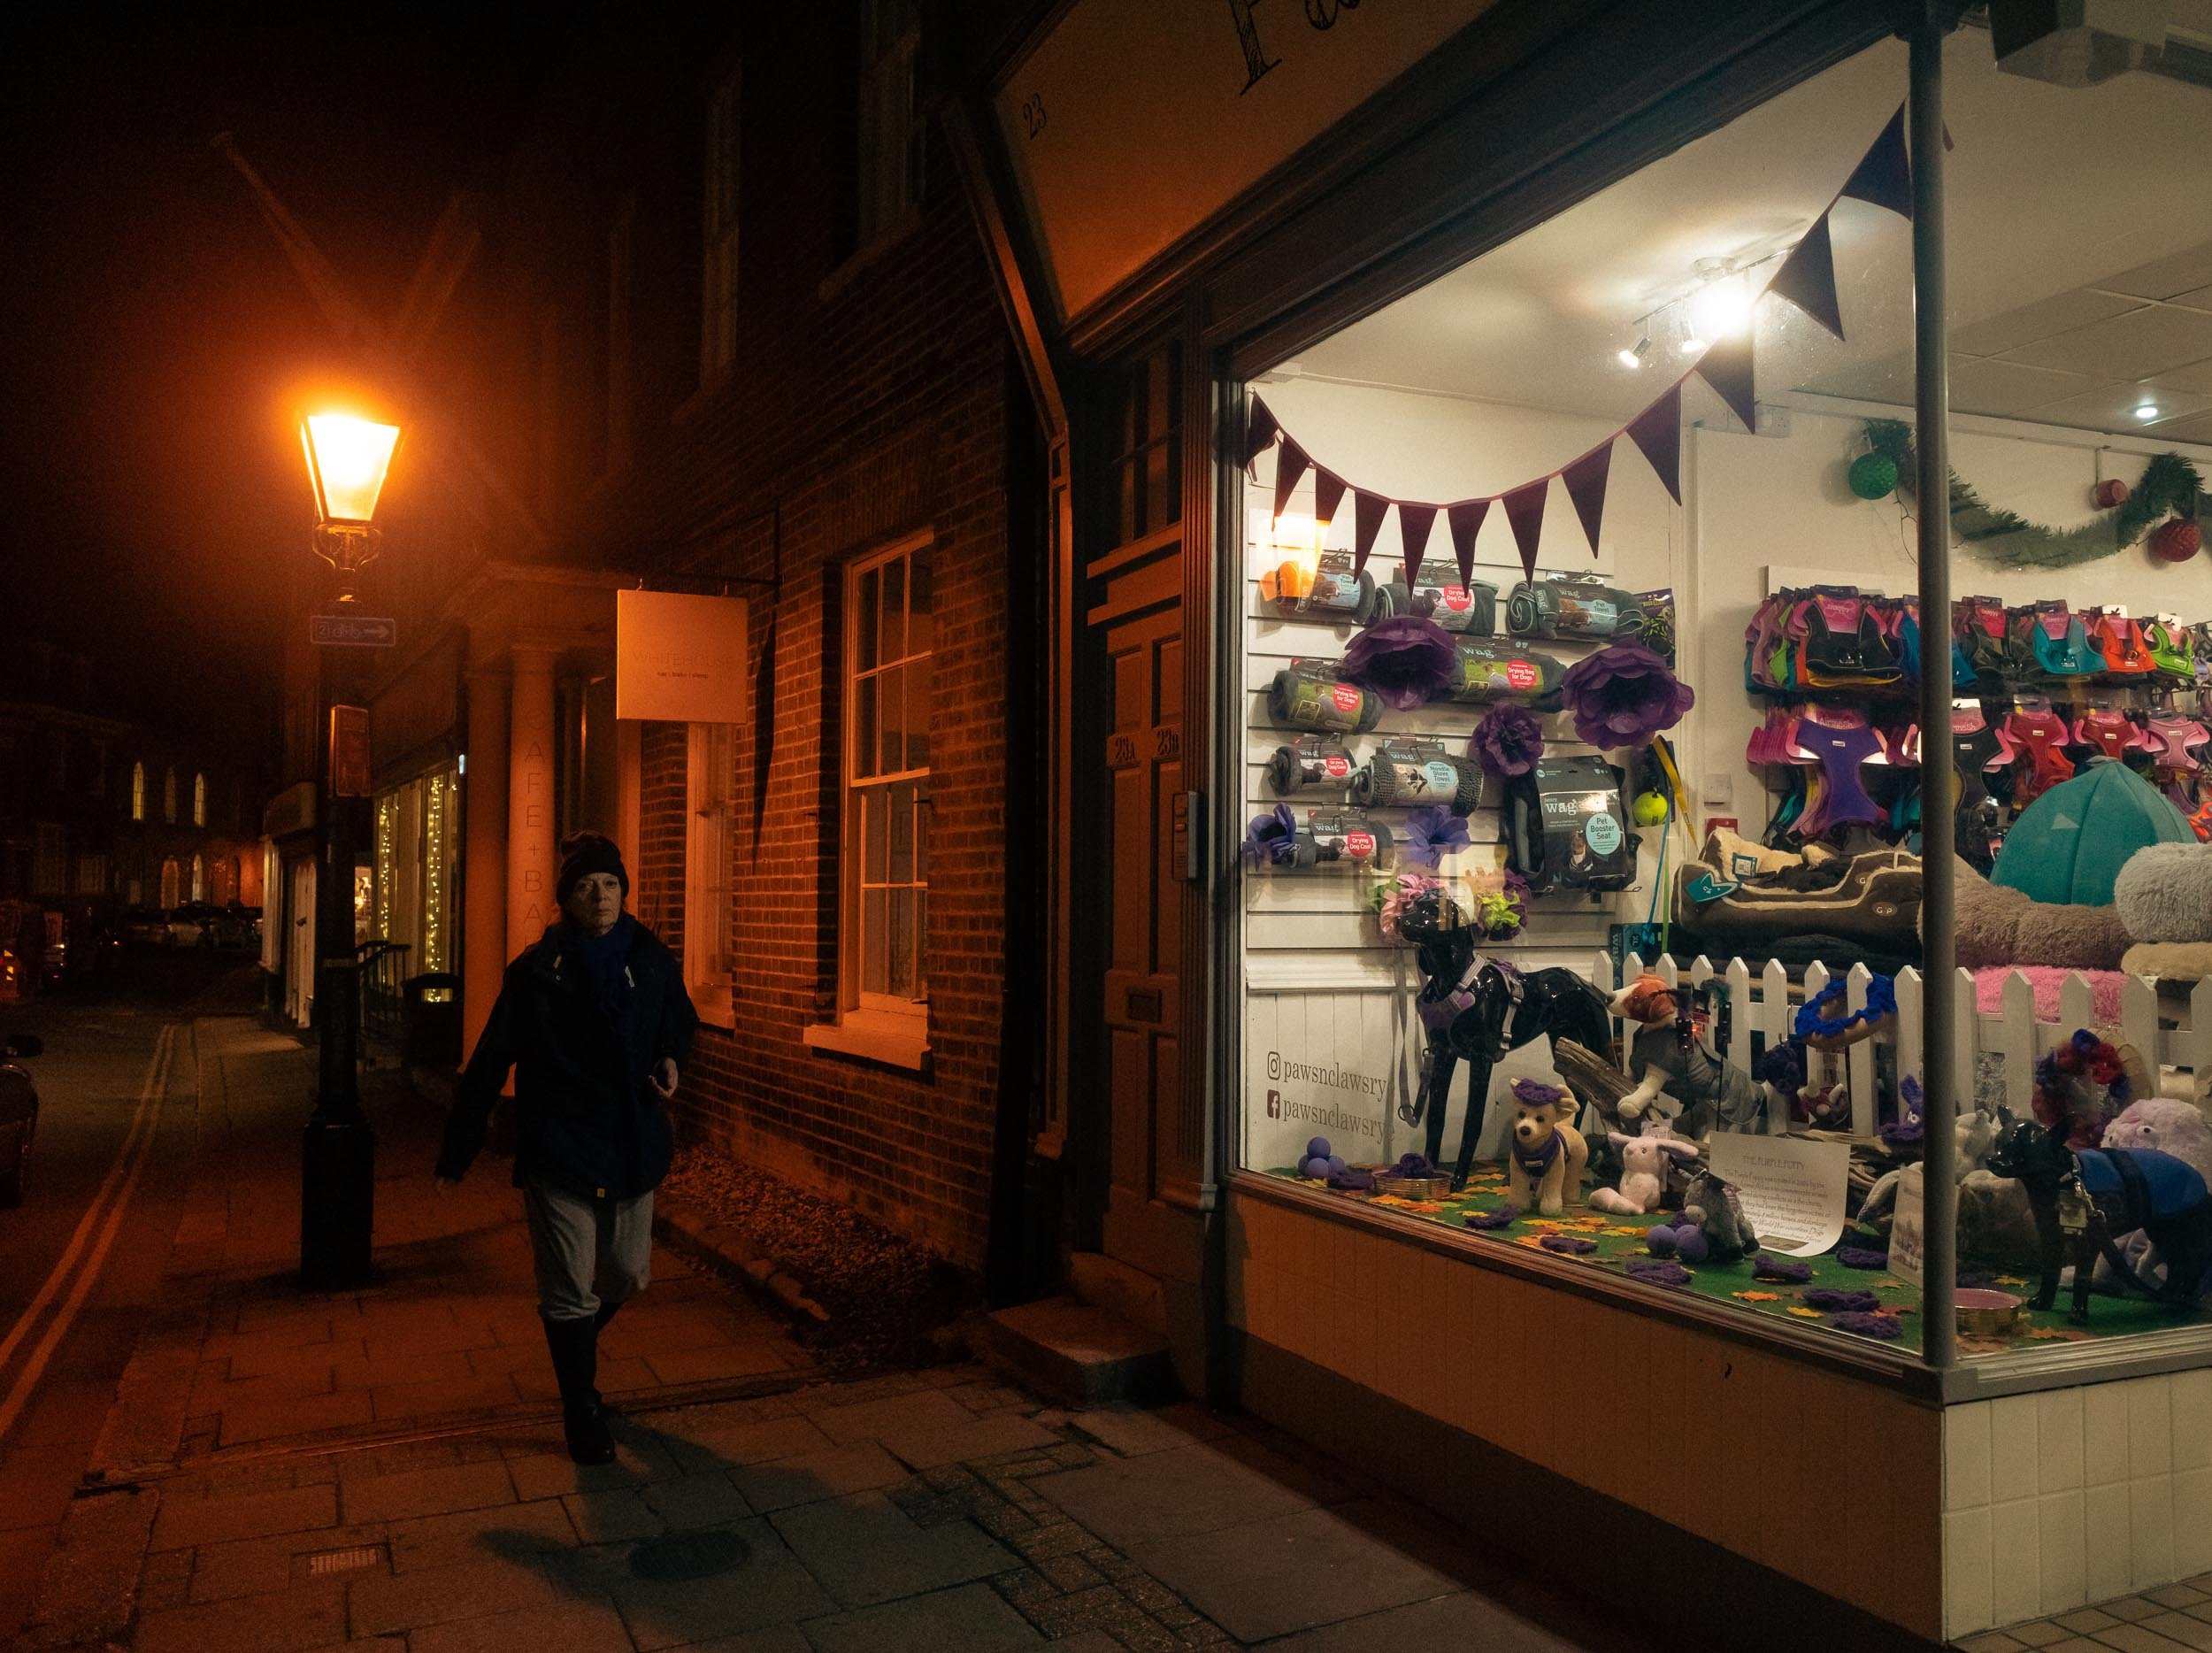
ISO 2500 f /2.8 1/160 SEC
The Metering Mode
95% of the time I will use Evaluative / Multi-Segment Metering Mode which works by taking a reading across the entire frame. It does this by splitting individual portions of the frame into zones, which are then read for the shadows, mid-tones and highlights. I use this mode for night street photography because there might be various artificial lights in my composition that also includes people and therefore I want the camera to analyse light across the frame.
However, if there is a subject illuminated by a shop window and they are surrounded by shadows I would switch to Centre Weighted Metering Mode. Centre-Weighted Metering Mode works differently from Evaluative Metering Mode. It takes a reading from only the centre portion of the frame, ignoring the corners and the areas around the centre portion. Depending upon camera manufacturers it may take a reading from 60% to 80% of the frame.
Why should you use it?
These are the metering modes that are going to help you get great results when out on the streets at night. Choosing between Evaluative and Centre Weighted metering mode will give you a much better hit rate for properly exposed and accurately focused images.
The White Balance
Modern cameras are pretty good at evaluating what conditions you are shooting in so that the light source remains white. This is why I always use Auto White Balance. Also, because I usually shoot in RAW, I can adjust the White Balance to my liking in post-processing software, such as Lightroom.
Why should you use it?
You should use Auto White Balance because, unless you are working indoors, with some harsh artificial lighting conditions, Auto White Balance works perfectly.

ISO 1000 f /2.8 1/100 SEC
The Aperture
For night time street photography I'm always shooting at wide apertures. this is because I need as much light as possible, especially in dark conditions. Therefore, using my Ricoh, I generally have the lens fixed to its widest aperture of f /2.8.
This can vary depending upon the light conditions that are illuminating the street. For a very bright street with lots of street lights and shop lights, I have been known to use f /8 - f /2.8. But mostly the exposure falls within the range of f /5.6 - f /2.8. Especially as you enter darker areas you will want to increase the aperture to a wider setting. f /8 - f /1.8 are the best night street photography aperture settings.
Why should you use it?
Because you're going to need enough light to enter the diaphragm of your lens when shooting in the dark. This is why you're probably going to have to buy a fast lens with a bright aperture (if you haven't already got one). When you're hitting the streets at night you never know how dark your next street is going to be and you need to be prepared for great photos in difficult locations.
The Shutter Speed
When there is daylight you can use very fast shutter speeds of anything from approximately 1/200 sec - to 1/4000 sec. However, at night you do not have the luxury of being able to use fast shutter speeds as you need more light to make the exposure. Therefore, the shutter has to be open for a longer period of time to let more light onto the sensor. So there is a careful balancing act of getting enough light onto the sensor and also being able to freeze your subjects sharply enough for a great image. This is why for night street photography I always use a shutter speed from approximately, 1/80 sec - to 1/200 sec, depending upon how much ambient light there is on the streets.
With the smaller than full-frame APS-C sensor, with the Image Stabilisation built-in, I know that the Ricoh GRIII is capable of getting frozen subjects at night at 1/80 sec and potentially even slower than this, I need to do further testing. I also know that I am physically able to hold the camera steady at this moderately fastish slow shutter speed. However, when using the much larger Sony A7RIII, with the full frame sensor, the slowest shutter speed that I can freeze subjects is slightly higher: 1/100 sec.
Why should you use it?
Ultimately, the factors I outlined above will have a direct effect on the minimum shutter speed that you can comfortably use in order to freeze subjects with your night street photography. Not only this, the ambient light conditions that you find yourself in will also affect which shutter speed you need to use to get a correct exposure. Just realised that you won't be using any fast shutter speeds at night that you would be using in the daytime.

ISO 3200 f /2.8 1/100 SEC
The ISO (Auto ISO)
At night, ISOs from 800 to 6400 are required to give the exposure enough light alongside your choice of wide aperture and moderately fastish slow shutter speed. My night street photography settings always use ISOs that fall within this range.
This is why I use Auto ISO in Manual Mode. This function allows me to set a specific range for the ISO (800 - 6400). It also allows me to choose a minimum shutter speed that I know will be able to freeze subjects (1/80 sec).
In practice, this means that I can walk around at night, choose the aperture and the shutter speed and feel safe in the fact that the camera will choose the ISO based on the range that I have set. Therefore, it will never go beyond 6400 or go under 800.
Two caveats to be aware of is that when using Auto ISO in Manual Mode your image can become overexposed and underexposed. If I'm shooting at night and I have selected the smallest aperture (f /2.8), I can use, and I am using the fastest shutter speed that I know I can use at night (1/200 sec), and the camera determines that these settings would require an ISO greater than my max level of 6400, then the image will be underexposed as the camera won't go beyond my max level ISO. This can also happen in the opposite direction, the camera can overexpose if I am in extremely bright conditions, and I am using the base shutter speed that I know I can handle and the widest aperture on my lens. In this situation, the camera would pick the base level Auto ISO and if it is just not low enough, the image would be overexposed. So in that kind of situation, you need to be aware of your exposure and adjust it accordingly.
Why should you use it?
I would recommend using Auto ISO after you have mastered shooting in Manual Mode for a while. This way you can rely on your knowledge, rather than relying on the camera’s knowledge where you would have the disadvantage of not knowing how to expose an image properly. Auto ISO is great because you can concentrate on composing and shooting, knowing that the camera is going to choose the ISO based on the range that you have set and the minimum shutter speed that you know that you can hold the camera and get sharp shots, comfortably at night.
The Focus
Realizing that you may not have a Ricoh GRIII, I won't go into too much detail about how to use Snap Focus. However, it really is quite simple. The camera lets you choose a focus distance from 1 m, 1,5 m, 2 m, 2,5 m, 5 m or ∞ Infinity. Whichever you select will be the minimum focus distance that will appear sharp in your images. For instance, if I select 1 metre, then subjects within a certain distance from 1 metre will appear in acceptable sharpness. The closer the subject is to 1 metre, the sharper that they will appear. The aperture that you select will have an important impact on what range everything will be in sharpness. Basically, if I choose a narrow aperture of f /16, I will have a much greater distance range of sharpness, (up to five metres and beyond depending upon the aperture) than a wide aperture of f /2.8. This is because depth of field is greatly increased at narrow apertures.
You do not need a Ricoh GRIII to Zone Focus. You can pre-focus your lens by learning distances before you go out shooting. Choose the distance that you are comfortable shooting at and simply place objects, pets, friends or family members at different distances, using a tape measure and focus on each in turn. Then on your big day of shooting, you can pre-focus on a subject and measure its distance and then leave your lens at that focus distance. For an in-depth tutorial on Zone Focusing check out this blog post.
Most of the time I am happy using autofocus on both of my cameras. I rarely use Continuous Autofocus and that is because I have no problem relying on Single Shot Autofocus with the Wide area on my Sony camera, and Auto Area AF on the Ricoh. I get a very decent hit rate with these focus modes on both cameras at night. In fairness, I haven't actually used the Ricoh’s Continuous Autofocus at night to see how well it works.
However, my style of street photography has changed since I've been using the Ricoh GRIII 99% of the time now, where I am now shooting people much more close up than I used to. If I was to pick up my Sony A7RIII, I would probably use Continuous Autofocus with the Flexible Spot to capture subjects accurately.
Why should you use it?
Slightly different from the previous answers, the autofocus that you choose is based on the camera that you have and its autofocus at night capabilities. Therefore, I advise you to test out your camera’s autofocus capabilities to see what works for you. Also, if you learn how to master Zone Focusing and then you won't have to worry about using autofocus at all.

ISO 6400 f /2.8 1/160 SEC
The Exposure Compensation
When there are bright street lamps and shop lights, it can be very difficult to expose for them properly without clipping the highlights. This is why I use the Histogram on the back of the camera LCD screen to check the exposure and also either stop down the aperture, reduce the ISO, increase the shutter speed, or dial back the Exposure Compensation if the highlights look like they are being clipped. Note - on many cameras Exposure Compensation does not work in Manual Mode or can be limited in its functionality.
The happens a lot at night as you will need to balance scenes where there is a high dynamic range with dark shadows and bright highlights.
Therefore, sometimes (but not all the time as it depends on how much contrast there is in a scene) there is a need to slightly underexpose the image so that those lamps and shops don't get blown out and then increase the exposure in post-processing.
Why should you use it?
Adjusting exposure is what photographers have to do in order to get their images properly exposed. I have learned a lot about histograms and exposure by simply adjusting any of the exposure variables and adjusting the Exposure Compensation dial.
Conclusion
So there it is. I have divulged my settings to you. I hope that these in-depth settings get you out shooting tonight taking great night street photos.
Go forth and create.