Testing Out Every Ricoh GRIII/X JPEG Recipe
Unveiling the Charm of Ricoh GR III's Film Simulations: A Photographic Odyssey in Leadenhall Market
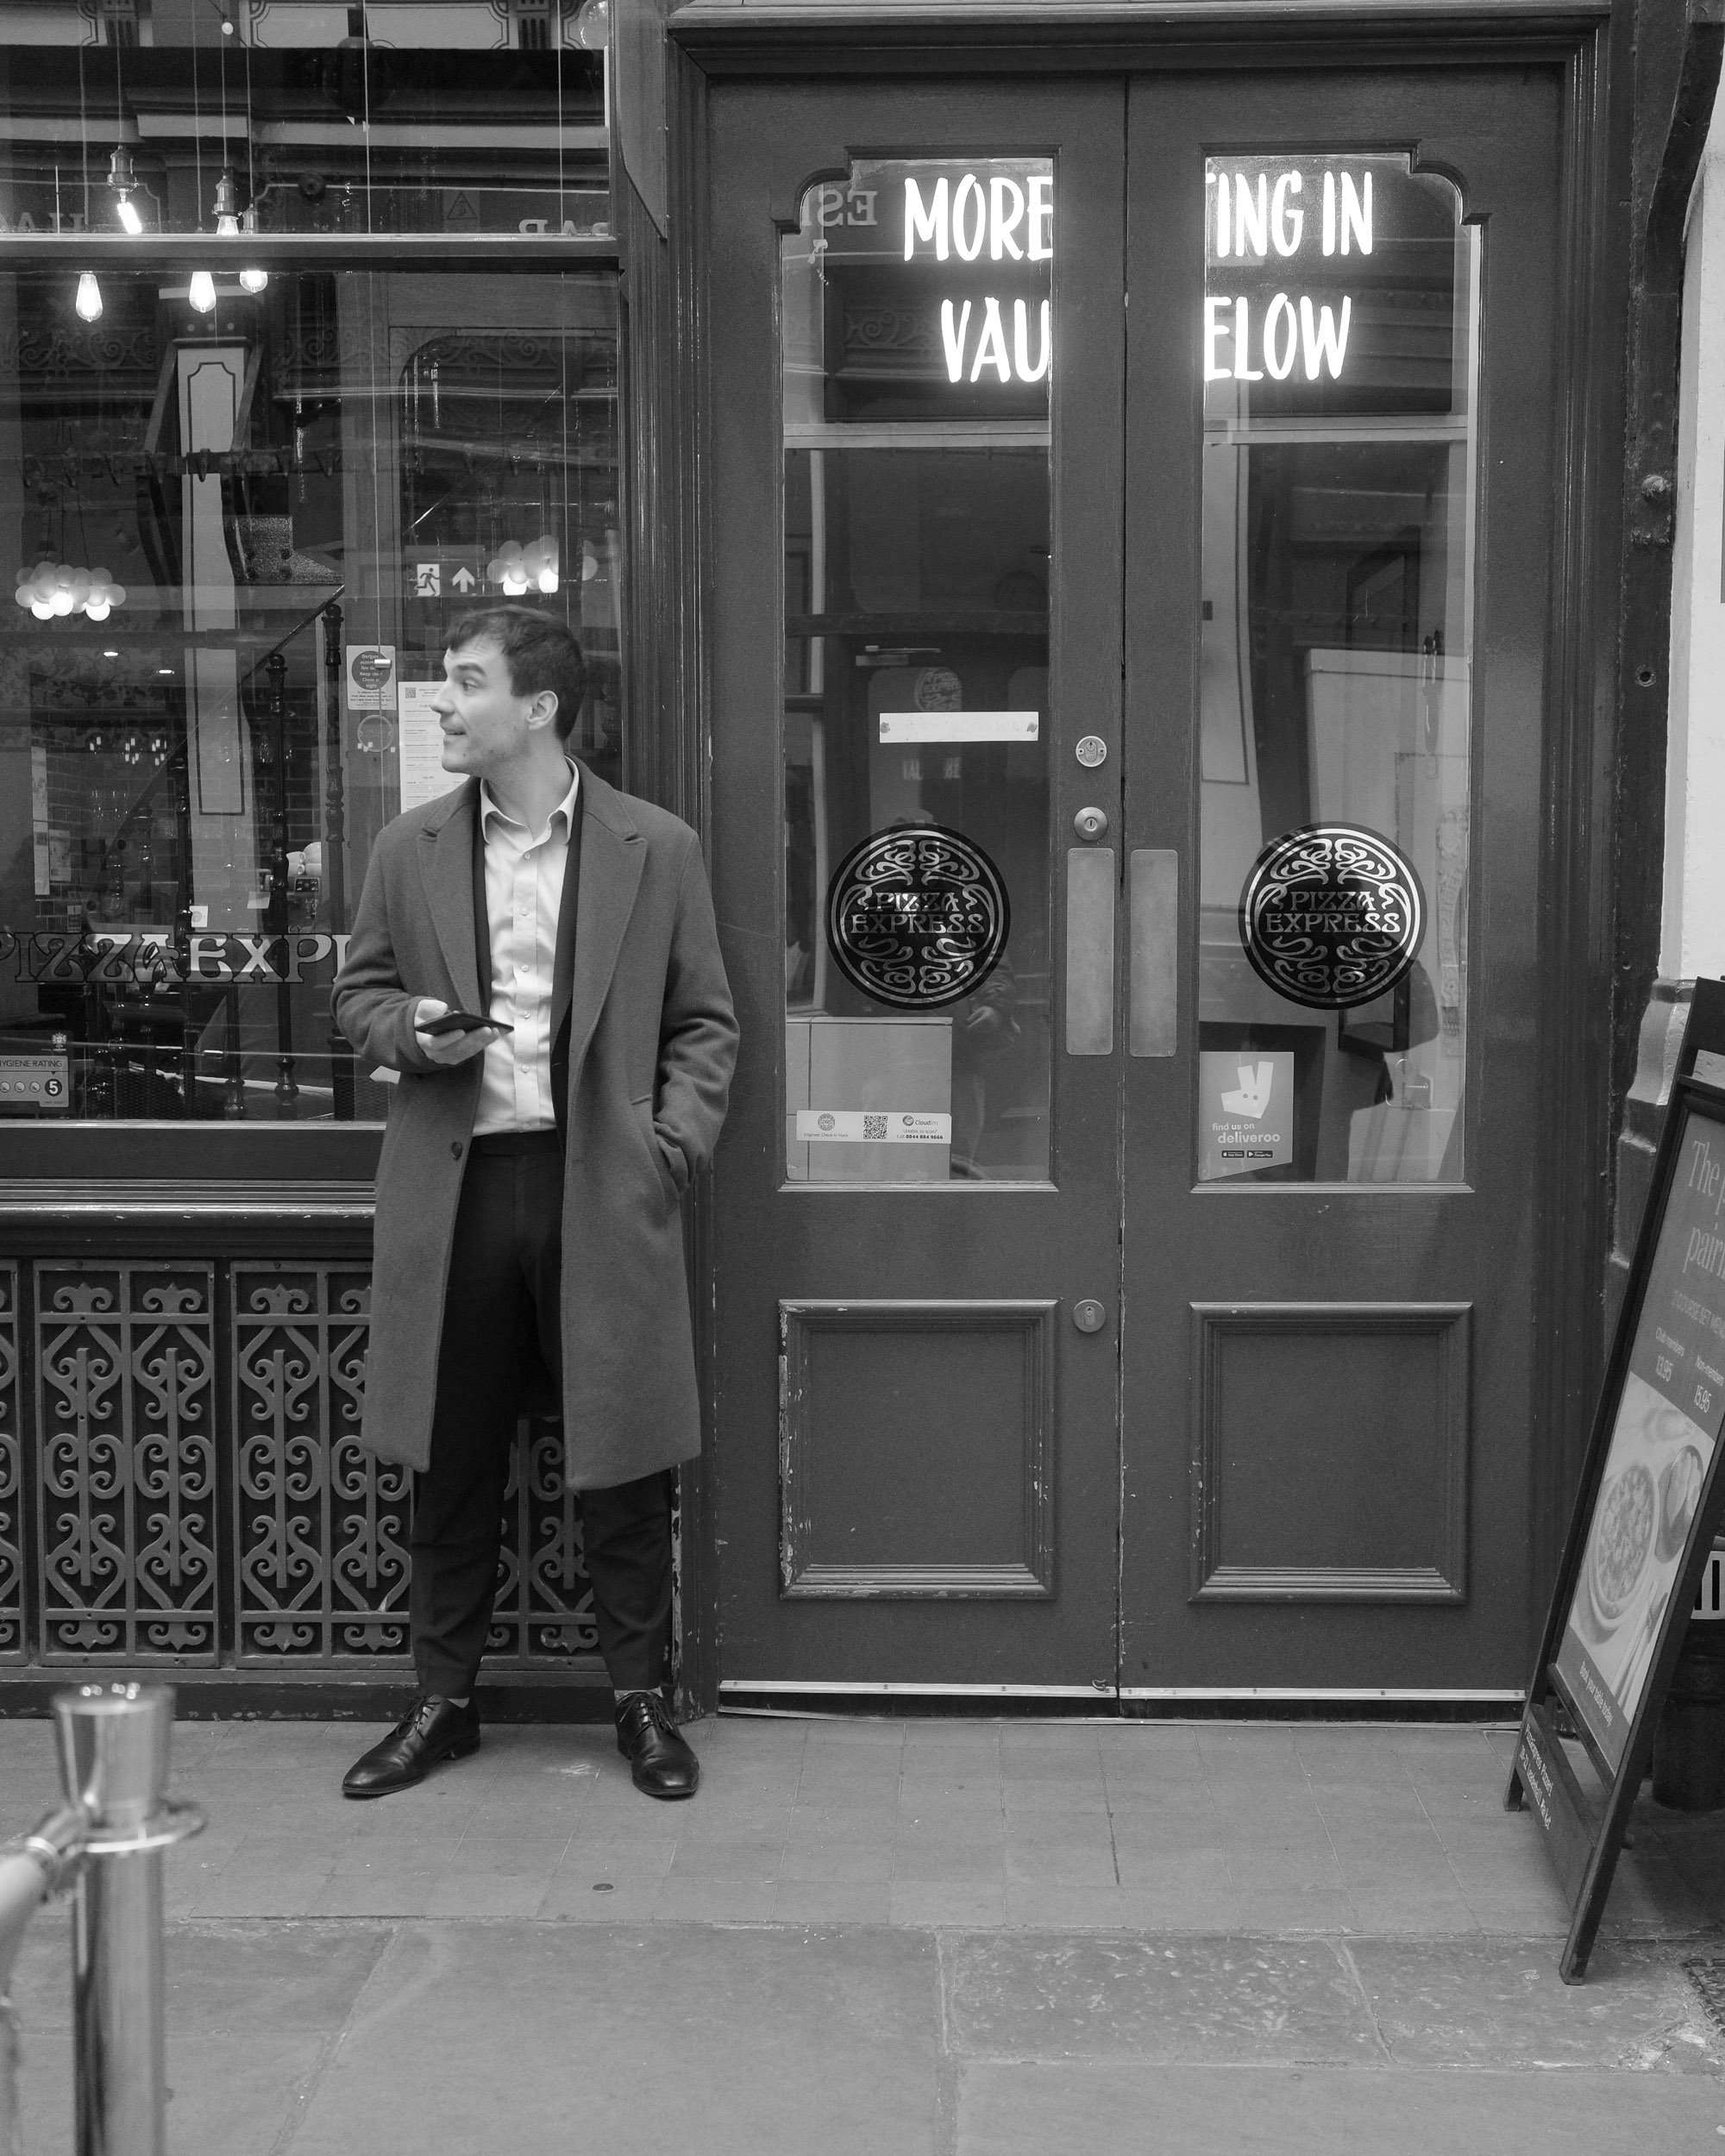
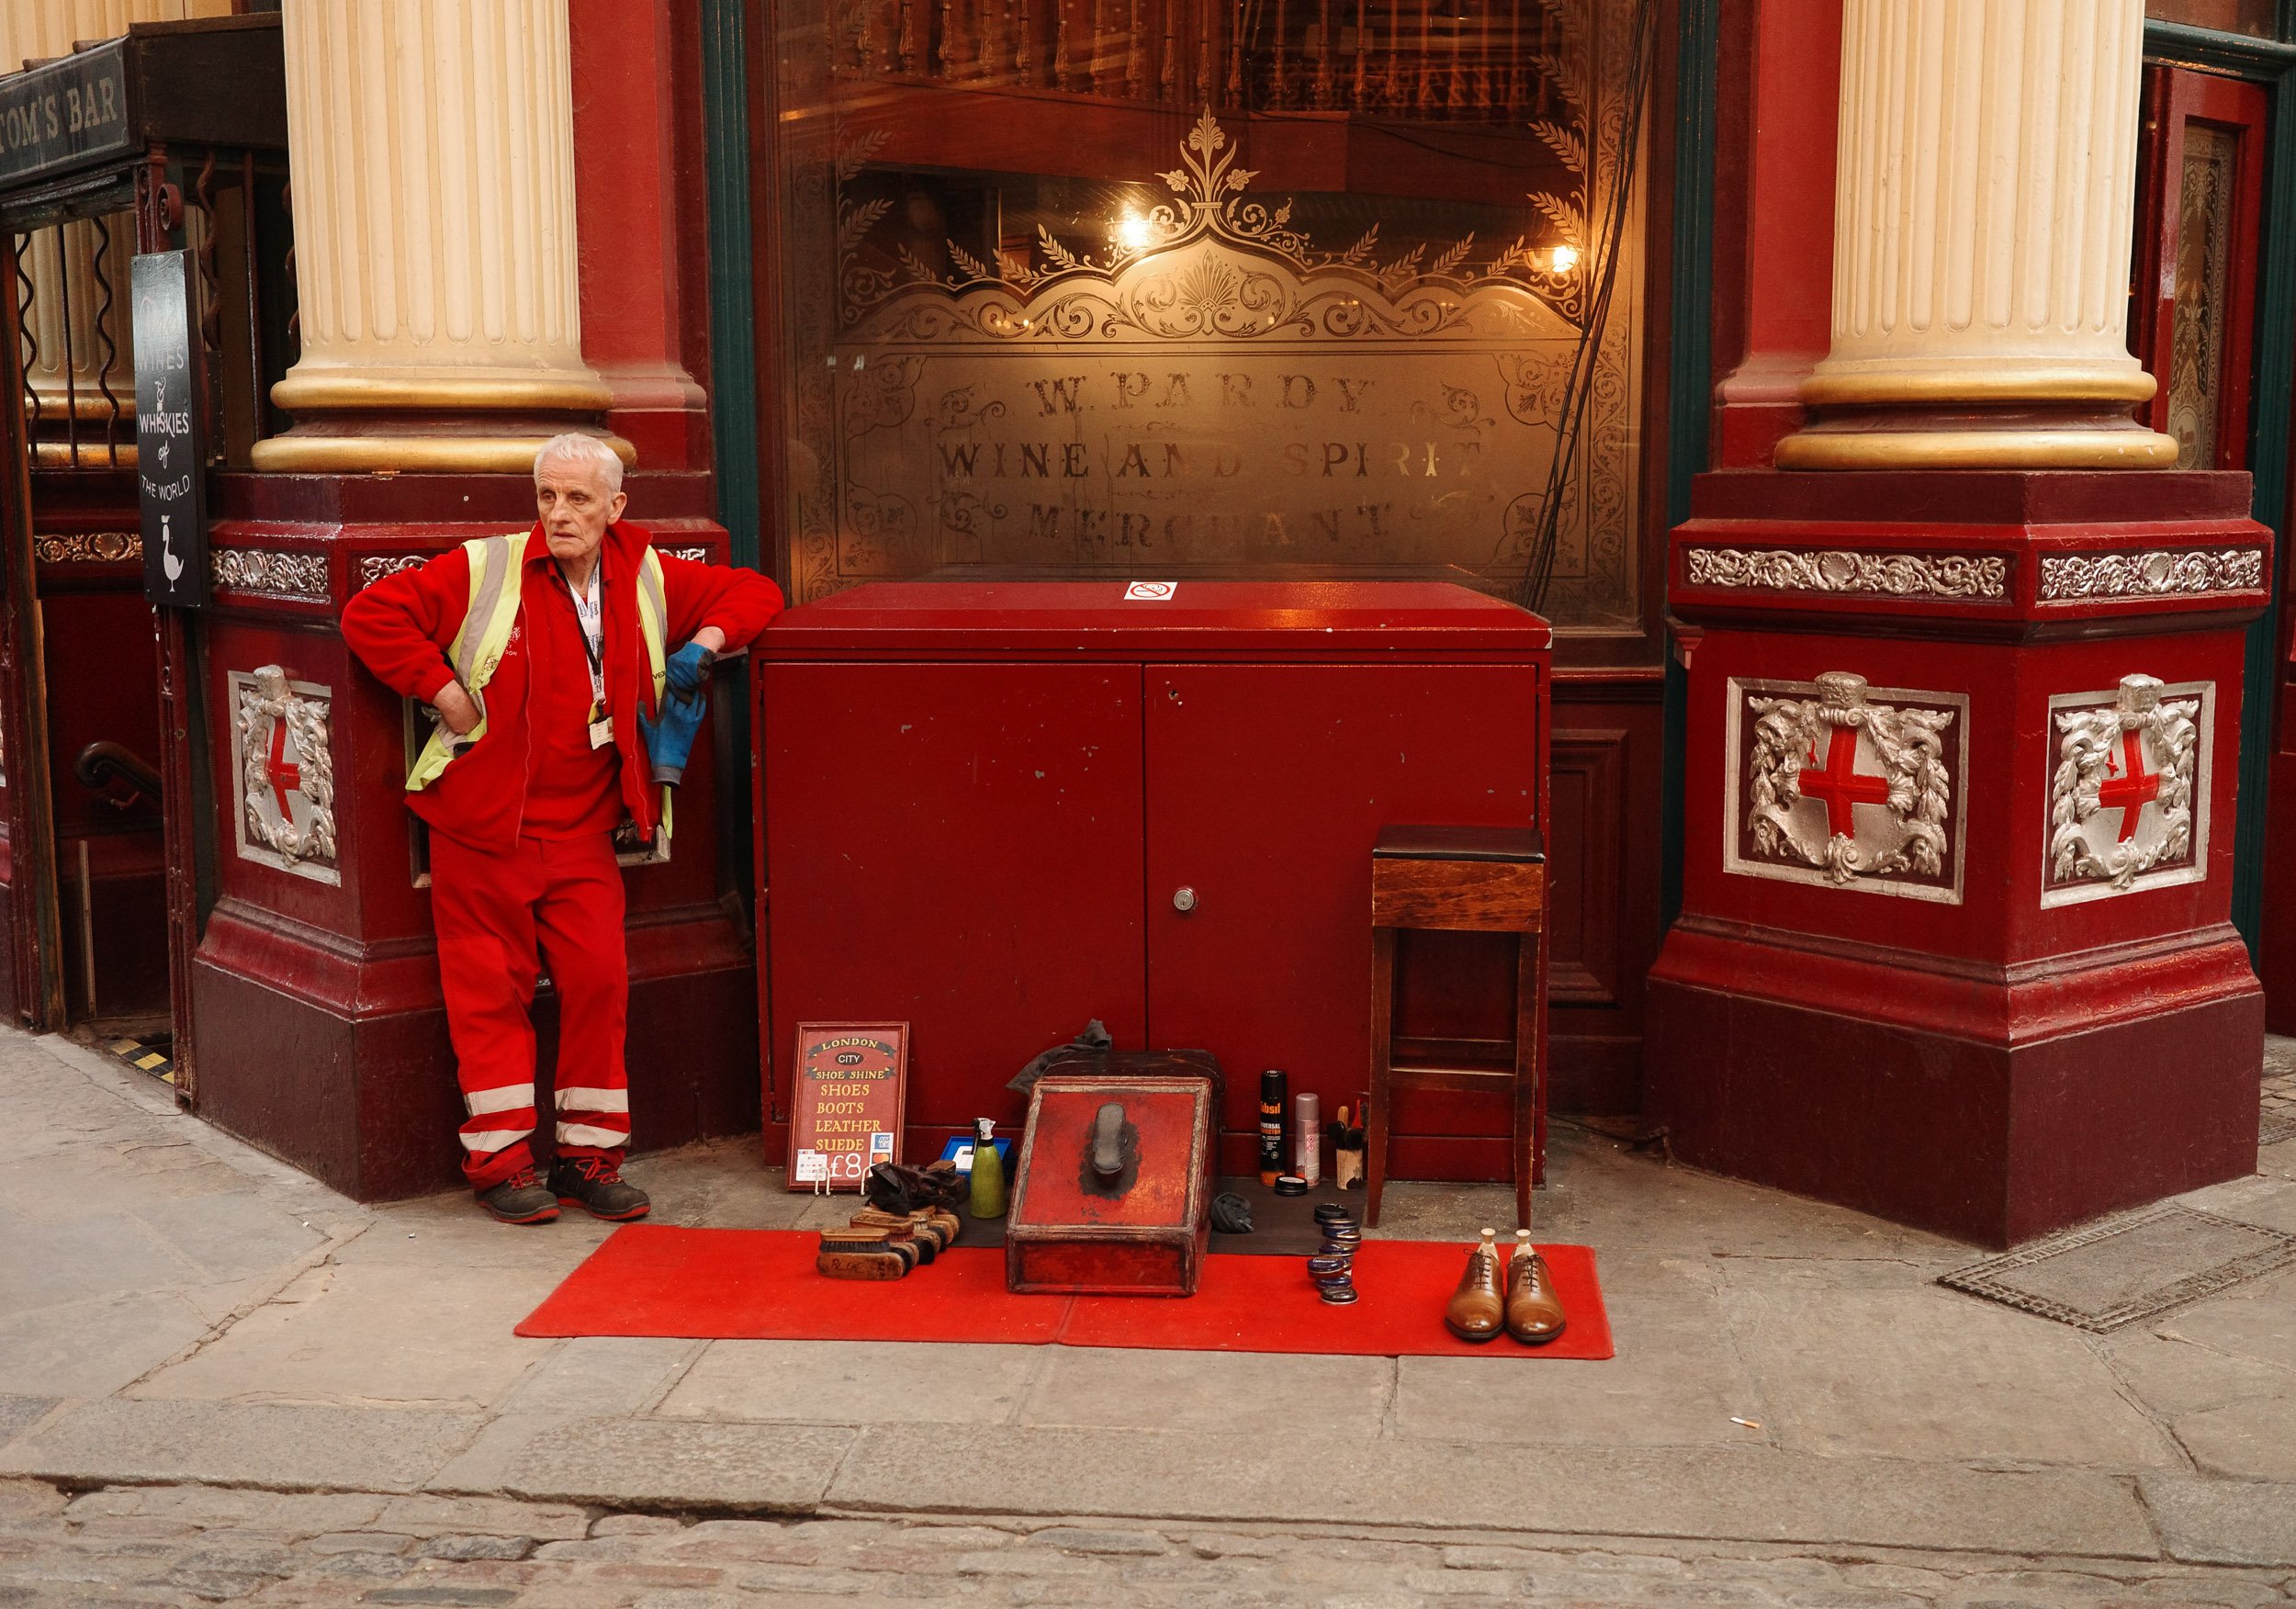
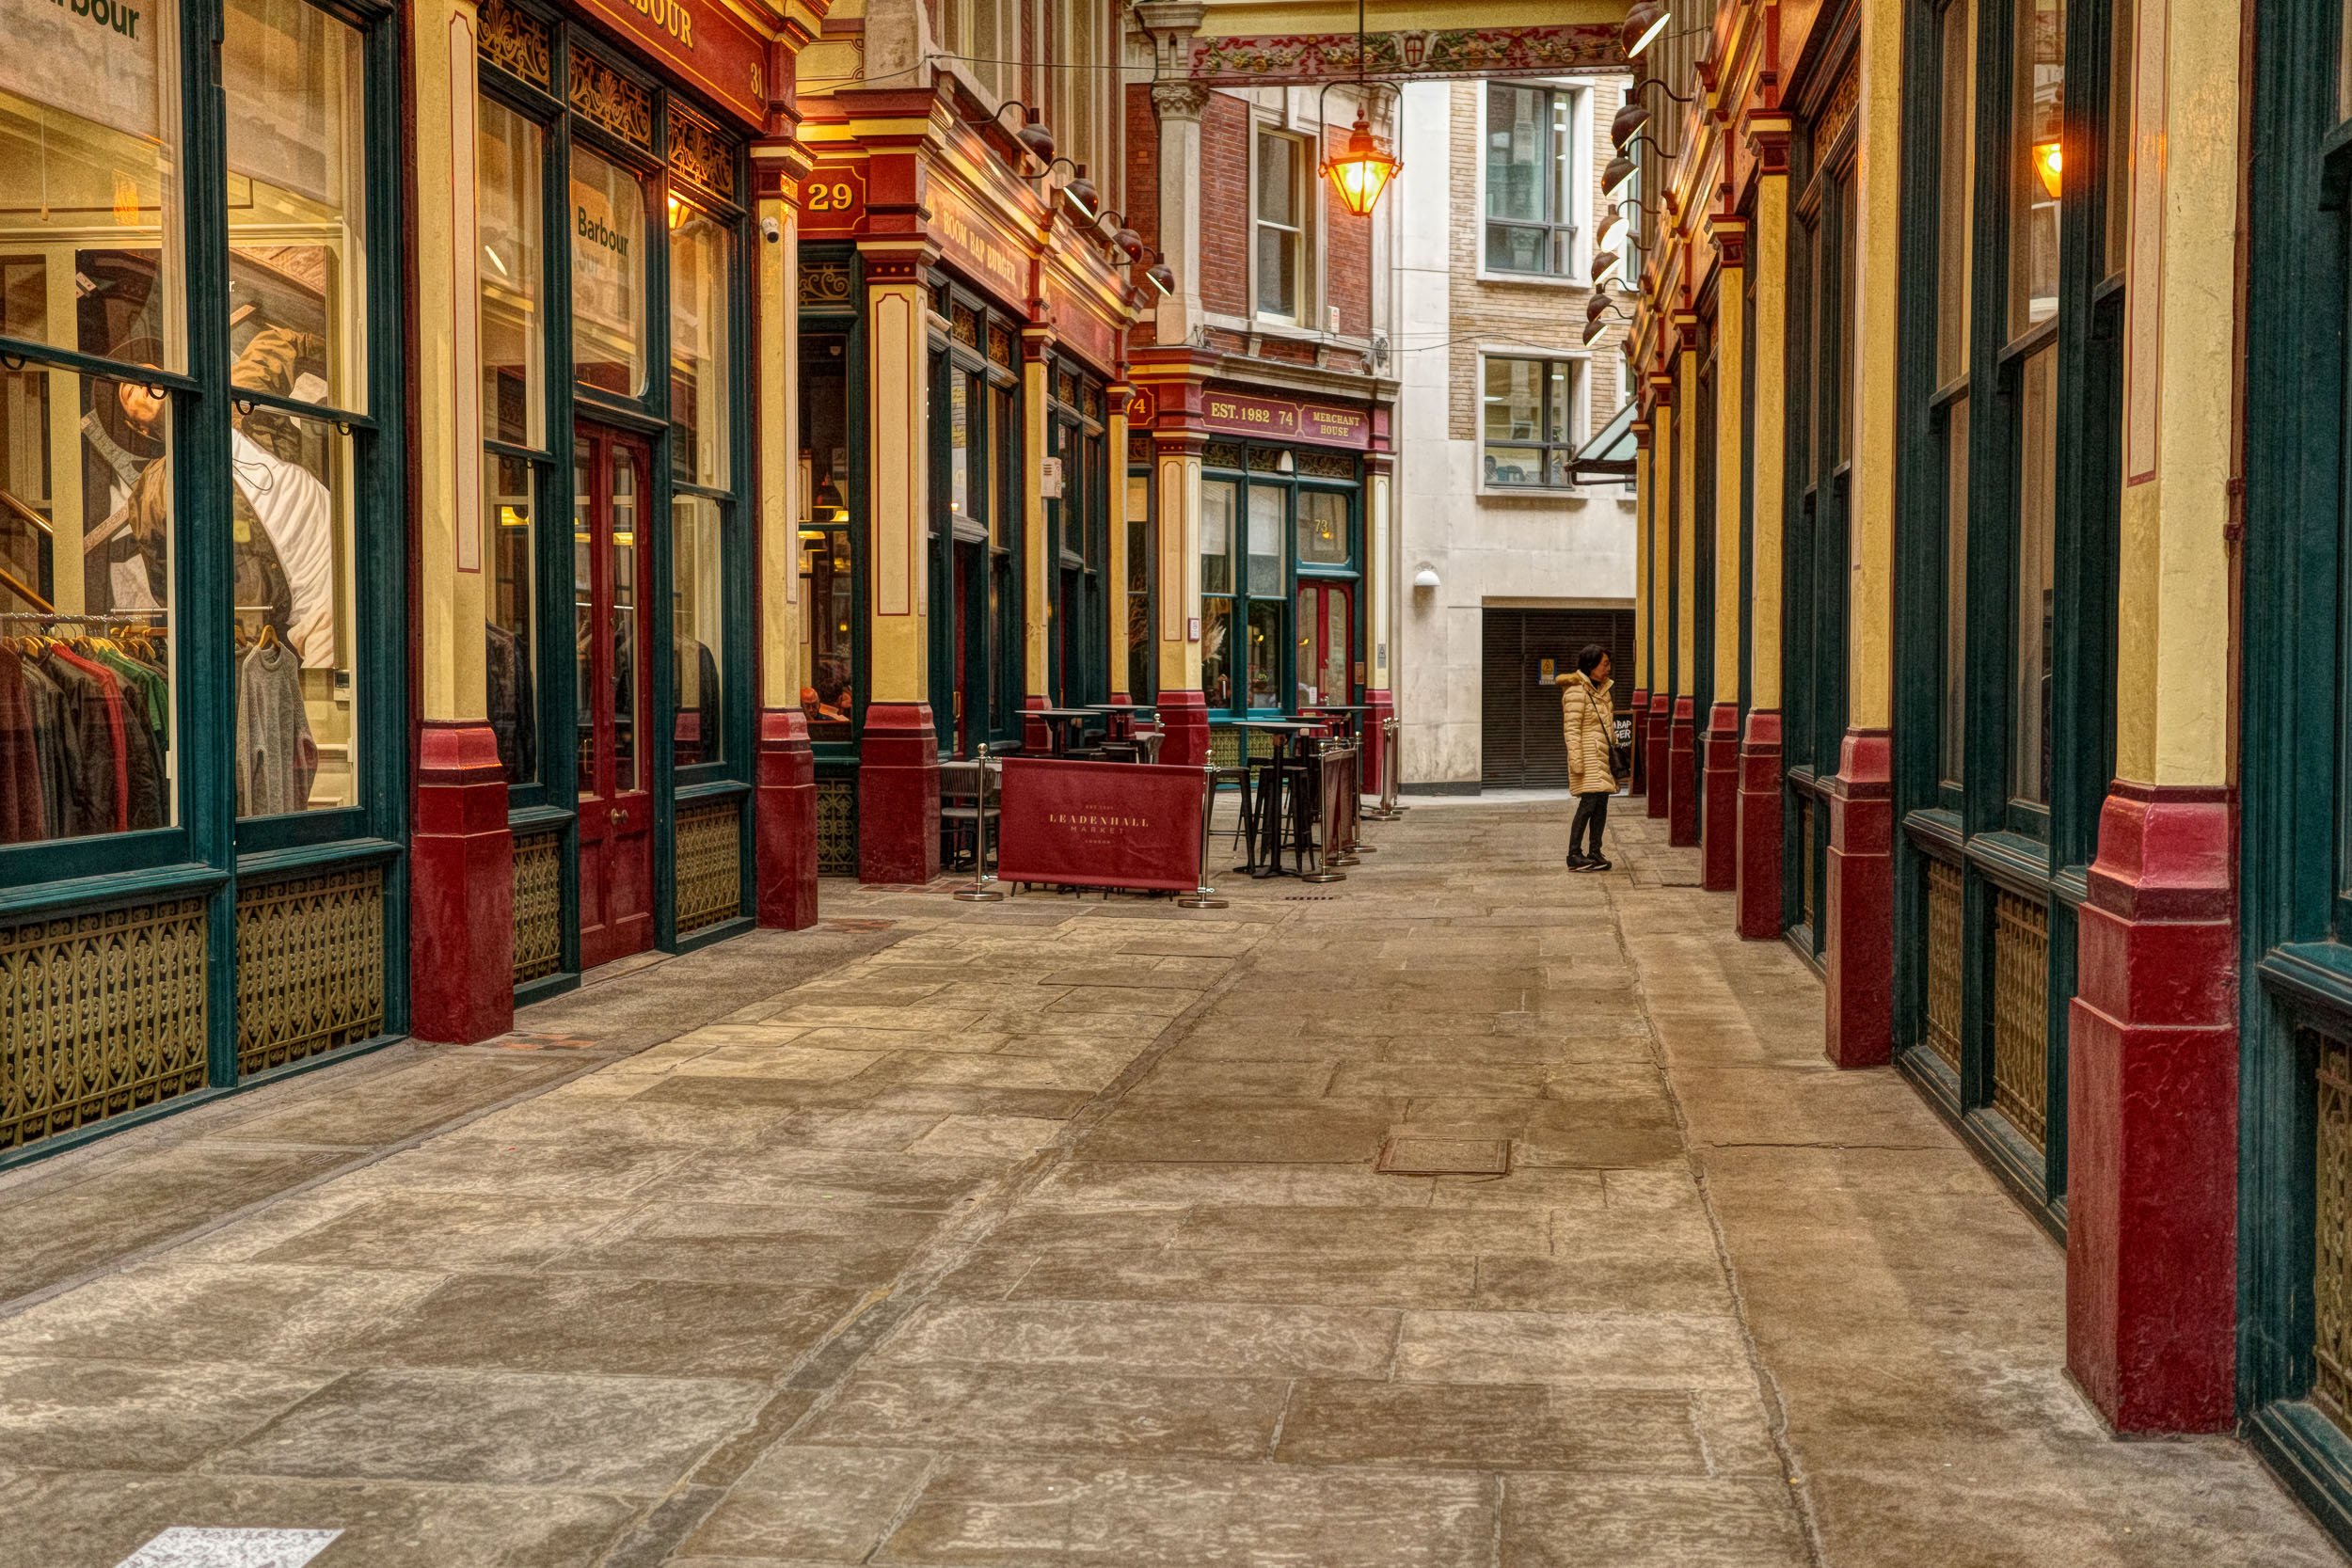
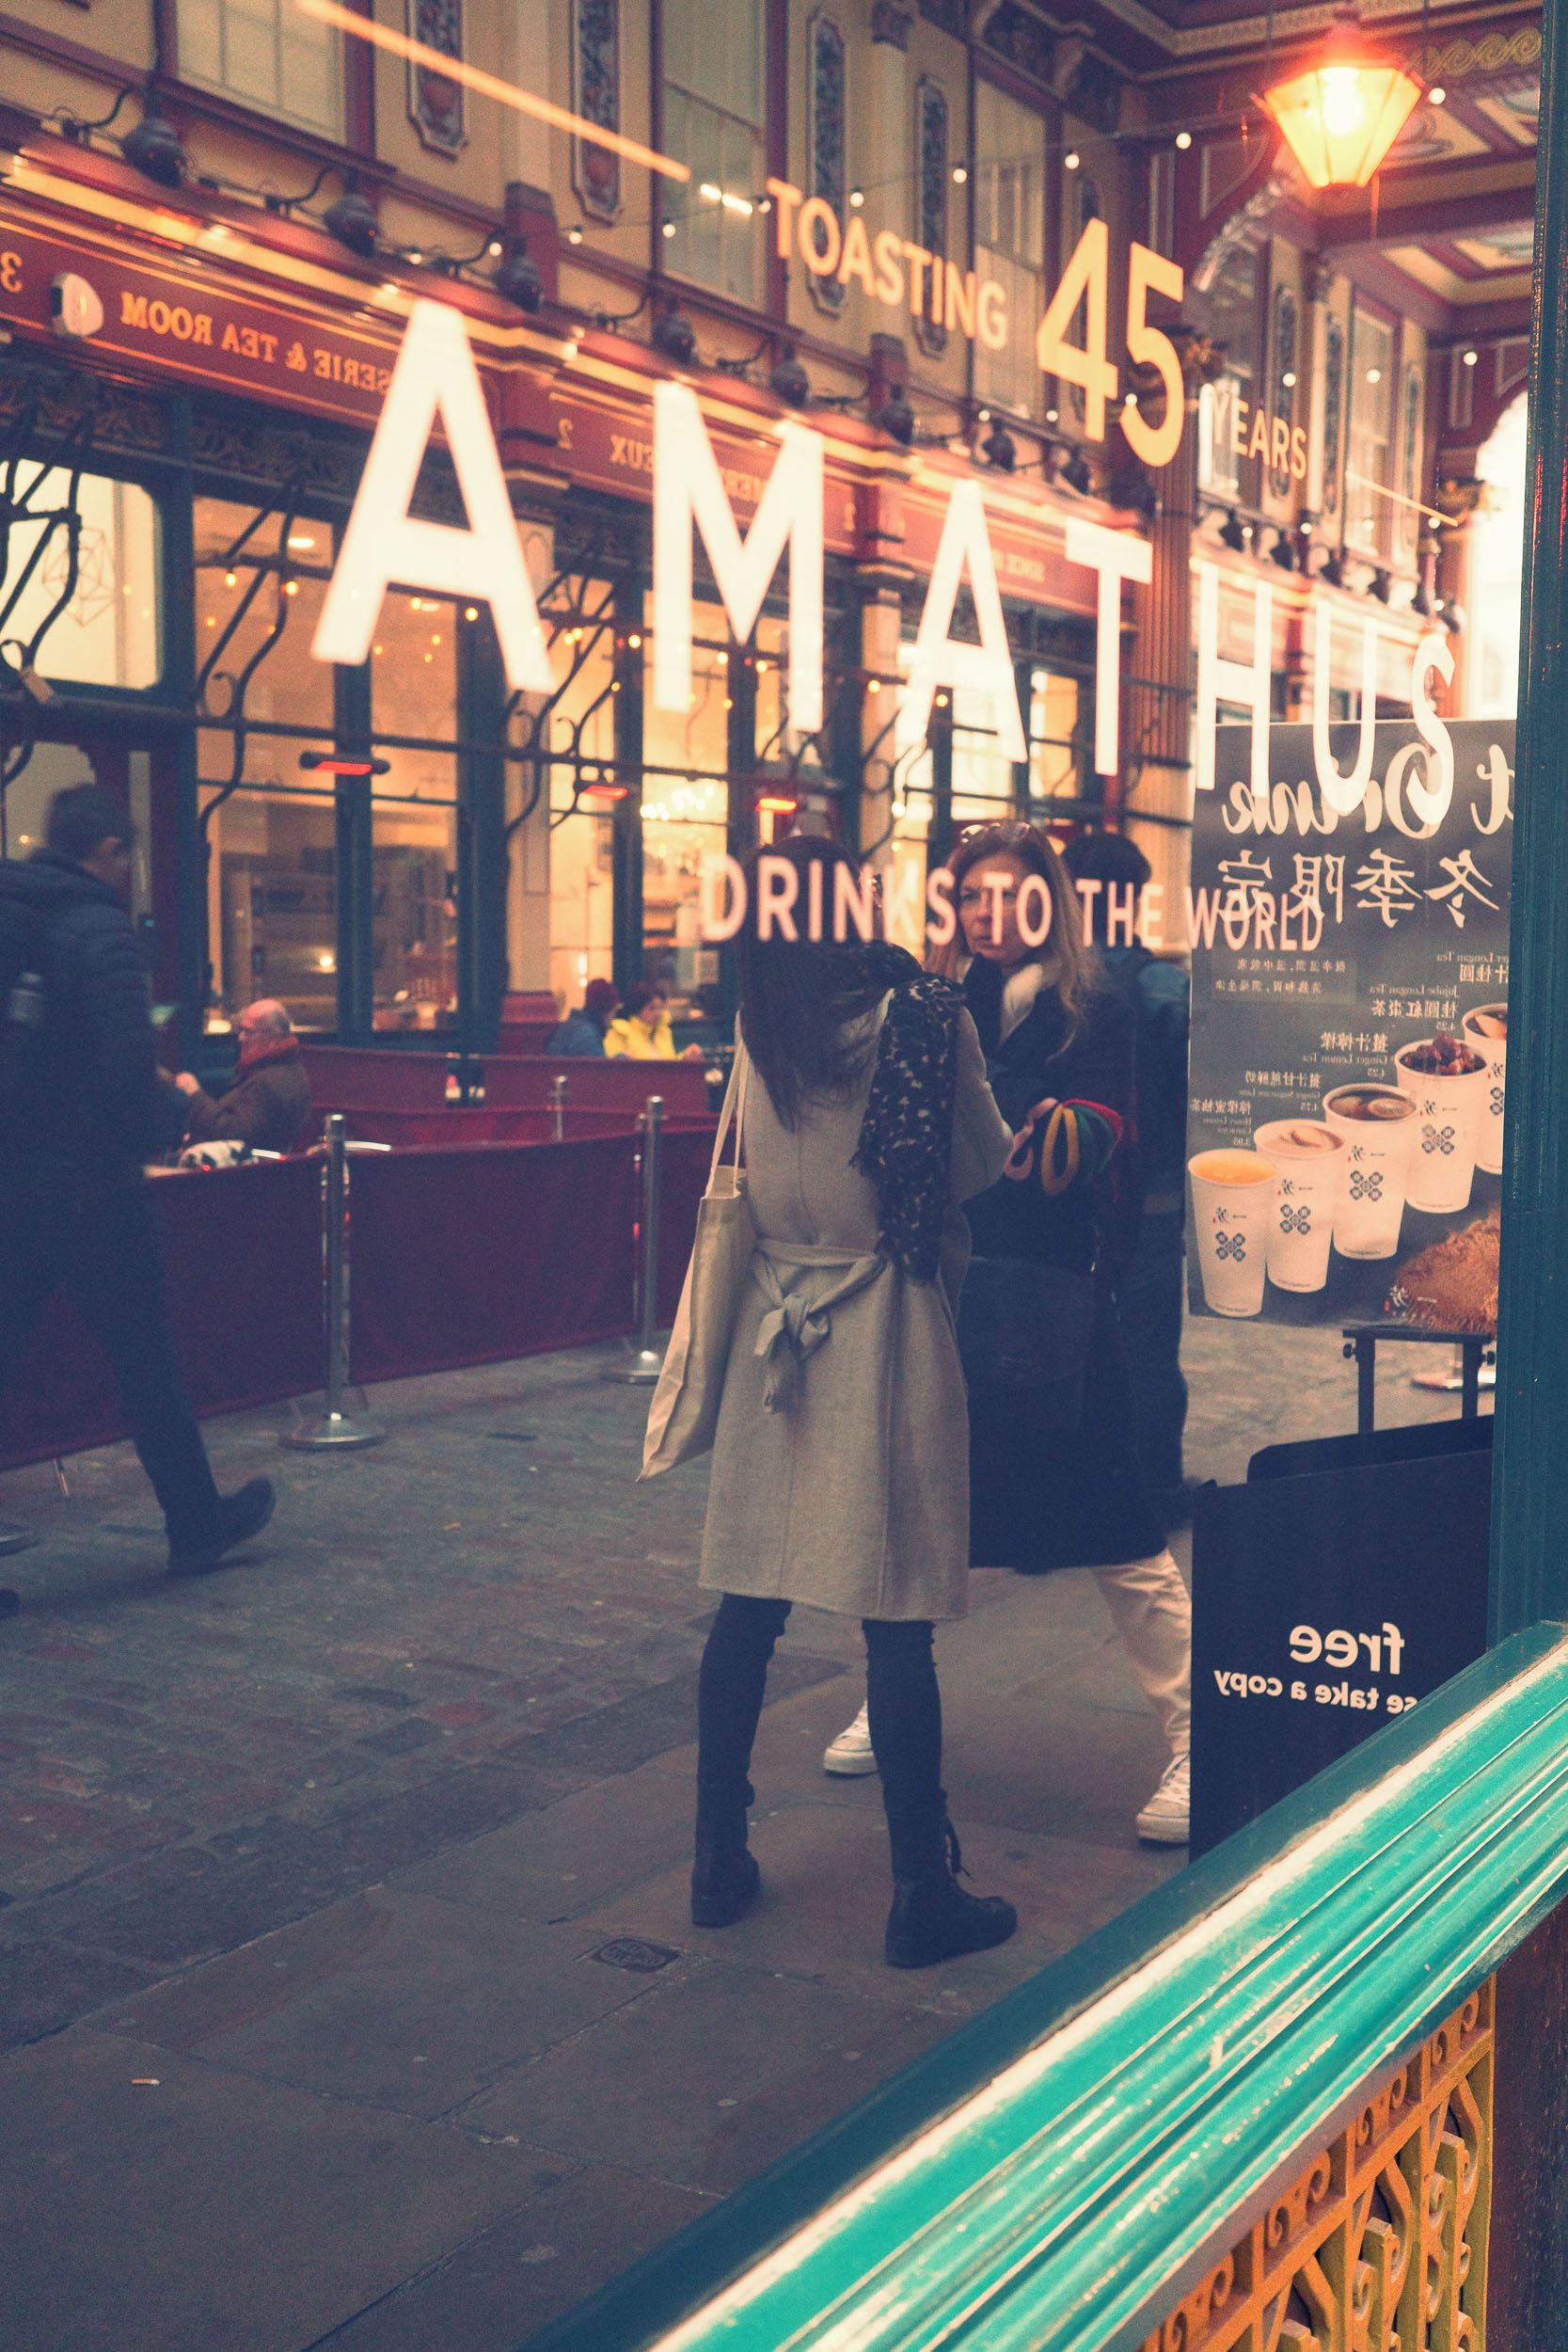
I decided to test the waters with my Ricoh GRIII X by testing out every JPEG recipe on a street photography expedition to the beautiful, bustling Leadenhall Market in the city of London. Check this one out as it's going to be interesting, as I've never shot JPEG before.
Let's get into it.
The Settings
I set my camera up with Auto ISO 800 - 1600 because I knew Leadenhall Market was undercover, so I needed a fairly large ISO range to cover all bases.
The Minimum Shutter Speed was set at 1/200 seconds. I always use autofocus. Auto-area AF in Center mode ensured that each subject was captured was in sharp detail, which would showcase the vibrant life within the market.
The weather was disappointingly dull and grey, so I worked on capturing characters and as much colour as possible.
Dive into the World of Film Simulations
The Simulations
I kicked off with
The Standard Simulation: which offered a baseline, that was the same as the RAW image, minus the vignette (I shot inJPEG + RAW format ). There was nothing out of the ordinary here.
Vivid: This simulation is what it’s says on the tin. Punchy colours, plus mild yellow highlights left a lastingly atmospheric impression on the street shots

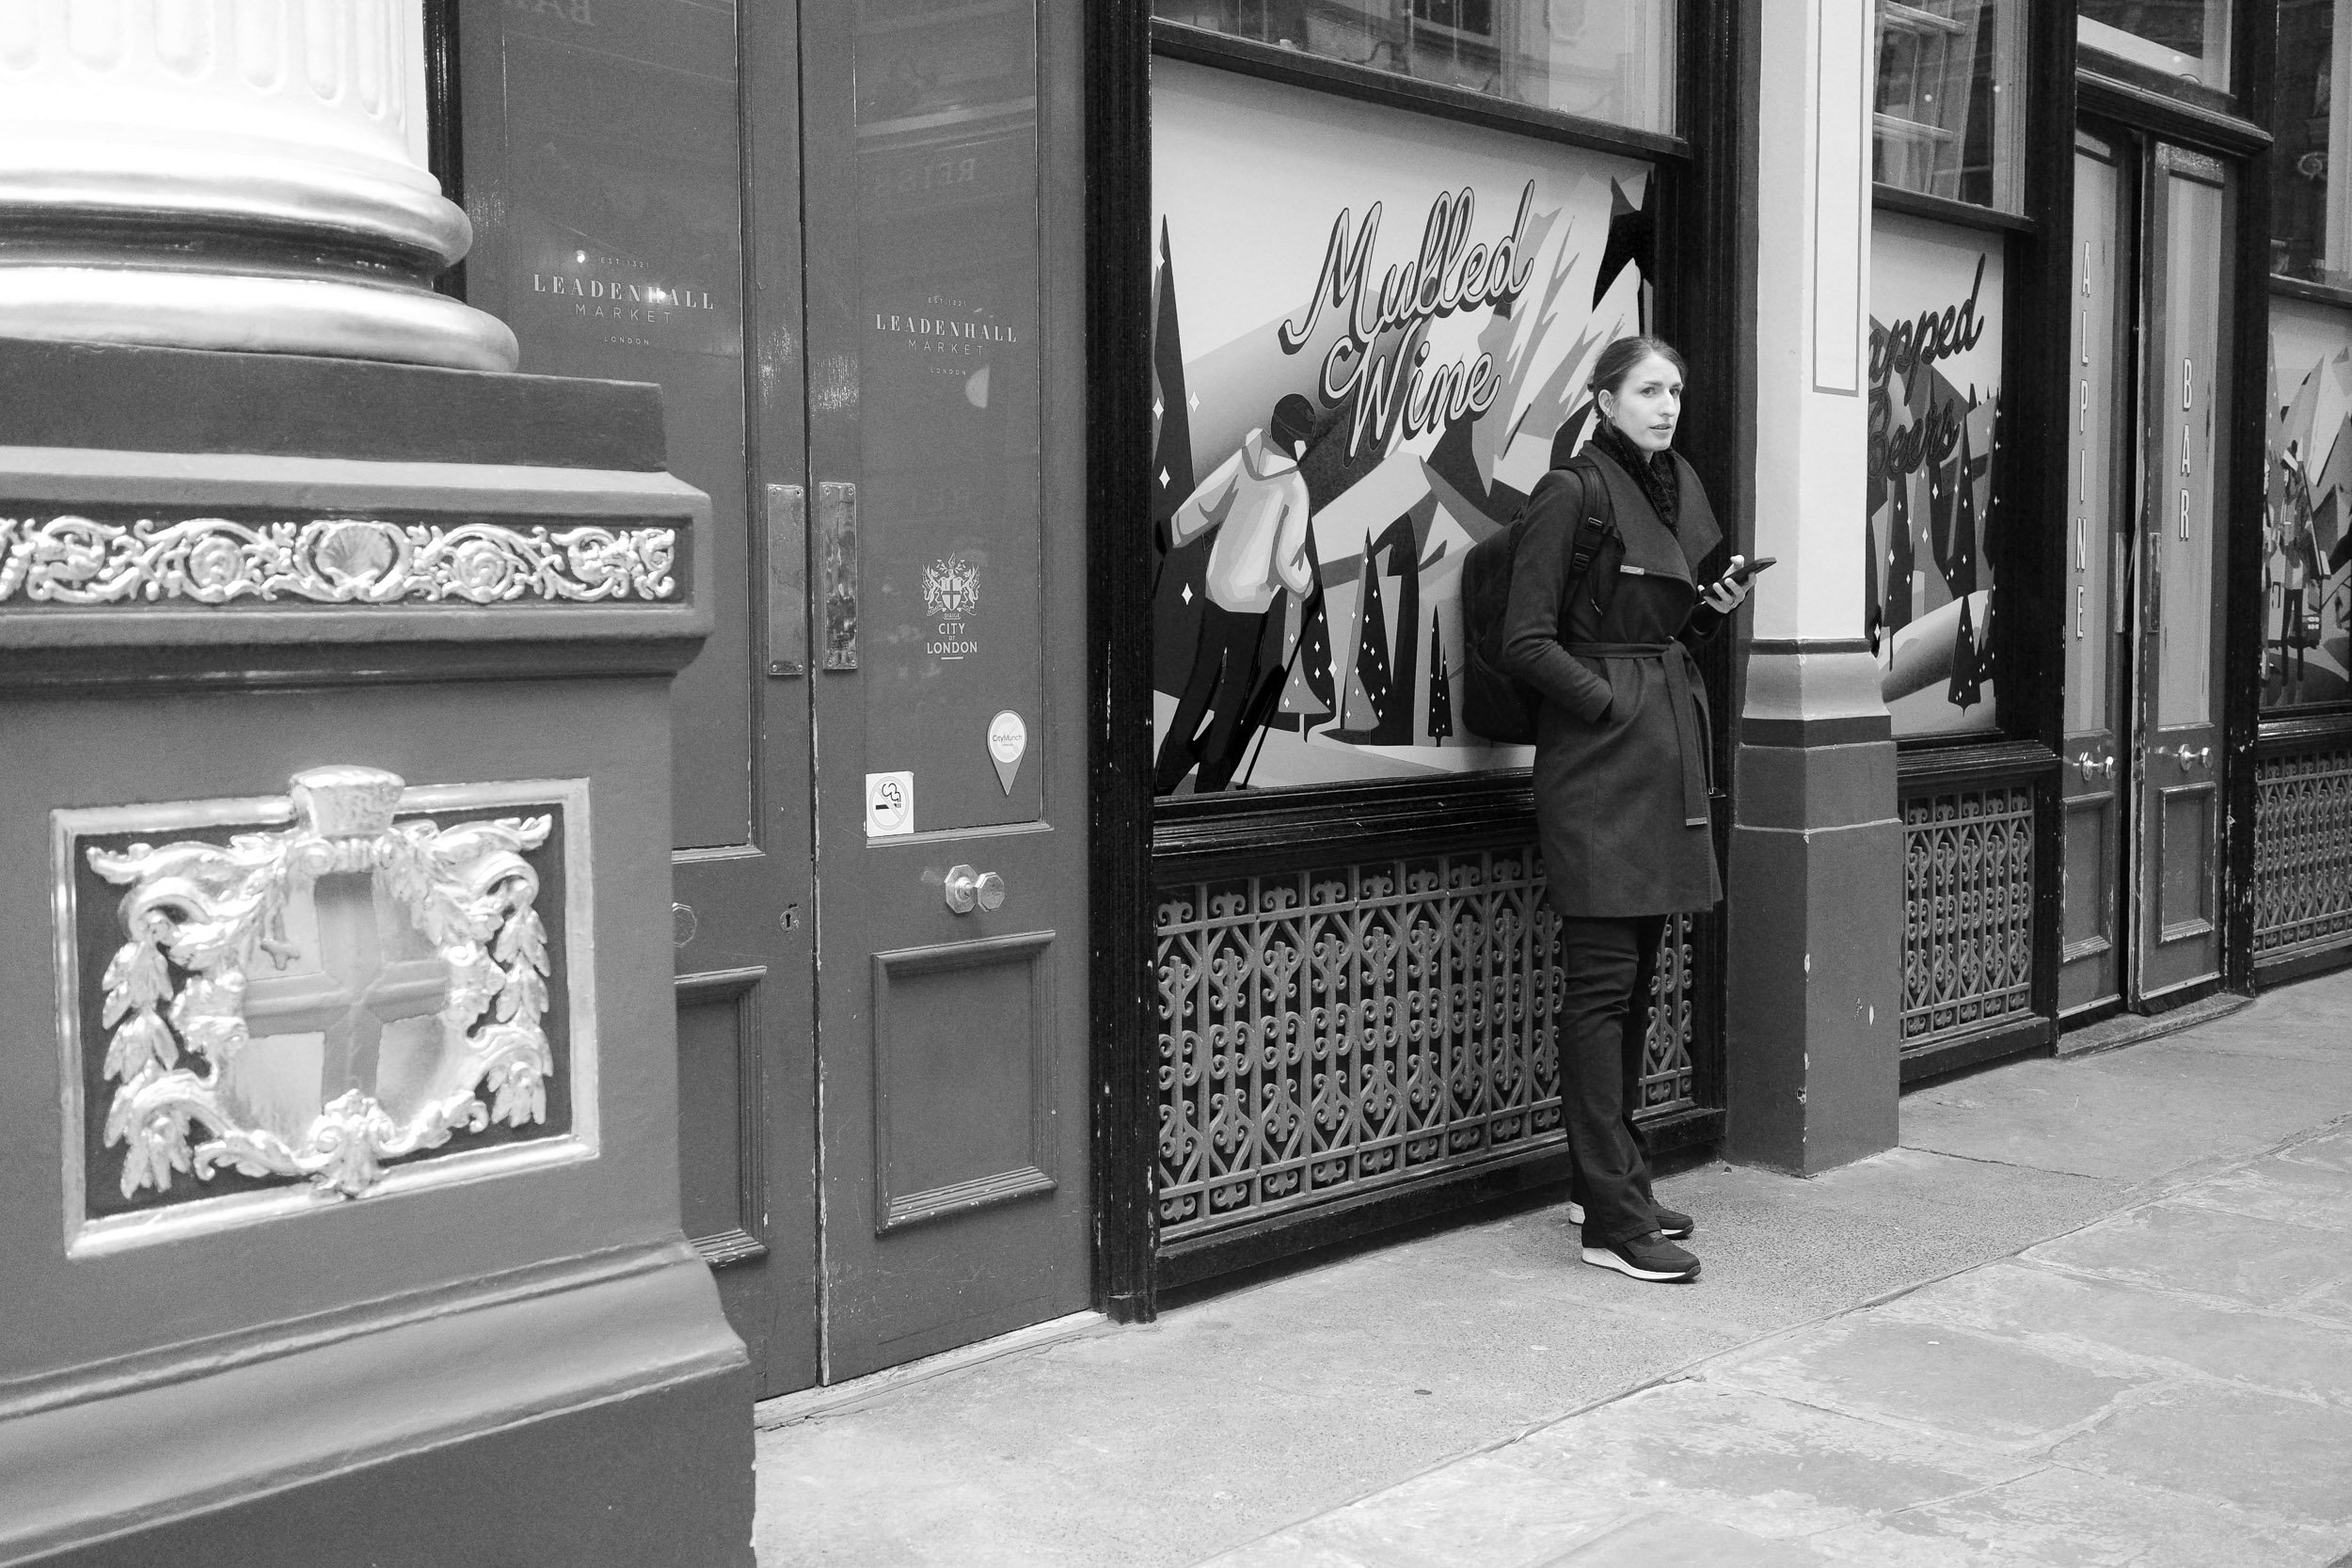
Monotone and Soft Monotone: The classic monotone brought a timeless elegance as it always does. However, I really liked the soft monotone, with its haze and reduced clarity, which allowed me to focus on the story behind each image, rather than the contrast and black and white tones.
Hard Monotone: A step up from regular Monotone, with deeper contrast, that is more pleasing and allows the details to come alive.
High Contrast Monotone: This simulation is attention grabbing and punchy and allows the subject to appear clearly defined from the background.
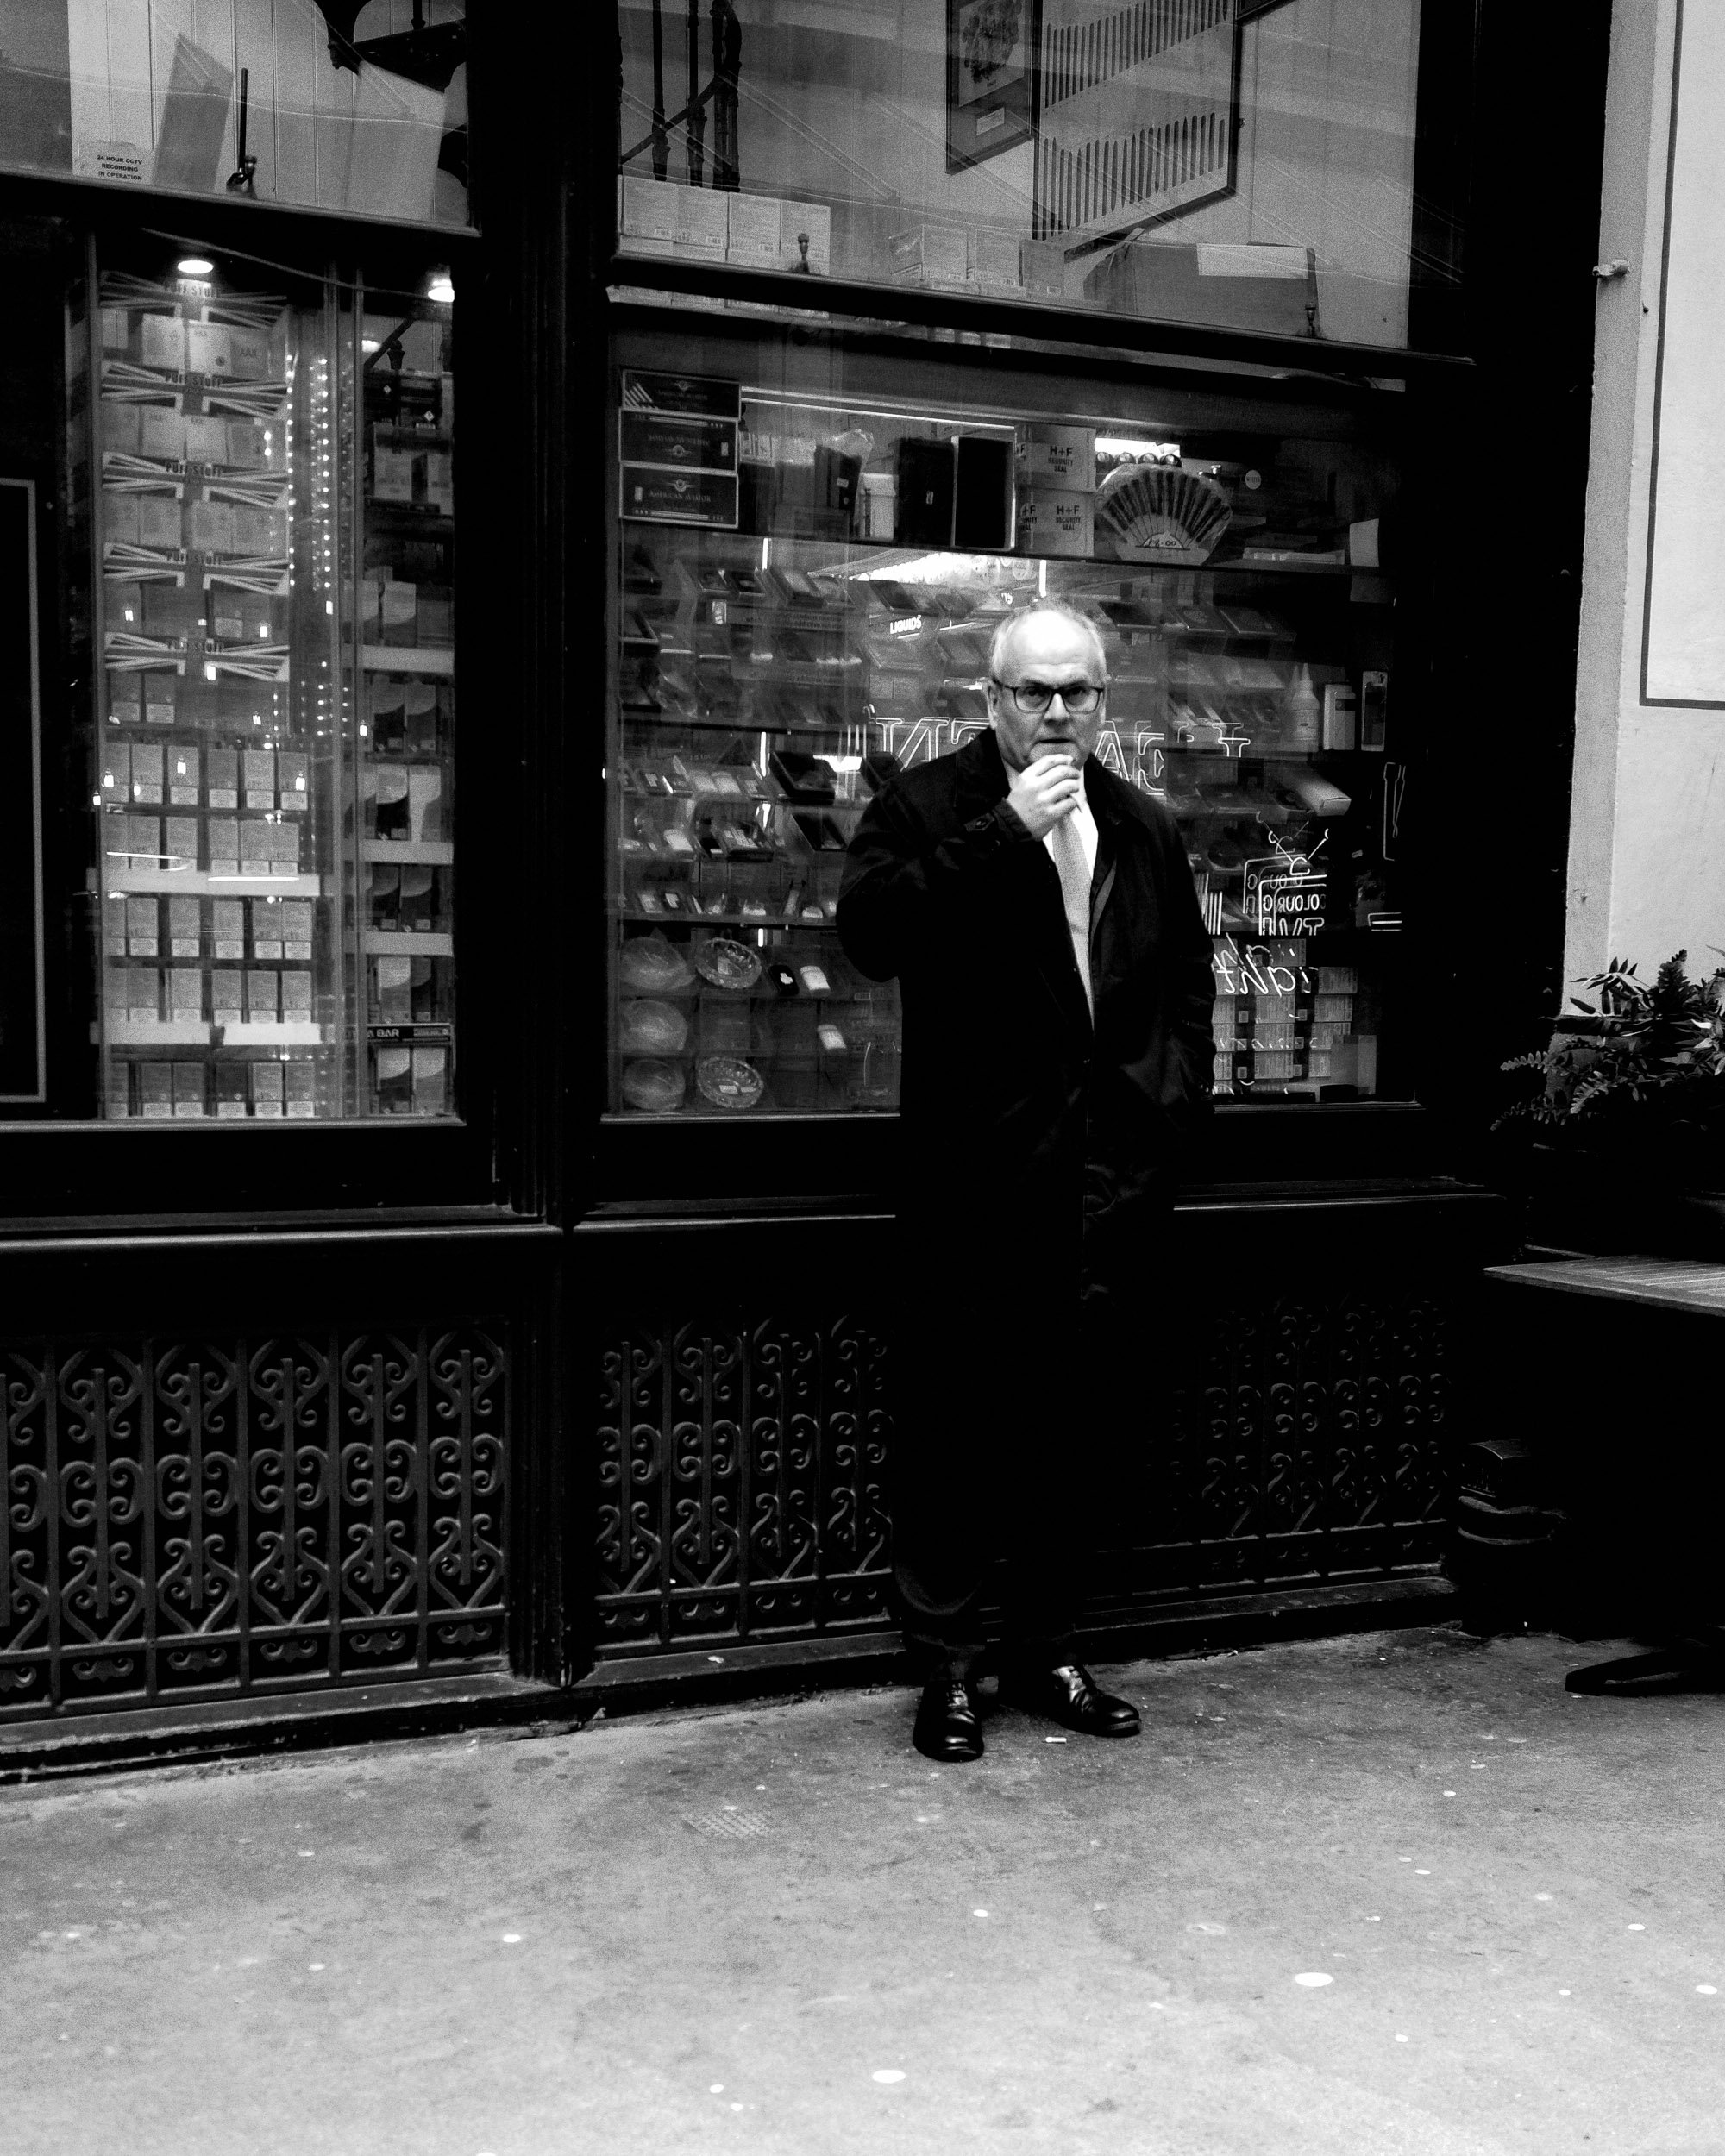
Bleach Bypass: Bright highlights that look like bleach, together with low saturation leaves a distinct impression on not only the photos but also on myself. Another simulation with figure to ground, which makes the subject stand out from the crowd. It does have to a tendency to crush the blacks and blow out the highlights.

If you like experimenting with JPEG recipes, my BW Masters preset pack gives you a simple Lightroom starting point for monochrome edits, from crisp contrast to softer, moodier street photography tones.

12 Lightroom presets for stronger black and white street photography edits.
BW Masters is a monochrome preset pack designed to give your black and white edits a stronger starting point.
The presets cover different contrast, shadow, highlight and detail scenarios, helping you create anything from crisp, punchy street photos to softer, moodier monochrome edits.
Each preset may still need small adjustments depending on the light, exposure, subject and background in your original image. They are not one-click magic buttons, but practical starting points to help you shape the tone and feeling of your black and white photos more quickly.
This pack is especially useful if you want to experiment with contrast, simplify busy scenes, strengthen light and shadow, or give your street photographs a more timeless monochrome feel.
You’ll receive the presets in:
XMP format for Lightroom Classic and Photoshop
DNG format for Lightroom Mobile
A detailed installation guide is also included to help you set them up on desktop or mobile.
If you have trouble installing the presets, first check that your version of Lightroom is up to date. If you still have issues, please contact me and I’ll do my best to help.
Negative Film: This relatively new recipe gently lifted shadows and toned down saturation, creating a subtle vibe that was fairly impactful. Perhaps it could use a bit of a boost in the toning to make me love it.
Positive Film: This simulation seeemed to mirror thr DNG file but with a slight bit of extra punch. With the deeper reds, it added just the right amount of extra contrast.
Retro Simulation: A personal favorite, this preset adds a beautiful haze and muted tones that pushed to the blues in each shot. It was perfect for creating a nostalgic vibe.

HDR Tone: Nothing nice about this one. It’s too detailed for street photography, leaving your subjects looking like they aged about 50 years. Best left for landscapes and architecture .
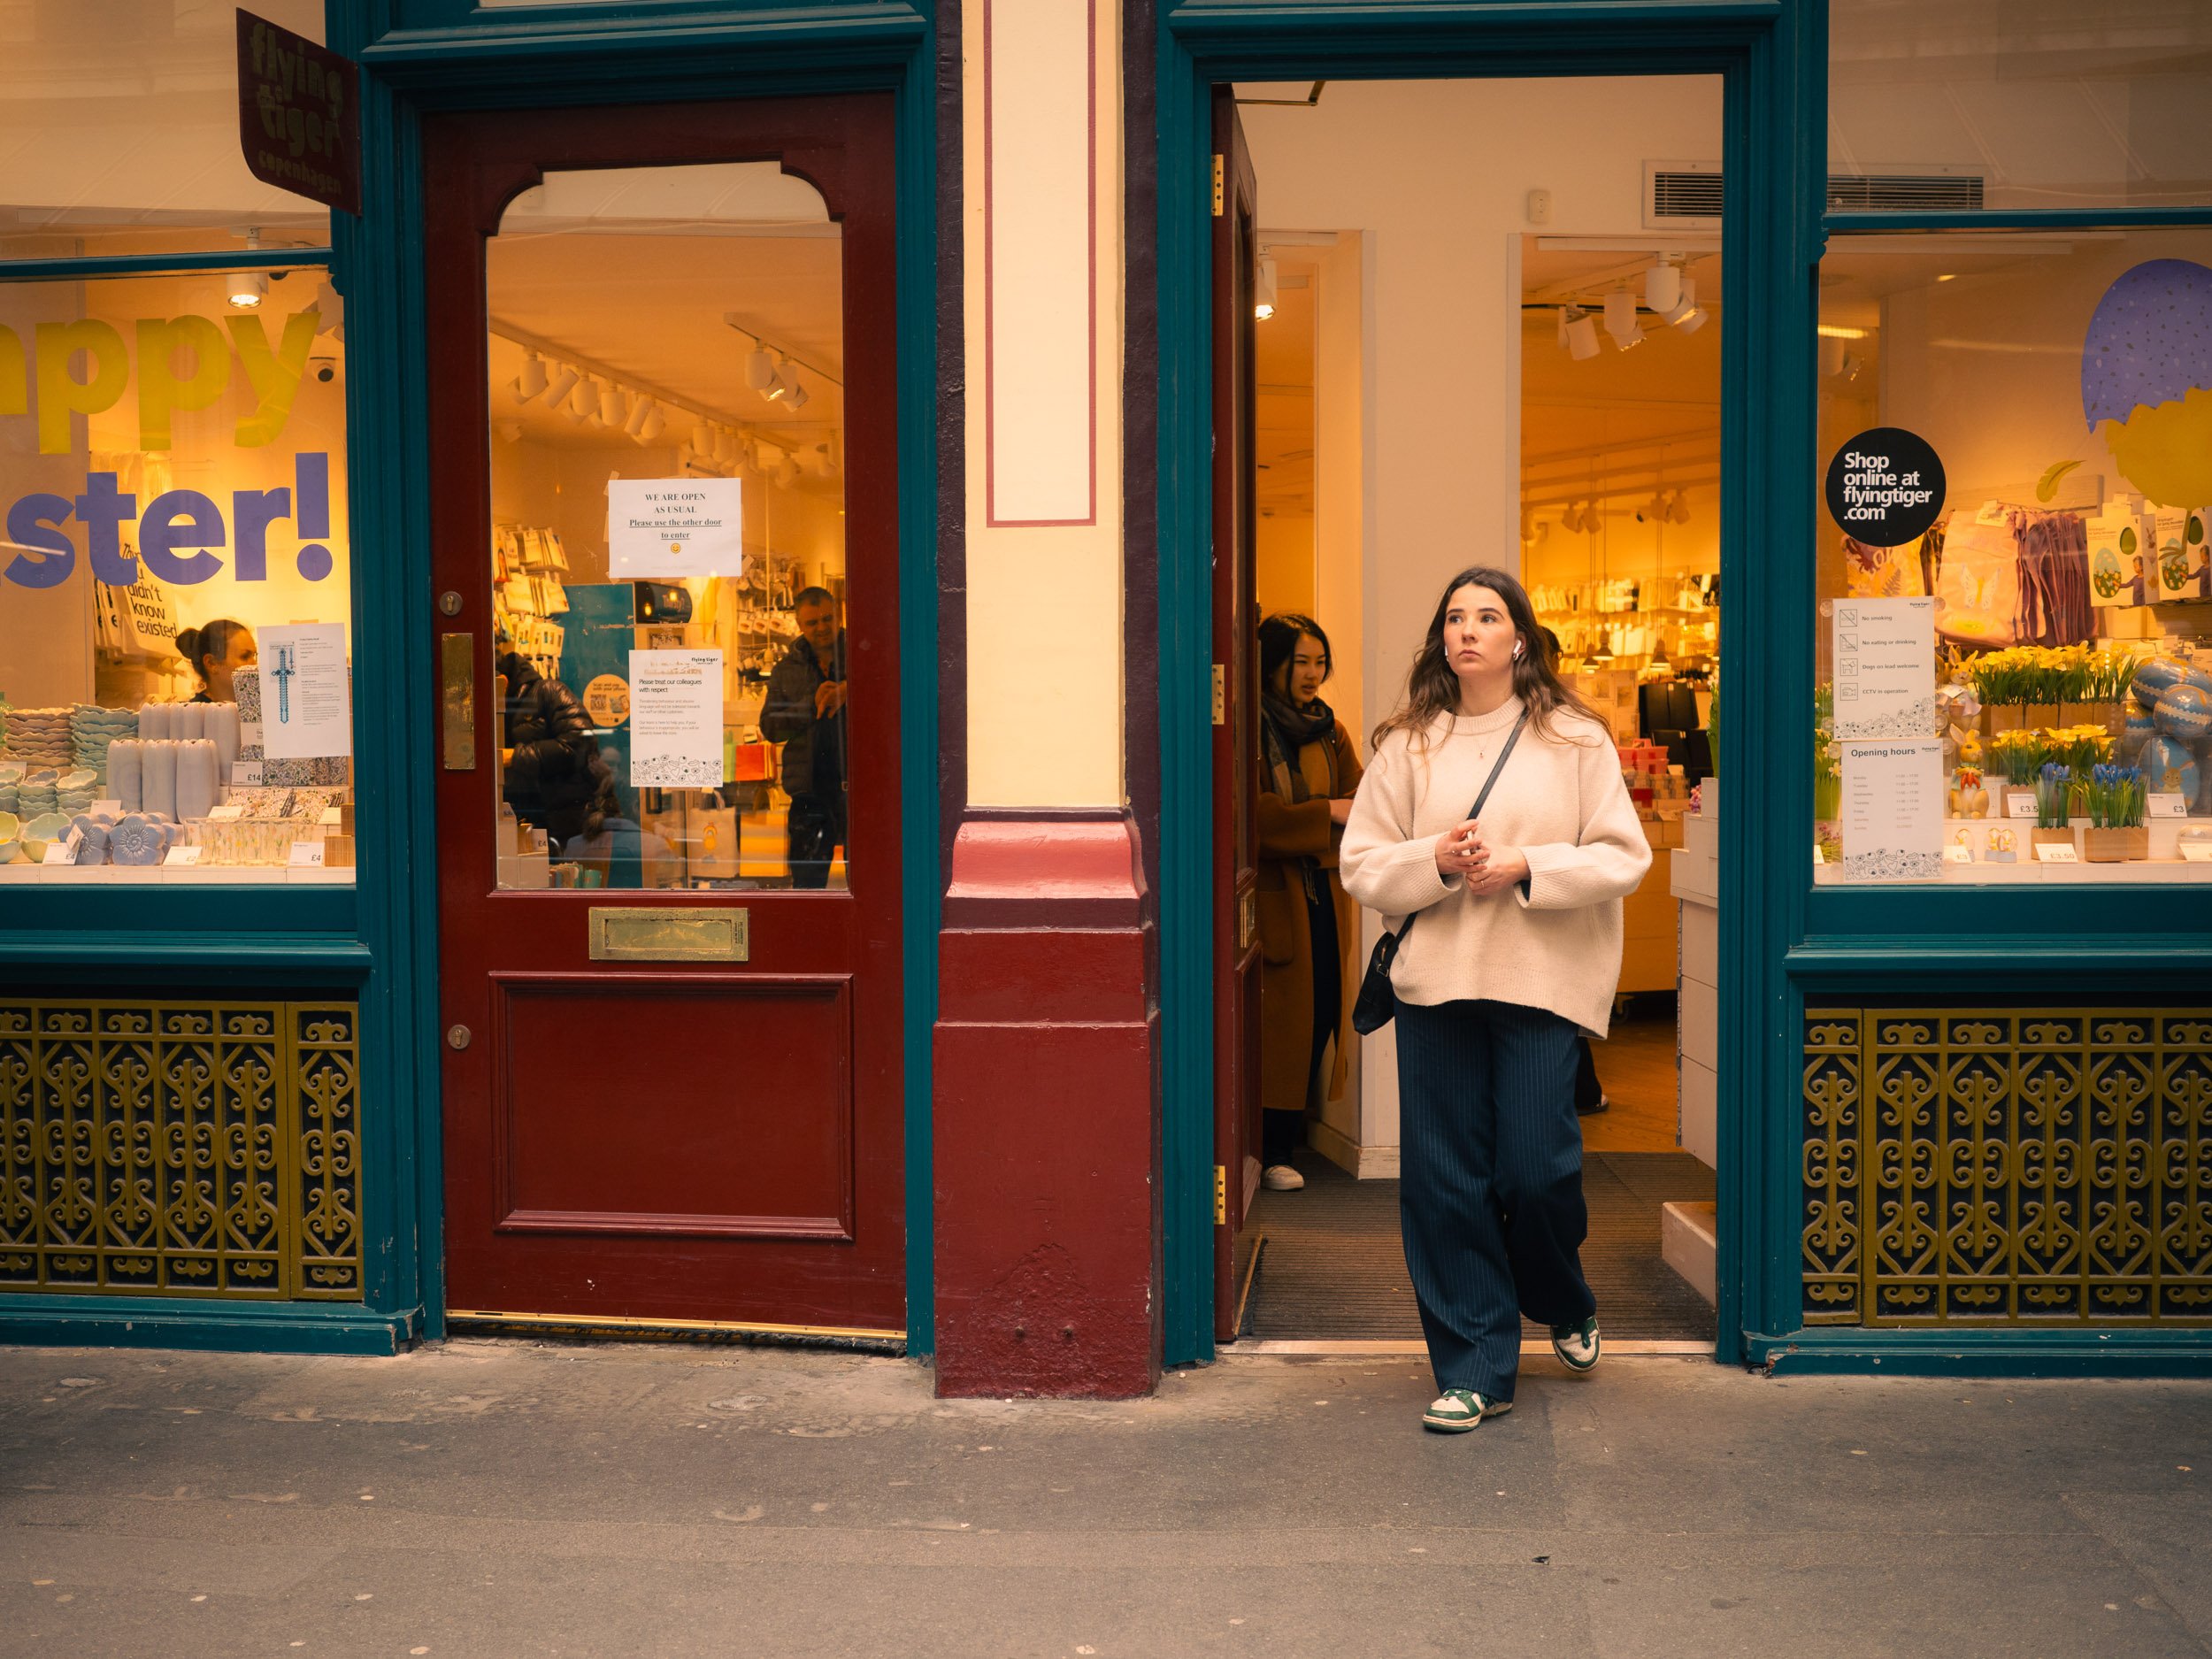
Cross Processing: By shifting colors towards oranges and pinks, this simulation offered an outstanding filter-like effect, that would certainly divide opinion. However, I liked it.
Kodak Chrome (Custom Recipe): A standout addition that I plugged in via Ricoh mobile phone app, this simulation pushed the vibrancy of the images, making every colour pop with vibrancy.

The Art of Adding a Recipe
Reflections on a Day of Discovery
As the day wound down and my exploration of Ricoh's film simulations came to a close, I was left with a renewed appreciation for the creative possibilities that lie within our cameras. Each simulation offered a unique style, transforming ordinary scenes into extraordinary visual narratives.
Go forth and create.