Street Photography with the Osmo Pocket 3
Introduction to My DJI Osmo Pocket 3 Experience
I bought myself a DJI Osmo Pocket 3 a few months back, specifically for filming for my YouTube channel. However, a few days ago, my wondering mind I started to wonder whether the photo mode could cope with a double street photography shoot - night and day. So I decided to put it through its paces. Let’s get into it.
Night Photography: Setting and Experience
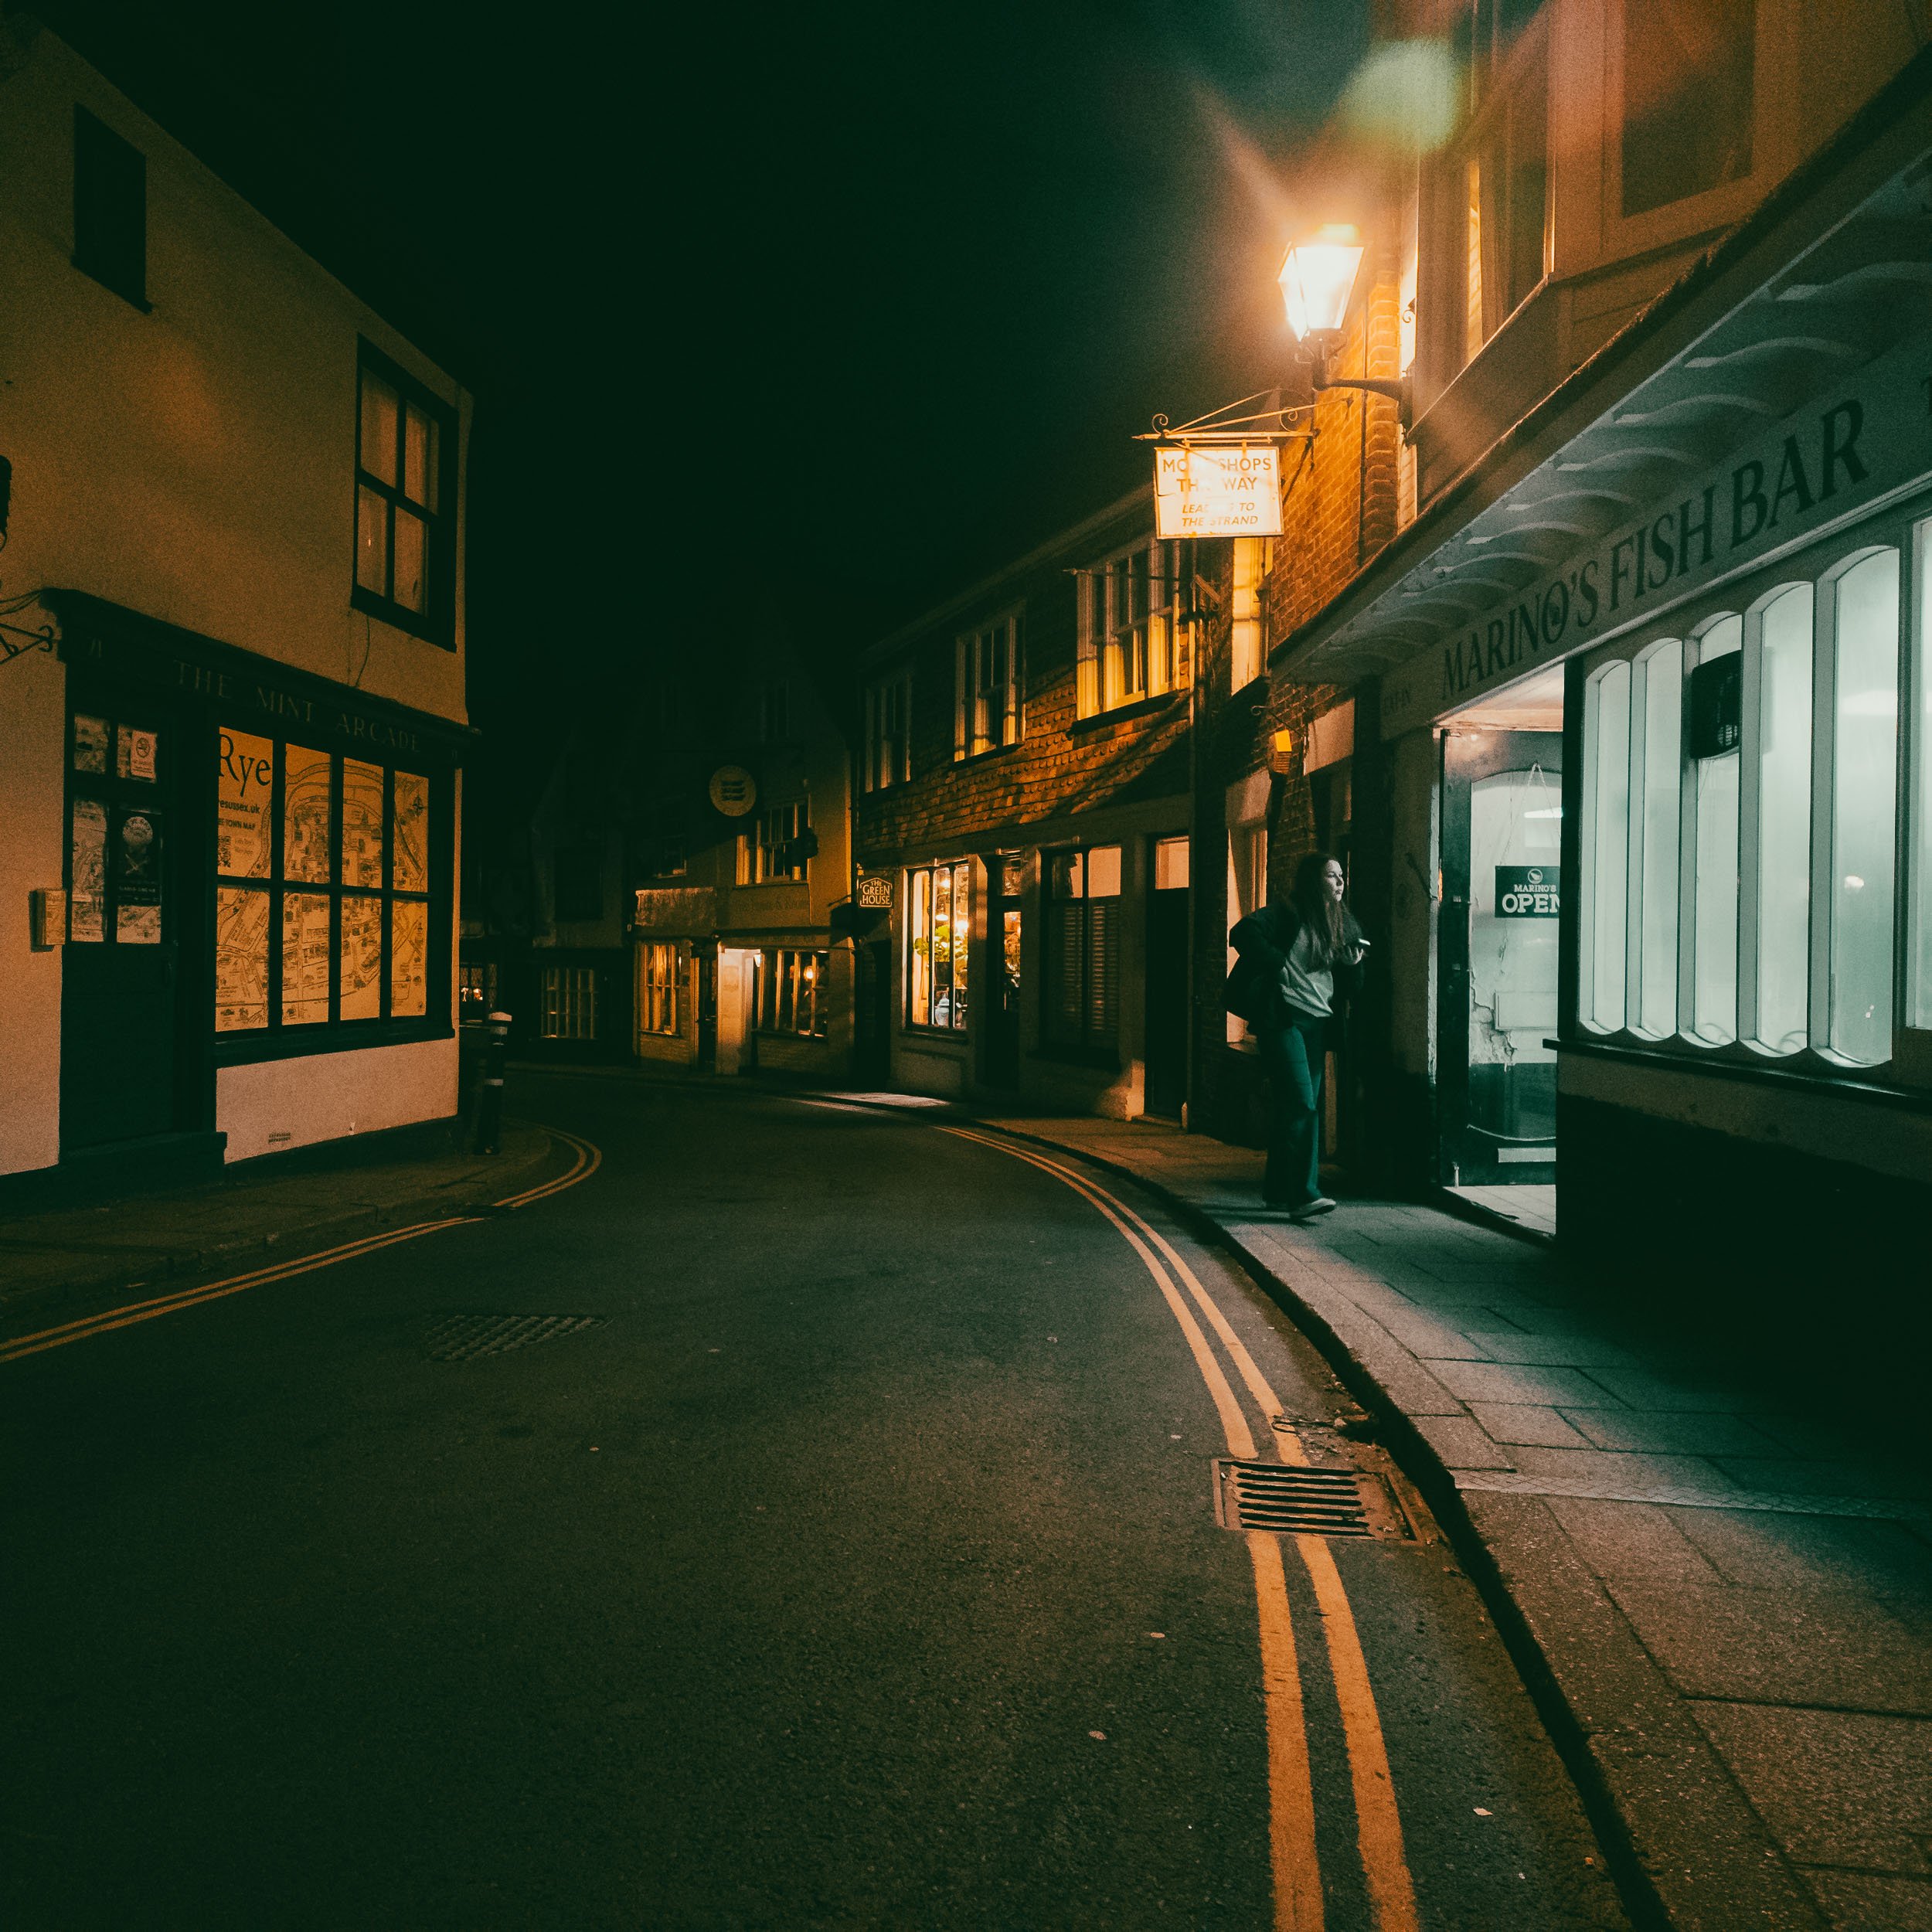
Hitting the streets at night, I had no idea how it would cope with low light conditions. I knew that the Osmo Pocket 3 had great low light video capabilities. That’s the reason why I bought it. So I thought to myself, surely it handles photography just as adeptly. I dialled in traditional night street photography settings: Shutter Speed 1/100 seconds, ISO 50 - 6400, The Aperture is fixed at f/ 2, which is great for shooting at night. The lens is a fixed 20mm equivalent. So ultra wide.
Exploring Focusing Modes and Ease of Use
On this two day shoot I wanted to try both focusing modes; so on the night, I chose Single Autofocus. Auto White Balance , and JPEG plus RAW. For the photo mode you get two aspect ratio choices - 16:9 and 1:1. On a moderately cold evening, in my hometown, I found that capturing people was a breeze. At only 179 grams and having the joystick, the touchscreen, and the shooting button, so close together, was just brilliant for a person with a disability, like myself. I could zoom in, change the aspect ratio, and pan the camera with ease. The shooting button is perfectly placed for my little finger, so I had no problem snapping away.
If you like the colour and mood in these images, my Lightroom presets include desktop and mobile versions you can use as a starting point for your own edits.

My best-selling Lightroom preset pack for colour street photography.
These presets are designed to give your edits a stronger starting point across daylight, sunset, nightfall and nighttime street photography. They are based on the colour looks I use in my own work, with a focus on mood, warmth, contrast and atmosphere.
Each preset may still need small adjustments depending on the light, colour and exposure in your original image. They are not one-click magic buttons, but practical starting points to help you shape a stronger edit more quickly.
The night presets come in two versions:
Nightfall — for darker skies, evening scenes and transitional light
Nighttime — for deeper night images with stronger shadows and artificial light
The pack includes examples of each preset in use, so you can see how the different looks work across real photographs.
You’ll receive the presets in:
XMP format for Lightroom Classic and Photoshop
DNG format for Lightroom Mobile
A detailed installation guide is also included to help you set them up on desktop or mobile.
If you have trouble installing the presets, first check that your version of Lightroom is up to date. If you still have issues, please contact me and I’ll do my best to help.
Gimbal Features and Street Photography
Because the Pocket 3 is a gimbal, I was able to hold the camera horizontally, and the camera head remained level, facing front, so I was able to shoot from the hip without any problem. If you know me, then you are aware that I have to use a selfie stick or a monopod to support a camera, so taking photos is not so easy for me as other people. However, the DJI Osmo Pocket 3, is basically a camera on a sophisticated selfie stick, so I could hold this stabilised machine, easily.

Night Shooting Challenges and Achievements
I grabbed night street shots without any issues. A couple of minor downsides - the buffer is not the fastest. So after taking the first shot, I couldn’t immediately take a second, but I can forgive that as this is mainly a video camera with great video features. It’s not specifically made for street shooting. Also, I wasn’t enamoured by the way the camera rendered street lamps. There was a light streak emanating from many of the bulbs, that to me, is not that pleasing, but it didn’t ruin any of the shots. I often needed to reframe the gimbal by moving the joystick, which wasn’t an issue. I also had the ability to zoom in by 2.0. Having such a wide lens meant that the aspect ratio of 16:9 was very wide, so I spent most of the time shooting in 1:1. The main plus point; the feature that amazed me, was that every single shot was in focus. I think it’s a mixture of the gimbal stabilisation and DJI’s focusing wizardry, but this hit rate of sharp shots is class leading. And I took some shots in some extremely low light places.
Daytime Photography and Settings
My daytime settings were slightly different: Shutter Speed 1/200 seconds, ISO 50 - 6400, Continuous Auto Focus. Every other setting remained the same.

Challenges in Daytime Shooting and Lightroom Editing
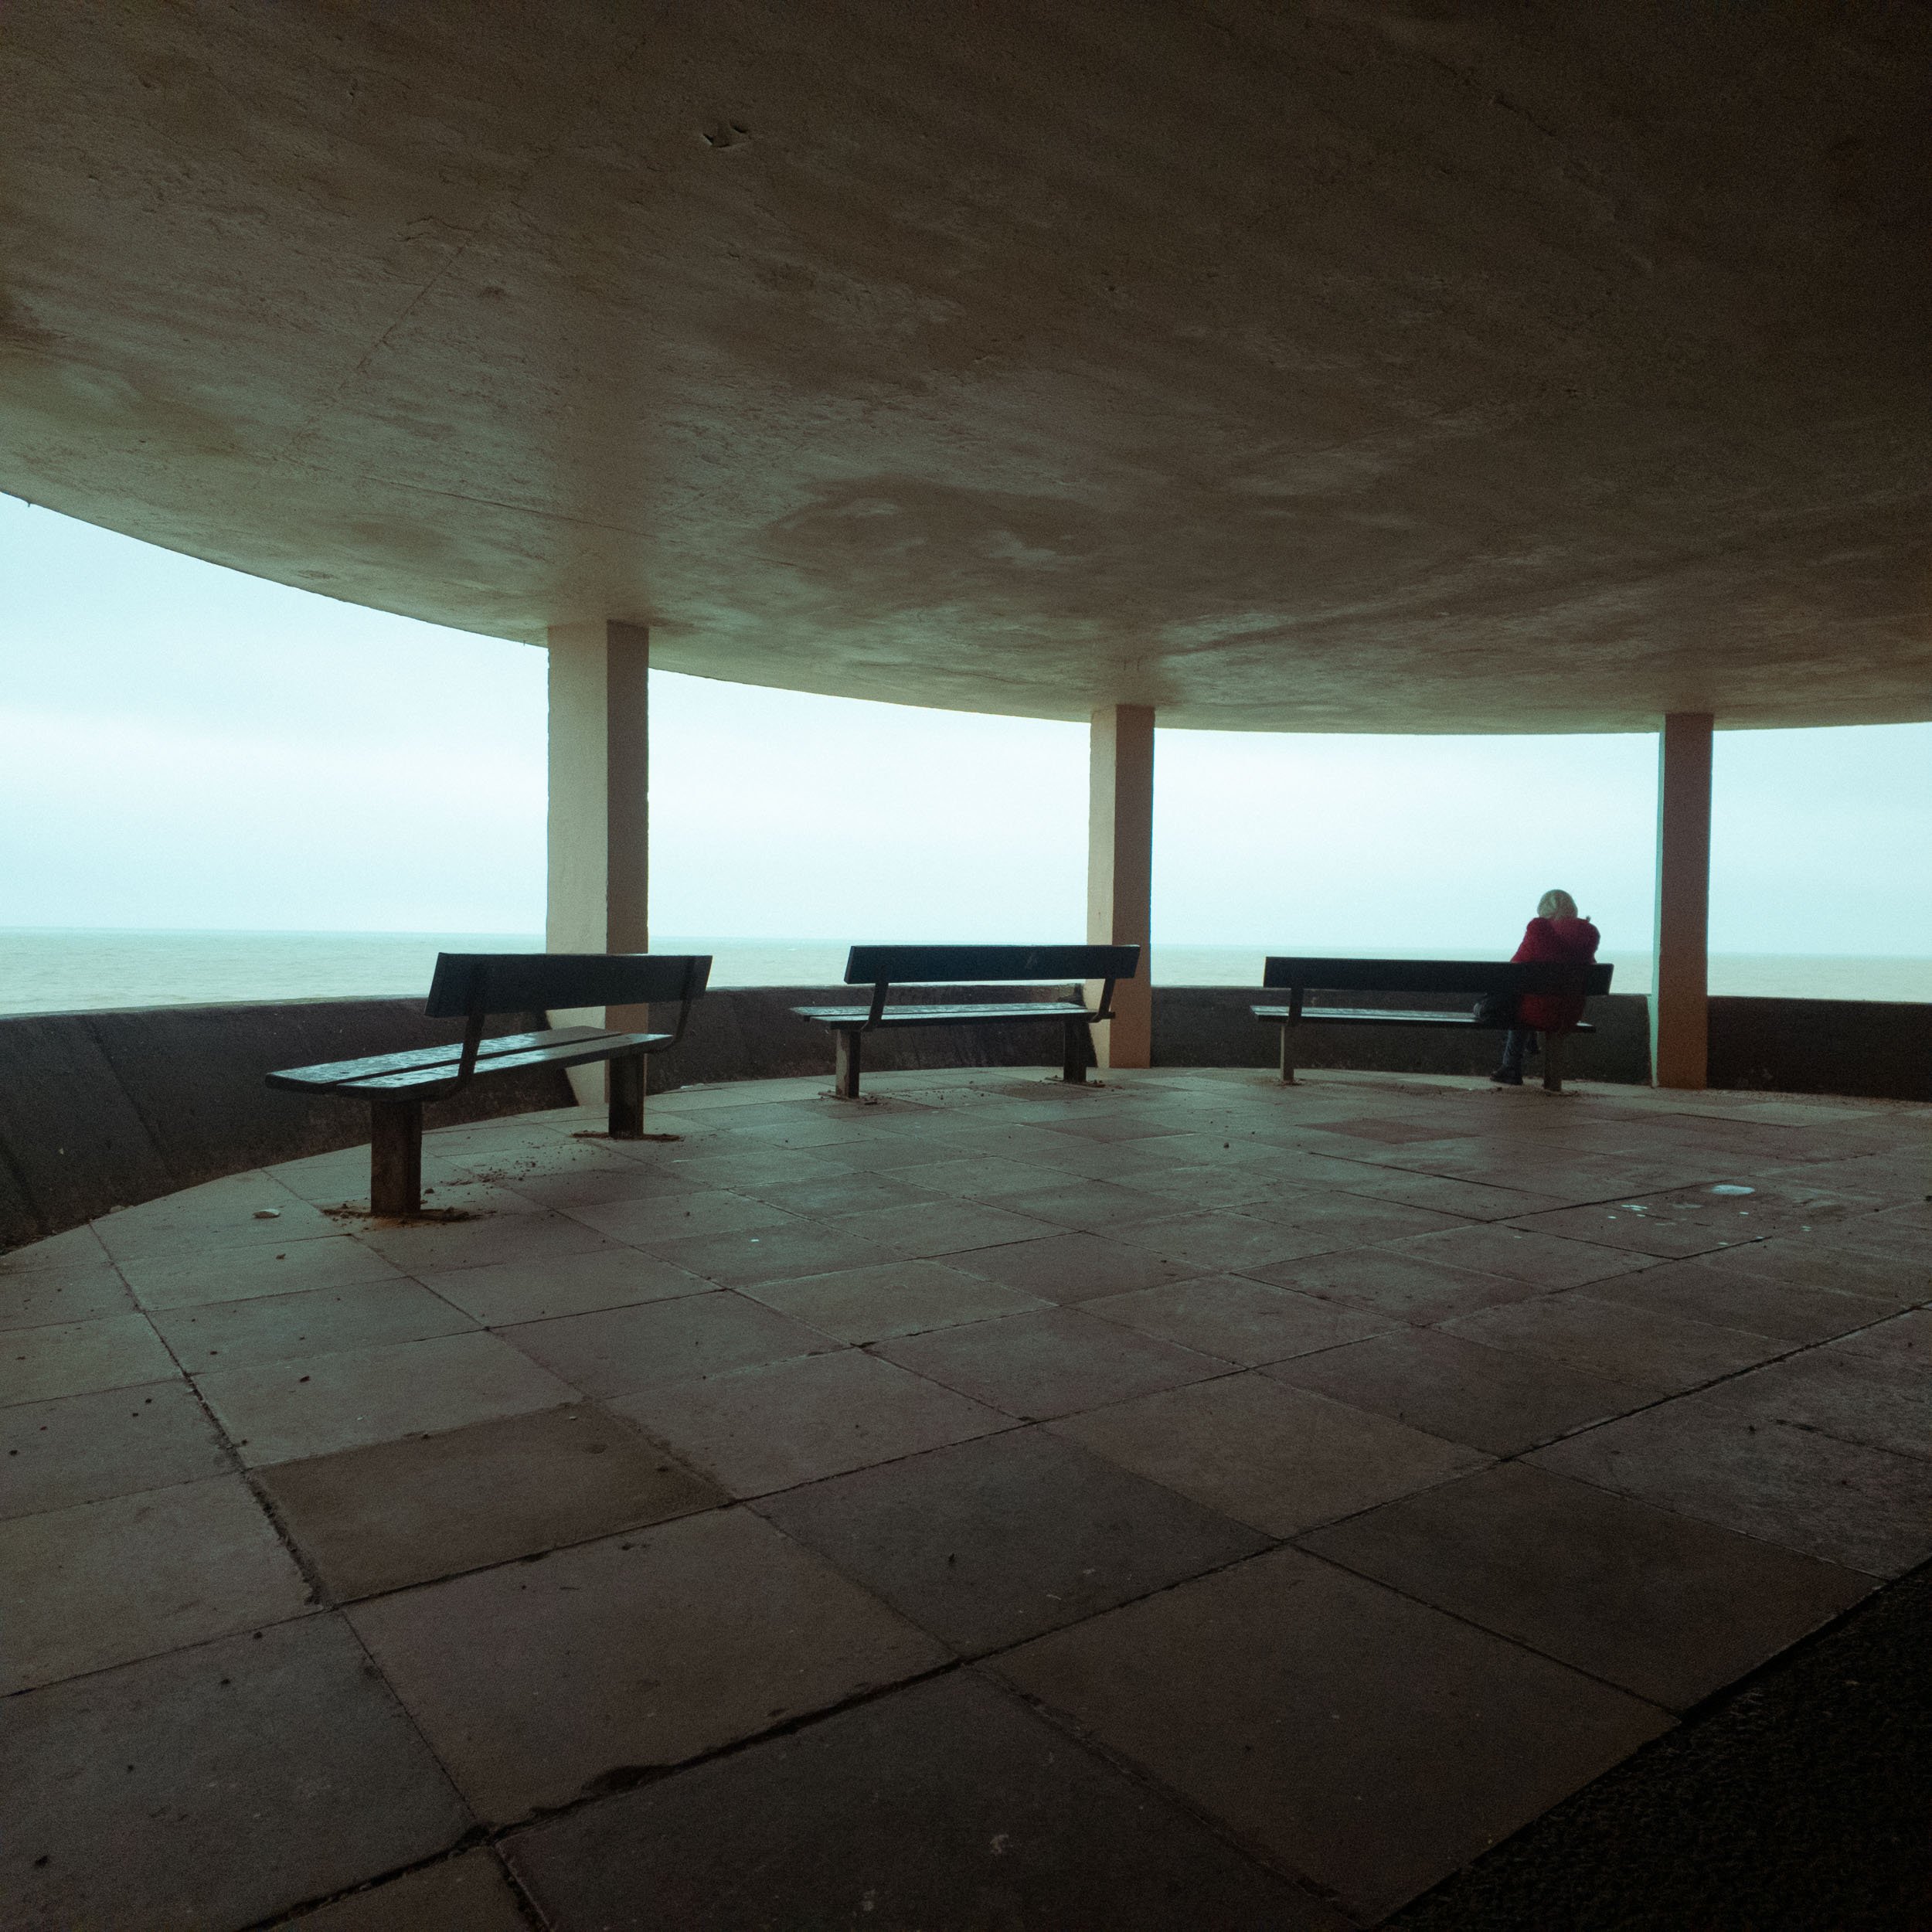
Why such a high ISO range? Because I shot in Bottle Alley, in St Leonard’s on Sea. It bears a similarity to The Barbican, in that it’s a covered walkway and the light enters from one side, so I had no idea how the camera would handle a partially covered location, and I thought this would be an interesting place to shoot, seeing as there was just bad light. Plus it was drizzly and I didn't want to get this non-waterproof camera wet. I tested the camera out on a previous day and I knew that you have to use ND Filters on the lens, even when shooting photos. So I chose the Freewell ND 16, which is a 4 Stop filter. Once again, every single shot was in focus, as I headed down the long Bottle Alley passageway. The only issue I had was that when I uploaded the photos to Lightroom, I noticed that the camera found it difficult to expose for the partially covered walkway with light spilling in from the
side. A bunch of the shots were overexposed. Unfortunately, it’s impossible to make out the exposure on the back of the little camera screen. Also, there is no highlight clipping warning. Luckily the skies weren’t so blown out that they weren’t recoverable. If I do this experiment again at Bottle Alley, I will increase the Shutter Speed and take it from there.
Conclusion: Overall Impressions of the Osmo Pocket 3 for Street Photography
Overall, the experience of shooting street images with the Osmo Pocket 3 was a positive one. It’s ultra light, it’s fairly fast at capturing subjects. Every subject was in focus, and for a nine megapixel sensor, the photos rendered incredible detail.