Street Photography - The Best ISO for Any Weather
Introduction
ISO refers to the sensitivity of your camera's digital sensor. As you raise the ISO, the image becomes brighter. Therefore, as the weather gets darker, you will need to increase your ISO to make the image brighter to compensate for the darkening weather.
Fortunately, there are some ballpark ISO values that you can rely on, as you are starting out on your street photography journey.
Sunny Weather
When the Sun is out, you have as much light as you need. And if there isn't a cloud in the sky, there is light everywhere, (providing that you are not overshadowed by tall buildings or alleyways). This means that you can use your camera’s base ISO of 100.

Cloudy Weather
As soon as the clouds start rolling, you might need to increase your ISO. Bright clouds shouldn't be too much of an issue. Consider cranking your ISO up
to 400.
As more clouds roll in, you might need to increase your ISO further. Anything up to 800 should suffice.

Rainy and Darker Conditions
Now is the time when your ISO enters the realm of double digits. 800 - 1600 are good, approximate values, that you can use if the weather is bad or you are approaching nightfall.
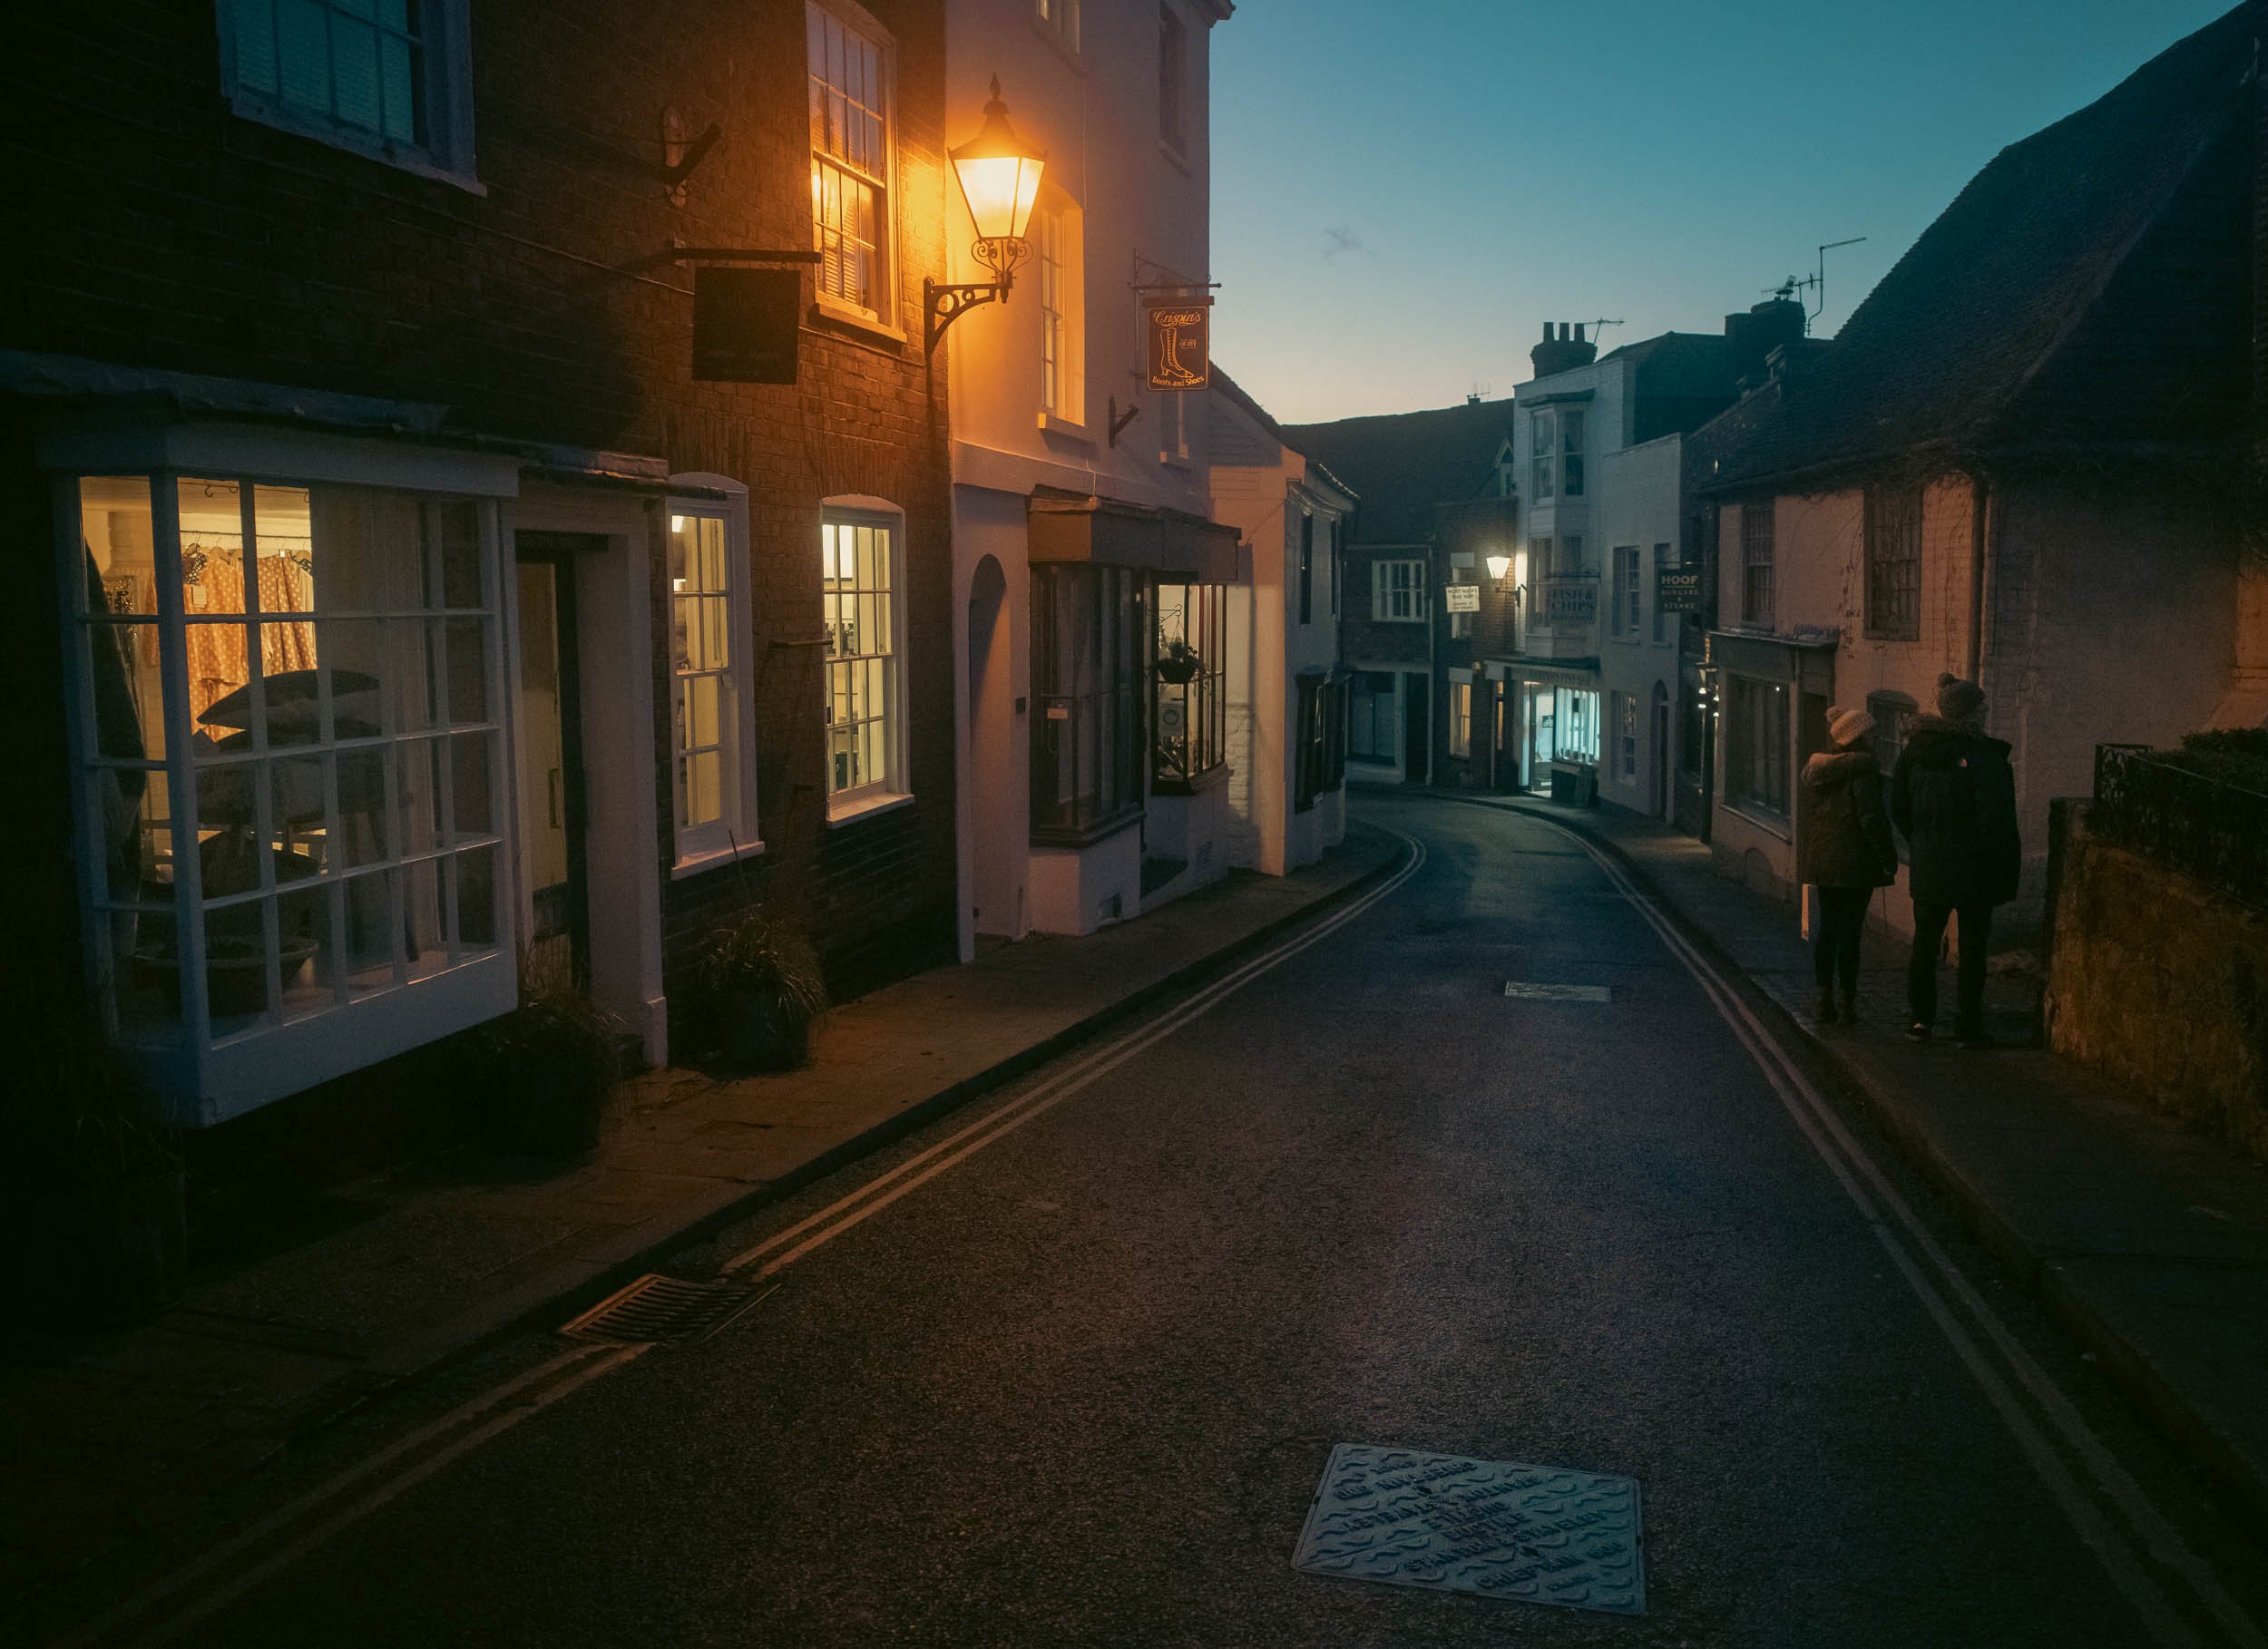
Night Time
When I hit the streets at night, I allow the camera to shoot at an ISO of up to 6400.
The only issue you might face with using high ISOs at night time is noise in your images. But I have two things to say about this. 1. Cameras, these days, have much better sensors, to the point where there isn't such a factor at ISO's of 6400. 2. A bit of grain in your images, especially street photography, actually adds atmosphere and gives your photos character.
The Exposure Triangle Compensation
When it gets very dark at night time, you're out with your camera and you are shooting some night street photography images on streets that are only illuminated by street lights and shop lights, you will probably find that even with your ISO at 6400, you might need to choose a wide aperture, of anything from f/2.8 - f/5 (so more light can enter into your lens). You also might need to drop your Shutter Speed to a slowish 1/160 sec, or approximate, (the slower the Shutter Speed, the longer the shutter is open, thus letting more light onto the sensor). These are just the trade-offs of darkening weather.
However, in bright sunshine daytime, and if you are shooting at ISO 100, you can afford to use, a narrower aperture and faster Shutter Speed. Obviously, as a street photographer, you will be moving about into shadier areas all the time (unless you are on the beach), so if you are shooting in Aperture Priority, your camera will adjust the Shutter Speed to a slower speed to compensate. If you are shooting in Manual Mode you can adjust any Exposure Triangle setting yourself until you get the correct exposure.

The Best Setting
Using Auto ISO with Minimum Shutter Speed is the best compromise. If you use this setting, you can pick an ISO range for all eventualities. In the daytime, you can choose a range from ISO 100 to 800. You can also pick a minimum Shutter Speed of 1/200 sec. By doing this, you can feel safe in the knowledge that your camera will choose an ISO from 100 to 800, whatever weather or condition you find yourself in. Also, because you have selected a minimum Shutter Speed of 1/200 sec, you won't have to worry about freezing action, because that is your minimum Shutter Speed!
The only time the camera will drop below your minimum Shutter Speed is if a camera is maxed out at your top, ISO range of 800, with your selected aperture and the minimum Shutter Speed, yet there is still not enough light to get the right exposure, then your camera will drop below your minimum Shutter Speed to make sure that the exposure is correct.
At night time, I generally shoot with Auto ISO. The ISO range I would use is 1600 - 6400, with a minimum Shutter Speed of 1/160 sec. With image stabilisation in my camera, I can be pretty certain that I can freeze action at that Shutter Speed. Even at a slower Shutter Speed of 1/125sec much of the time, I can freeze action.
For an in-depth look at Auto ISO check out this article here.
Conclusion
It is not rocket science, picking the best ISO for the right weather is a case of remembering a few figures. But better still learning about the Exposure Triangle and how light affects exposure, is part of the fun of learning photography.
Go forth and create!