The Best and Easiest Settings to Use For Night Street Photography
Introduction
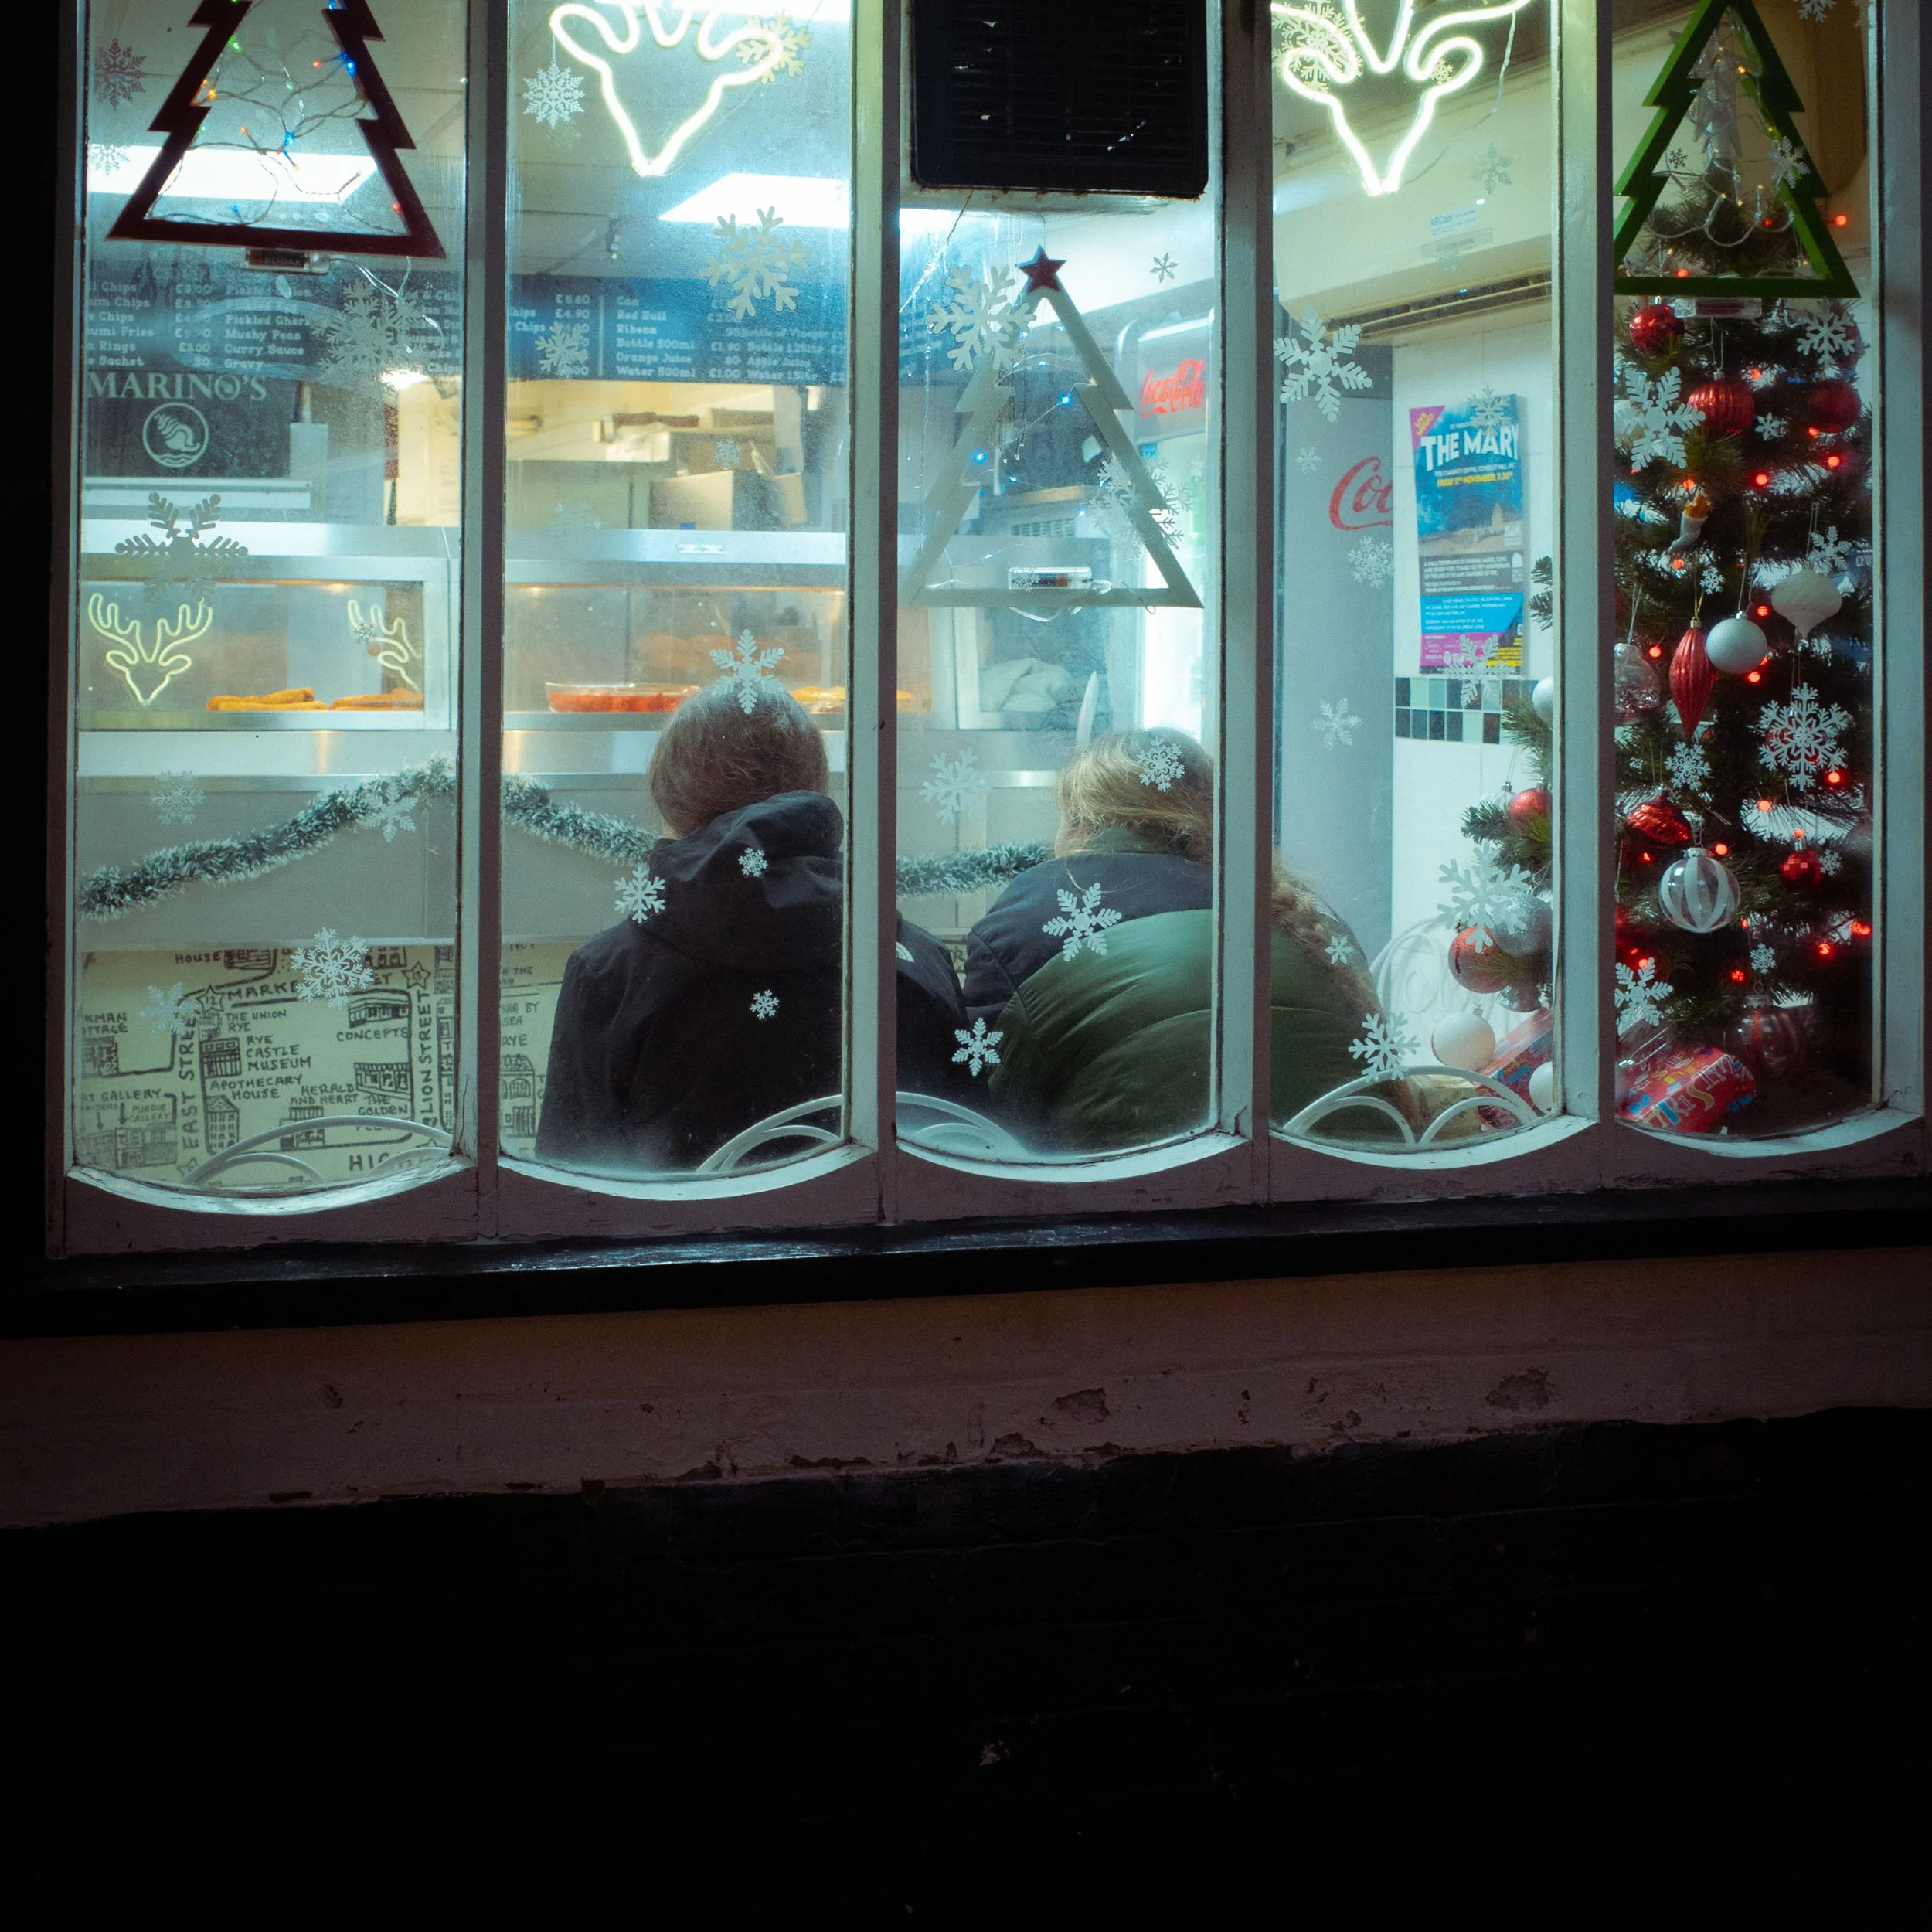
Challenges of Night Street Photography
I know from experience that understanding the right settings for night street photography can be complex.
It took me a while to get the settings just right, so that I could work quickly, and efficiently, without too much moaning and groaning.
Therefore, with this blog post, I intend to impart my knowledge onto you. In the hope that you can go out on a cold, moonless night, and take some great snaps.
The Camera Mode
Aperture Priority is my main night photography mode. This is because it is easy to work with, allowing me to quickly take shots with immediacy.
For those of you who don’t know; with Aperture Priority, you select the Aperture and the ISO and the camera selects the Shutter Speed.
However, the caveat to me choosing Aperture Priority as my main driver, is also using Auto ISO.
But more on this later…
Aperture
At night, for streets with varying night lights, that vary in brightness and consistency, use apertures f/5.6 - f/2.8.
You need to use a wide aperture to allow more light to enter the lens’ diaphragm. The darker it gets, the wider the aperture you will need.
If these settings helped make night photography feel simpler, my Night Street Photography Guide goes further, covering camera setup, focusing, exposure, light and practical shooting ideas for stronger photos after dark.
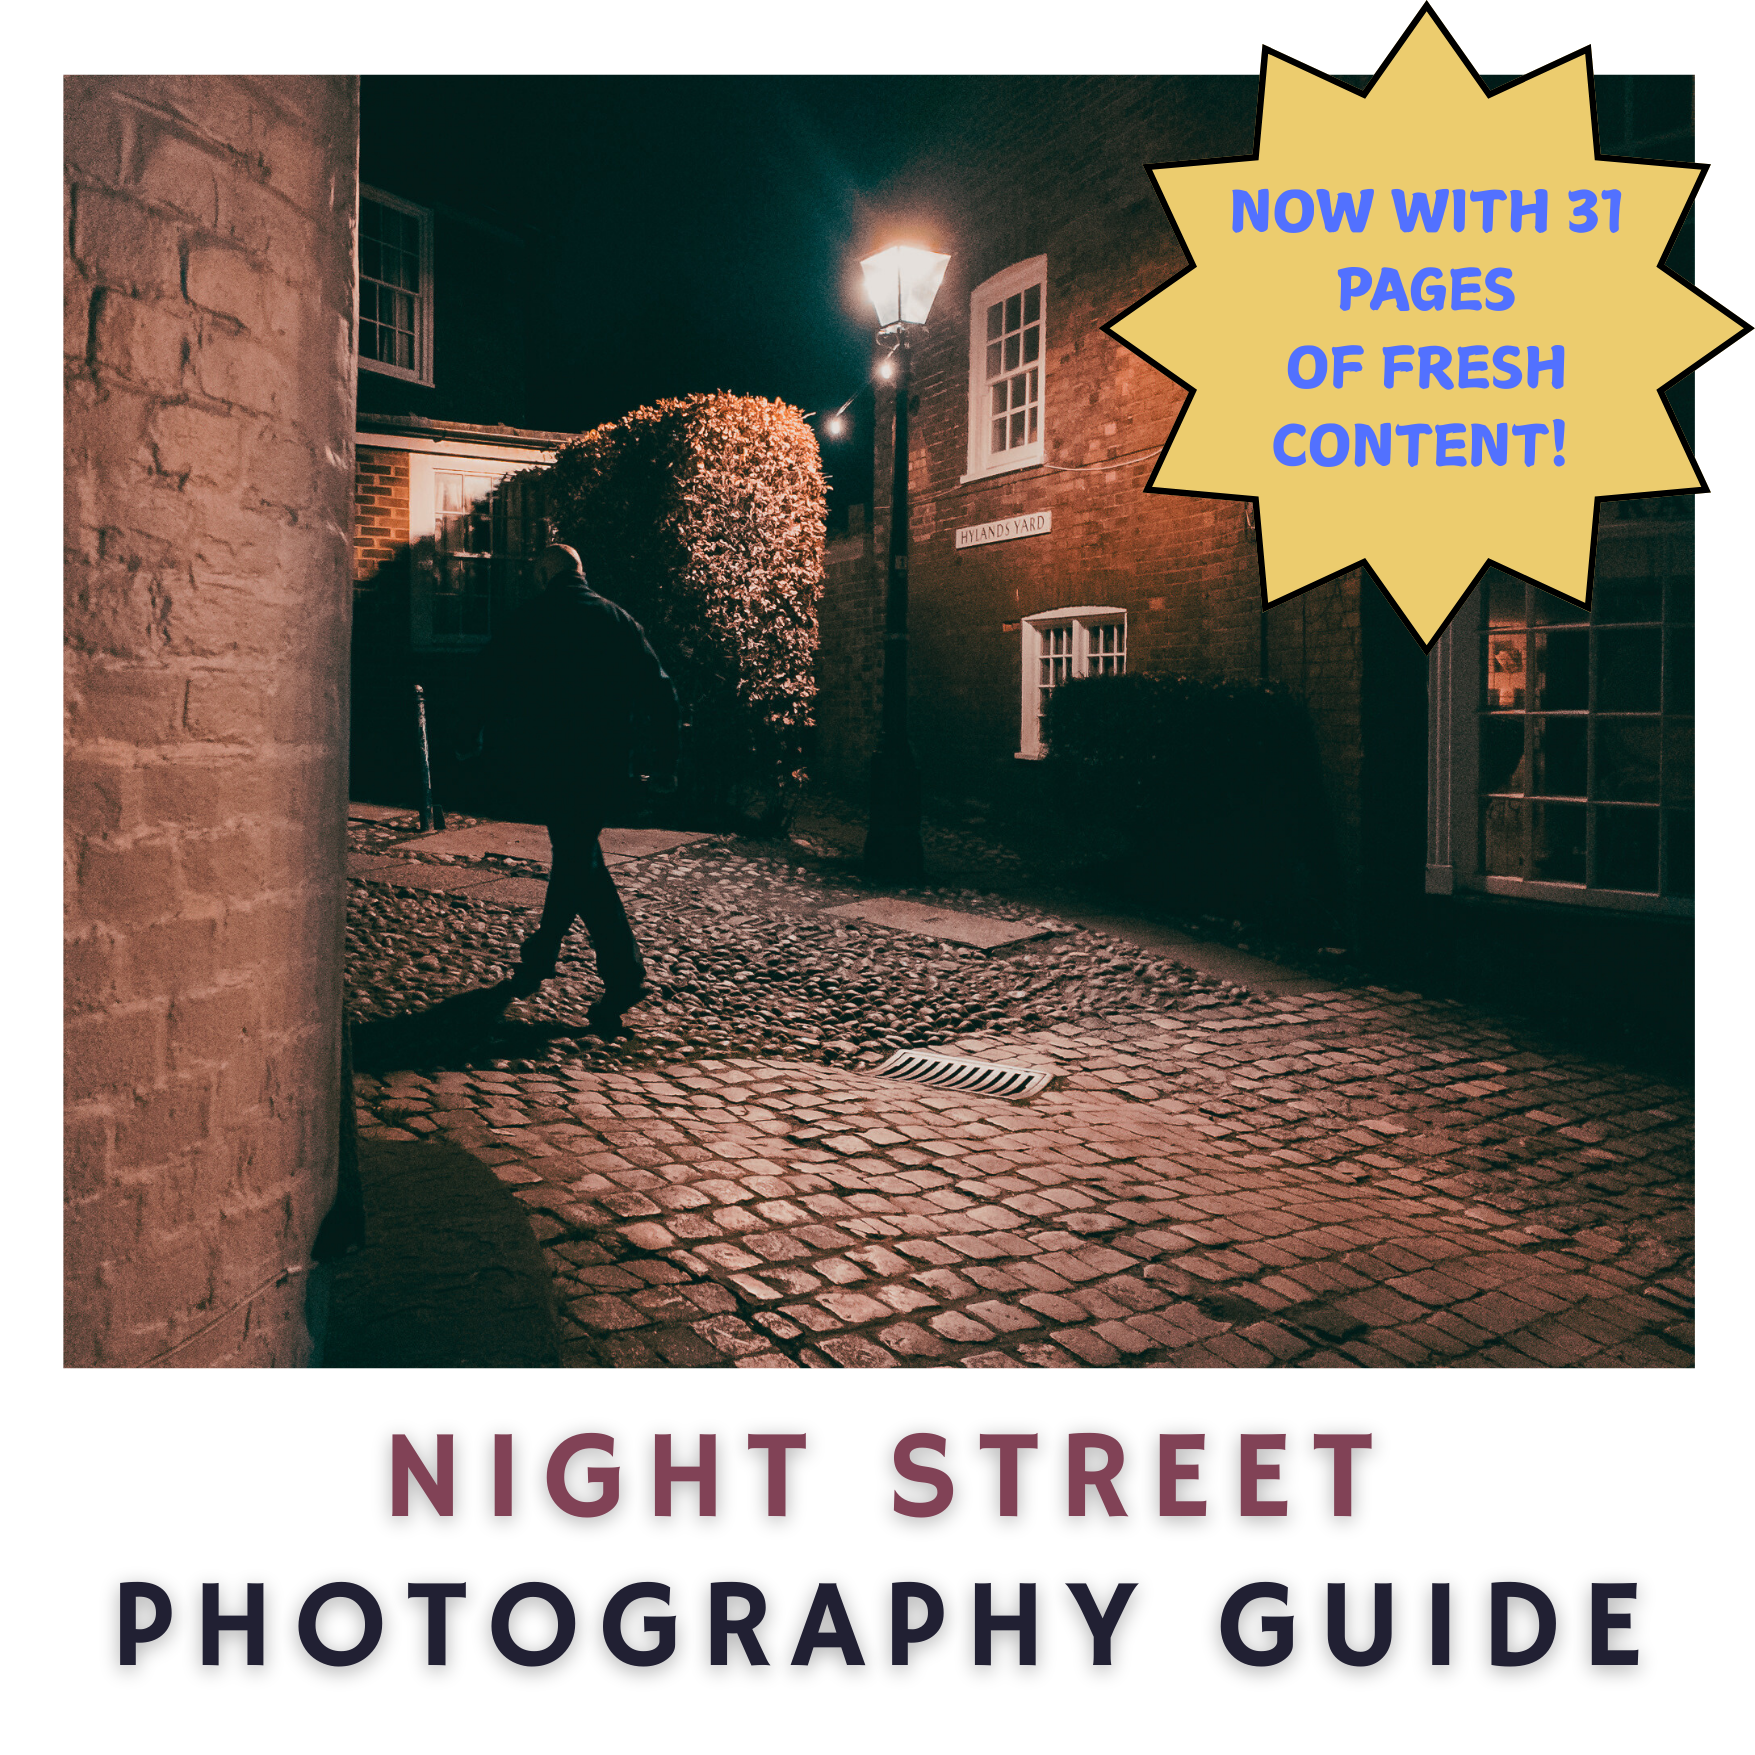
31 pages of practical night street photography guidance.
This updated guide gives you a clear, simple starting point for making stronger street photos after dark. Inside, you’ll find advice on camera settings, focusing, available light, silhouettes, shop windows, reflections, textures and creating more atmosphere in your night photography.
It has been refreshed with clearer explanations, practical examples and simple techniques to help you feel more confident shooting in low light without overcomplicating things.
If you want a focused guide for night street photography, this is the place to start.
Downloadable PDF
Shutter Speed
Use Longer Exposures at Night
Fast Shutter Speeds just won’t cut it at night. The faster the Shutter Speed the the shorter and quicker the camera’s Shutter is open, letting less light in.
Therefore, you want the Shutter to be open for longer, whilst still being able to capture action, without bringing home blurry long exposures.
This ultimately means that you need to use slower shutter speeds at night up to moderately faster - 1/80 to 1/200 sec - to balance light intake and subject sharpness.
Camera-Specific Settings
I can only vouch for two cameras, so whatever camera brand and model you have, hit the streets and see what works for you.
Personally, I have found that with my cameras and my physical capabilities; with a Ricoh GRIII, I can shoot at a minimum of 1/80 sec. For my Sony A7RIII, the slowest speed is around 1/100 sec.
If you have these cameras, or similar, find out what your minimum shutter speed is, so that you can shoot with that setting that allows you to freeze action.

ISO (Auto ISO)
Auto ISO in Aperture Priority
ISO refers to the sensitivity of your camera’s film or digital sensor to light.
In the daytime, you can shoot with low ISOs, from 100 - 800. These are ISOs with less sensitivity to light.
However, at night you need to use ISOs that have more sensitivity to light. ISO 800 to 6400 covers a number of scenarios. Fading lights, streets with bright shops and street lights, and streets with less ambient lights.
I use Auto ISO which allows me to set a specific range (800 - 6400) and also choose a minimum shutter speed (usually 1/125 sec).
This means that as I walk around at night the camera consistently reaches exposures with varying Shutter Speeds.
If and when the camera calculates that the Shutter speed hits the minimum that I have set (1/125sec), it will then start to increase the ISO from the base ISO that was set, of 800.
However, If I enter a very dark condition and the camera calculates that the minimum shutter speed has been reached and ISO has been maxed out at 6400 - then the camera will sacrifice the minimum shutter speed and drop below 1/125 sec. It will not increase the ISO over 6400.
These are not big caveats.
With Auto ISO, you can shoot your night street photos without having to worry about changing the ISO and the Shutter Speed.
Providing that you are not shooting a street with almost no lights, so that the ISO goes beyond the maximum, I find it a liberating and brilliant function of modern cameras.
The Focus
Most modern cameras are great at focusing, and that includes focusing at night. Some are not as snappy as others, but the majority are more than adequate at being able to capture people in low light.
That is why I use Auto Focus at night. As a person with a disability it would take me time to start faffing with manual focus. There is Zone focusing, but at night, I photograph people from all kinds of distances, and I shoot at very wide apertures, so it does not cut it for me.
I always use autofocus, even with slower focusing cameras like the Ricoh GRIII / GRIII X. With my Sony A7RIII I will use Continuous focus with the Flexible spot area, and I use Auto Area AF centre mode on Ricoh.
What works for your camera and your shooting style may differ
It takes time to work out what works for you with your camera’s Autofocus modes. So testing is particularly important beforehand.
Metering Mode
When it’s really dark, Highlight Weighted Metering Mode will leave your shadow areas so dark that they might be difficult to recover.
Centre Weighted Metering Mode is best for specific conditions, with light or darkness in the centre of the frame, so I use it sparingly.
I use Evaluative/Multi-Segment Metering Mode. Use this mode at night. It analyses light across the frame, which is helpful in night street photography with various artificial lights and people in your scene. It’s a solid metering mode that just works 99.9% of the time.
White Balance
I shoot in RAW. I do my adjusting of temperature and tint in Lightroom.
That’s why I use Auto White Balance when I’m out and about.
It’s never failed me.
Conclusion
Before I depart let me just say that all of the settings I use can be changed based on your experience, so choose completely different settings, or settings that are simply adjusted.
Do what works for you.
I hope that you can use these settings as a starting point for your own night street photography.
The main takeaway is to enjoy, stay save and come home with great shots, inspiration, and cold hands.