Rye Landscape Photography Guide - Landscape Composition Tips for Beginners

Introduction
I primarily think of myself as an Urban and Street Photographer, however, I started my outdoor photography journey shooting landscape shots. From time to time, I still venture out to the local countryside to capture a few sunset landscape photos and sometimes sunrise.
I find it very relaxing and rewarding.
There are a number of composition and lighting tips that I would love to share with you.
Let's get into it.
Rye Countryside and Seaside
The area surrounding the ancient town of Rye in Sussex is full of charm and interest.
If you head west and out on the designated walk that leads to the beachside town of Camber Sands you will immediately come to the River Rother that flows for 35 miles through the English counties of East Sussex and Kent. However, on this walk, you will find a picturesque view of the town of Rye from the backside. where a number of characterful boats sit on the river below the town.
If you walk to the north you will come to the River Tillingham and a beautiful countryside walk that leads for a few miles, finally reaching up to the town of Iden. Vast farmyards, churches, fields and graveyards can be photographed from this location.
From Rye town centre head South to Rye Harbour and you have the iconic Red Roofed Hut, an interesting coastline and a nature reserve.

Finally, if you venture southwest you will soon arrive at the ancient town of Winchelsea. Here you have the stunning St Thomas The Martyr Church, where the famous British comedian Spike Milligan is buried and on the edge of town, you have another country walk with far-reaching views across the valley which is perfect for sunset shots.

And let's not forget Camber Castle, also south from Rye, formerly known as Winchelsea Castle. It is a 16th-century Device Fort, built by King Henry VIII to protect the Sussex coast of England against French attack.

Landscape Photography - Composition Tips
Here are some simple tips that have come in handy every time I shoot aesthetic landscapes.
Use a wide-angle lens
They allow you to get closer to your foreground element which allows for perspective distortion, making the said foreground object seem much larger in size and make objects further away seem smaller.
Shoot low to the ground
This is great for revealing the detail in the foreground and helps to emphasise leading lines. Foreground objects give your landscape imagery depth and will help to lead the viewer's eye into the scene.
Use a tripod
This is a must for keeping shots sharp, especially at dawn and at night when it is darker.
Include layers in your images
It is a very simple composition technique, but the Rule of Thirds allows you to separate the foreground, the main subject or area and the background. Keep your horizon straight and use that to separate the sky from the land scenery.
Partial Clouds are better than no clouds
If you shoot a landscape on a cloudless day, the sky will look flat, blue, boring and contrasts with the detail in the scenery. Sometimes it can work, especially when there is hazy morning light, but generally, it looks dull. The best time to photograph is when the sky is slightly cloudy. The clouds will give you much-needed detail and depth. However, if it is too cloudy you won't have any of that beautiful light hitting your subject and foreground.
It's the light
Shooting at midday or the afternoon, when the sun is high up in the sky will leave your images with harsh light and strong shadows. For soft, warm light then you must either arise early or wait until sunset. This is the rule that landscape photographers swear by.
Use small apertures
Use an aperture value of f / 8 to f /16 to keep your shots in focus from the foreground to the background.
Focus a third of the way into the scene
There are many different focusing techniques to use but I have found that this works for me. It's a great starting point if you are beginning your landscape photography explorations. This generally makes sure that the background and the foreground are sharp and in focus.

Atmosphere, Vibes, and Light
When you are fortunate to be shooting with great light on your scene, especially early at sunrise and sunset, this is when the magic happens. That morning light can produce a hazy and or misty atmosphere which can be accentuated in Lightroom or any other editing software of your choice.
Sunsets can look golden and dramatic which is extremely aesthetically pleasing. It's these colourful shots that are the most sellable if that's your plan.
Camera Settings
I generally like to turn on the Bracketing mode on my camera and capture three Exposures. One-stop underexposed one correct exposure and one-stop overexposed. This way I can blend the exposures in Photoshop, using layers, if I need to.
Working in Manual Mode gives you the most control. I will set an aperture of f /8 - f /11 and vary the Shutter Speed, depending on the light, whilst keeping the ISO at 100. I always use the Histogram to make sure I have the correct exposure. Plus, I always use a tripod and a wireless Shutter Remote. If you are working with a slow Shutter Speed, the last thing you want is for any camera shake.
I will also use Evaluative meter mode, Daylight White Balance, and Single Shot Autofocus. Finally, I will use the camera's LCD screen to compose the image and set the focus point.
How I took These Shots
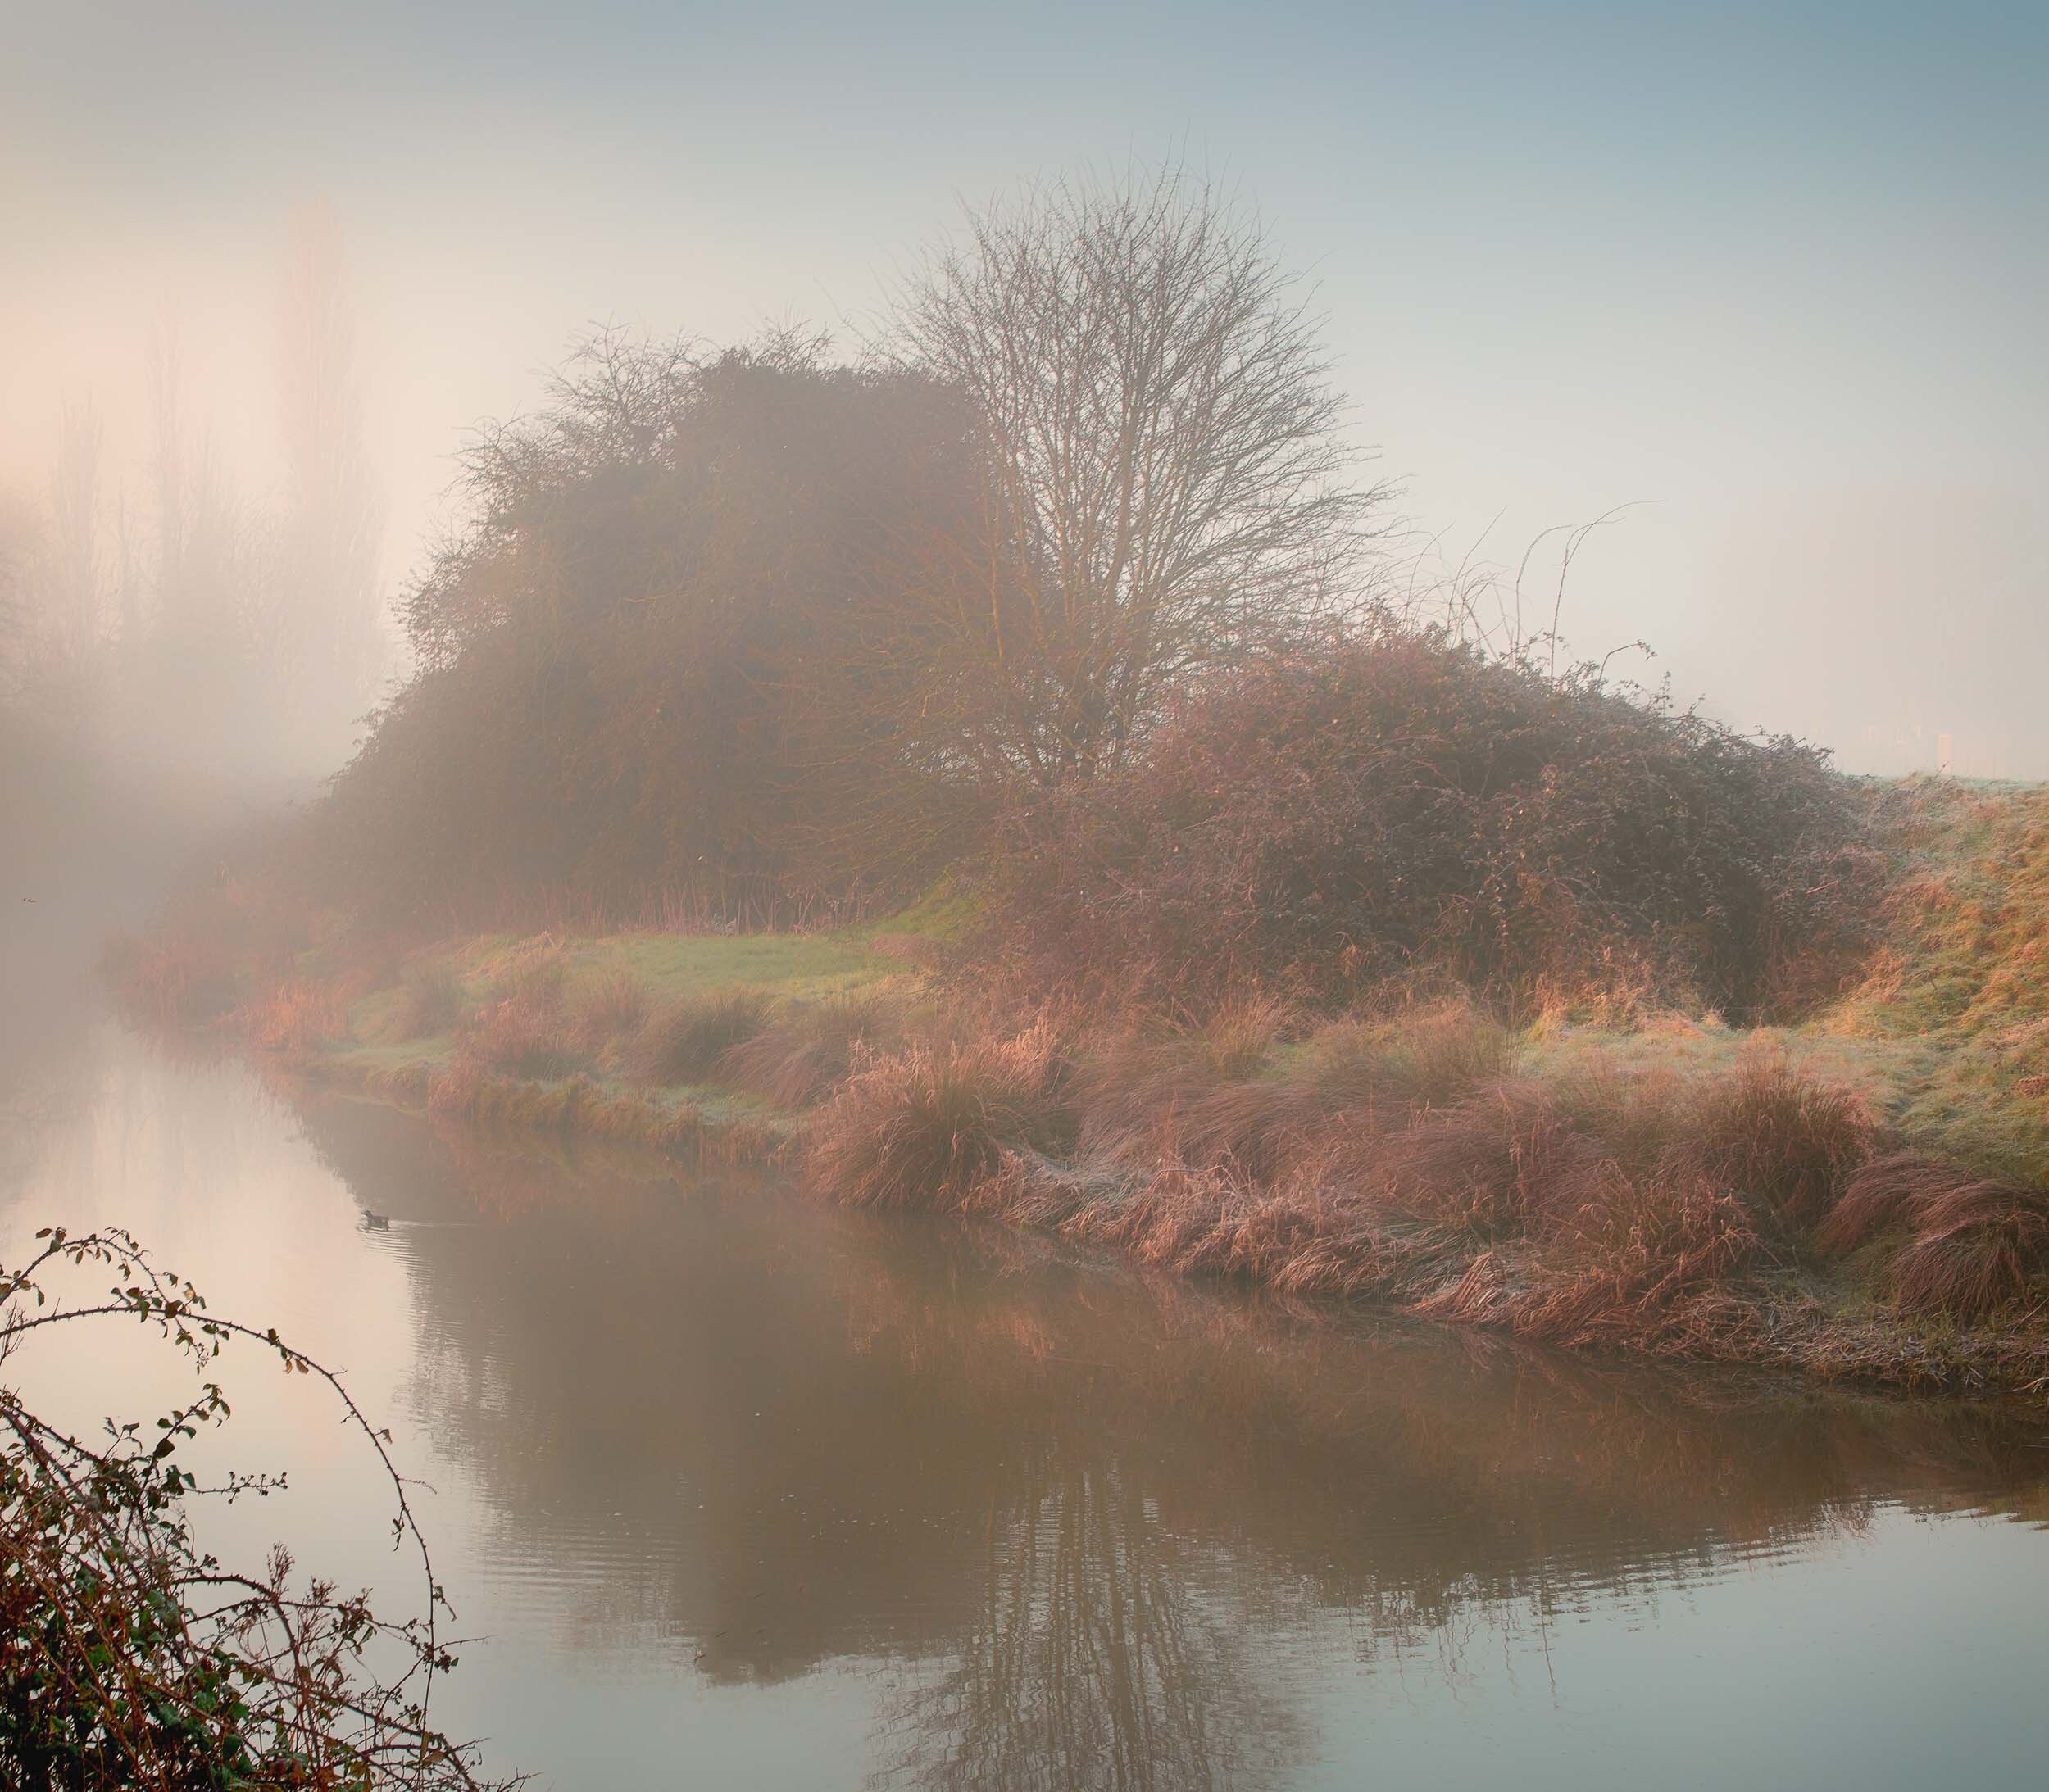
Misty mornings really are the best. I used a 50mm lens when I was doing landscape photography with my now dearly departed Canon 6D. I shot at f /11. If you look towards the background you can see the trees beautifully hidden in the mist. The composition is unconventional, I thought that the atmosphere was so impressive, I only needed to split the composition through the middle.

ISO 200 f / 11 1/60 SEC 50mm
I wanted to layer the composition with this morning shot. I stood on the hillside as the rising sunlight was gently illuminating the farm and the town from the left. It was my intention to maximise the depth of field and capture the moon in the background. I was lucky that the sheep were grazing on this fine morning.

ISO 200 f / 11 1/80 SEC 50mm
I was transfixed by the detail on the marshy grass in this shot taken by the River Rother one evening. I was lucky enough to have the moon centre stage, with the clouds extremely low in the sky. I shot at f / 11, focusing one-third of the way into the scene.

ISO 200 f / 11 1/5 SEC 35mm
This Winchelsea countryside shot was taken using the bracketing setting on the Sony A7RIII as you definitely need to get the sun exposed correctly, (which would mean underexposing the foreground) and then having another exposure where the foreground is exposed correctly, leaving the sky overexposed. I then blended the two exposures together in Photoshop. Notice how the markings in the grass in the foreground work as a leading line, drawing the eye into the scene.

ISO 100 f / 11 1/100 SEC 25mm
I shot from a low angle as I wanted to accentuate the beautifully lit mounds of grass in the foreground. I included the trees on the right which are balanced out by the telegraph pole on the left. The mounds of grass draw the eye through the scene to the clearing way in the distance. The sun was setting and the slight clouds in the sky were in a streaking pattern which I thought looked pleasing to the eye.
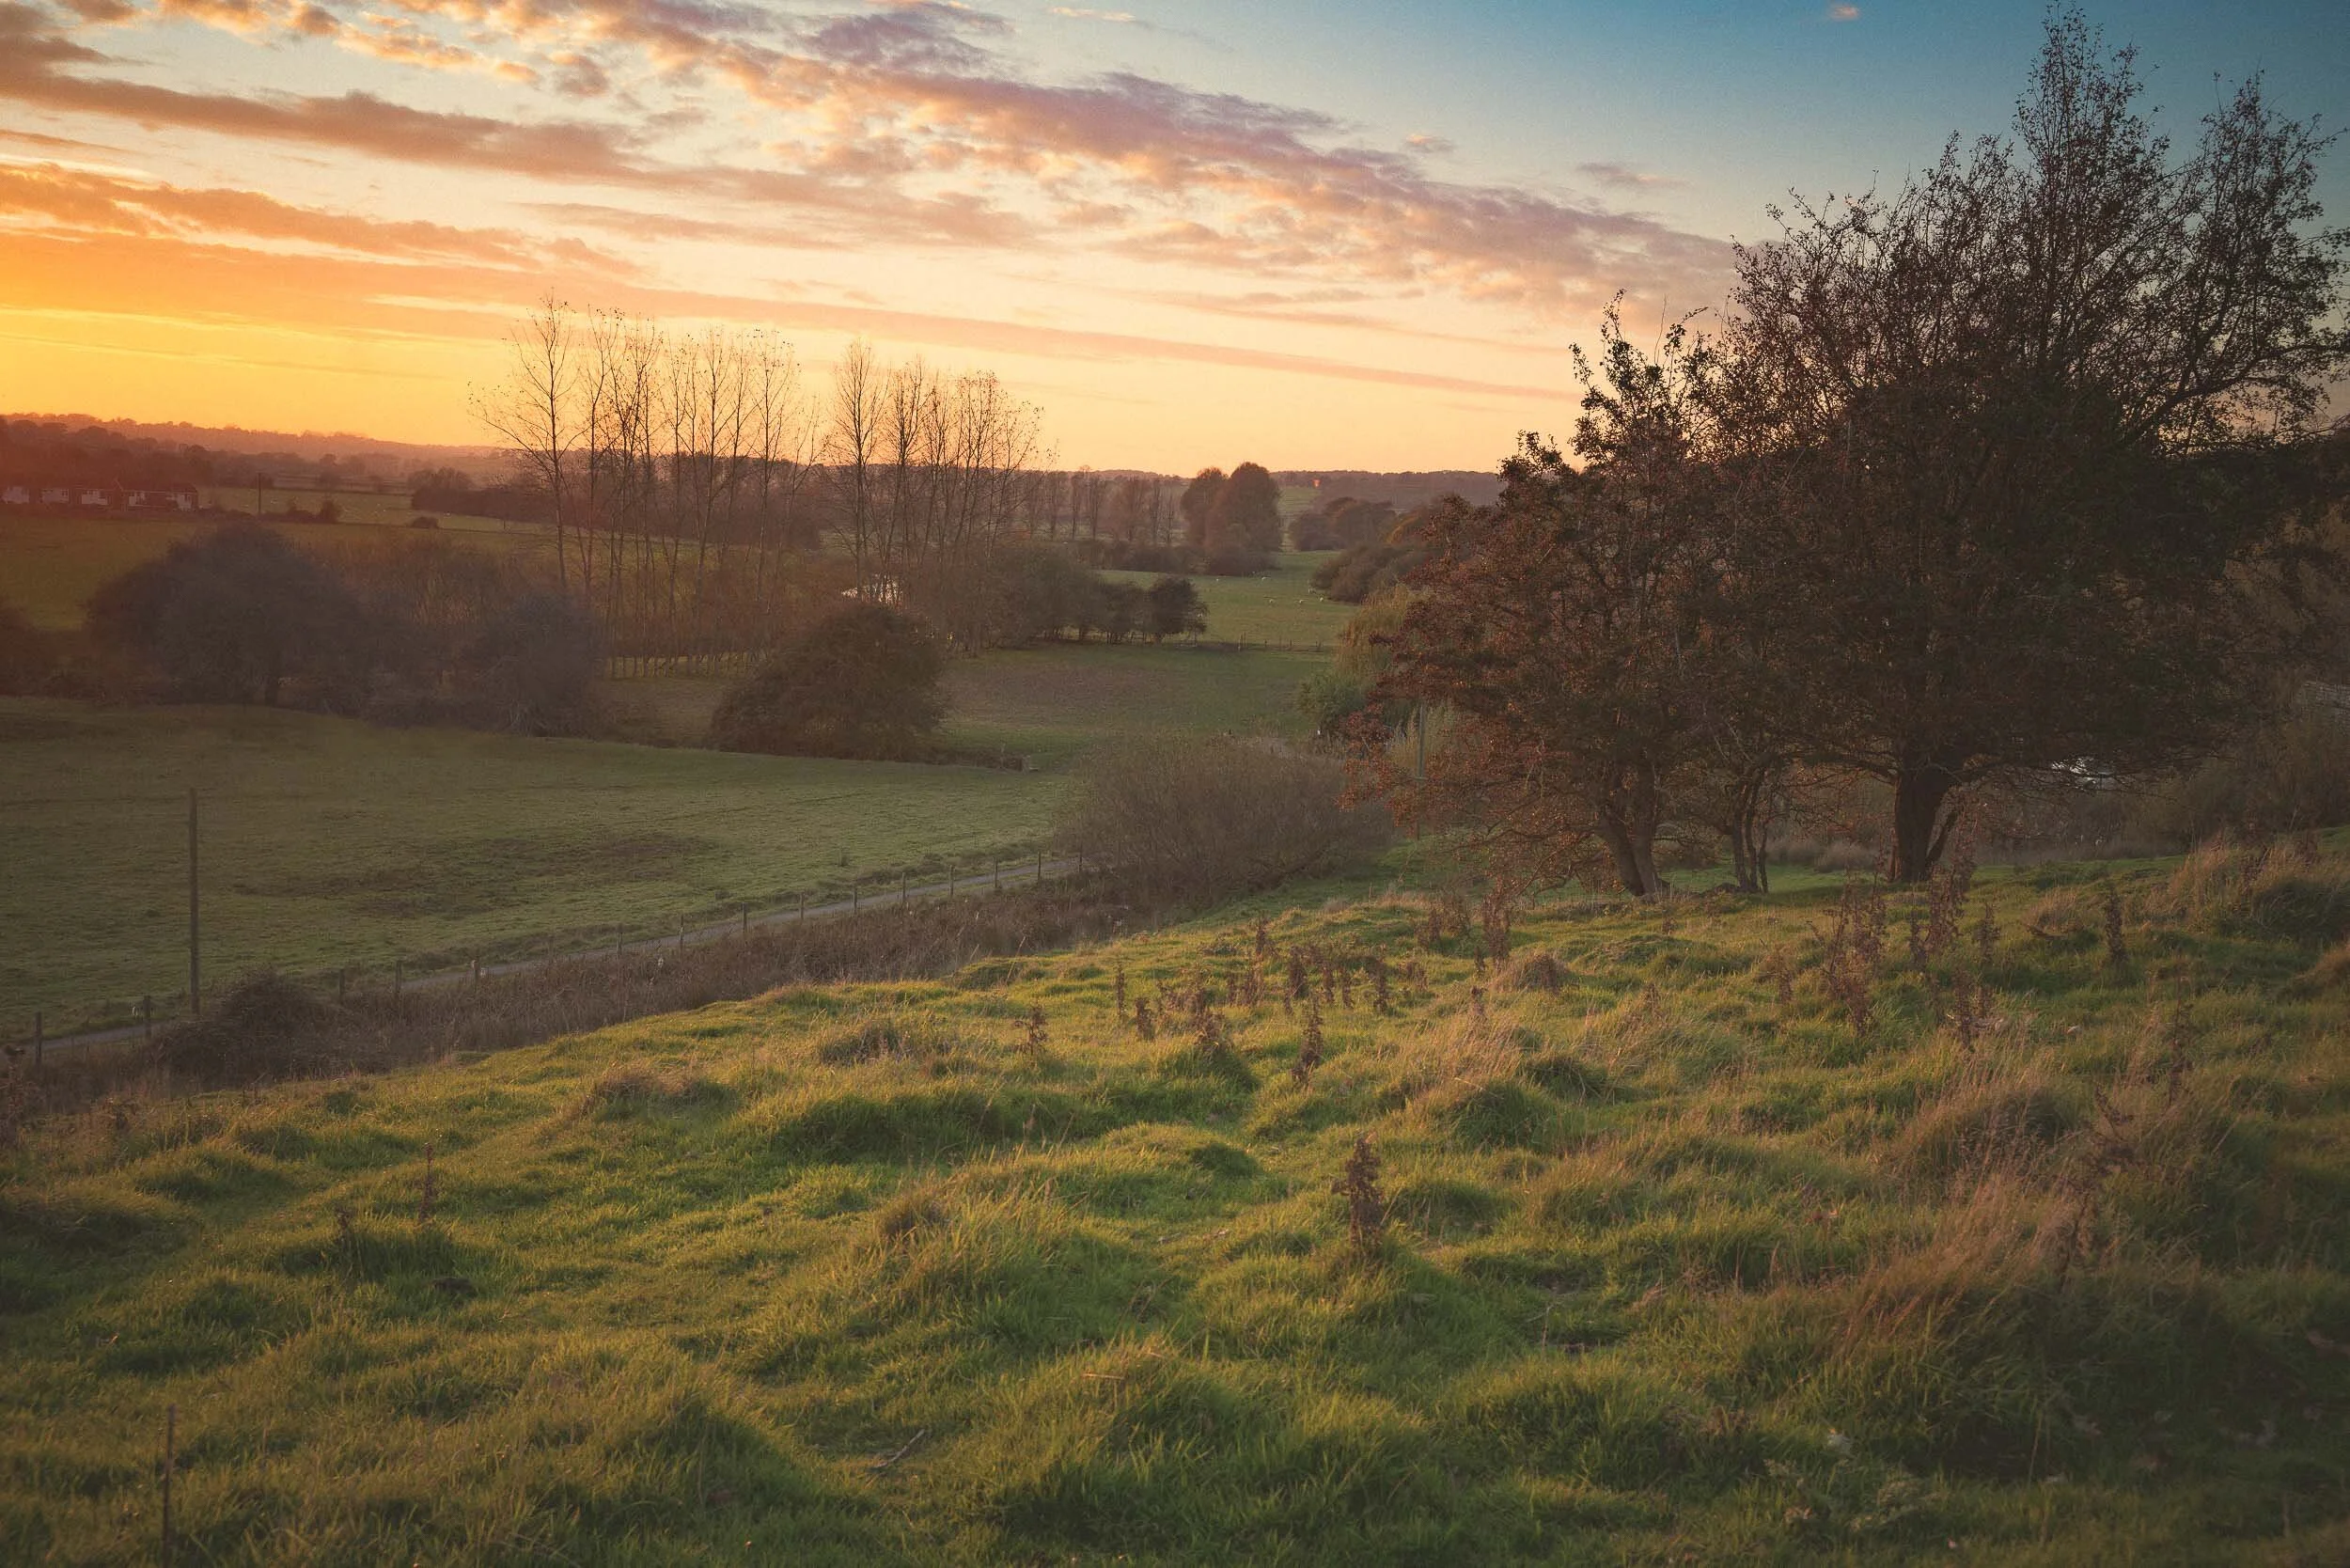
ISO 100 f / 8 1/25SEC 35mm
Conclusion
Rye is a very exciting place to visit and take beautiful street, architecture and even night photography. All you need to do is just step outside the town centre and you've got fantastic locations for landscape photography as well.
Go forth and create.